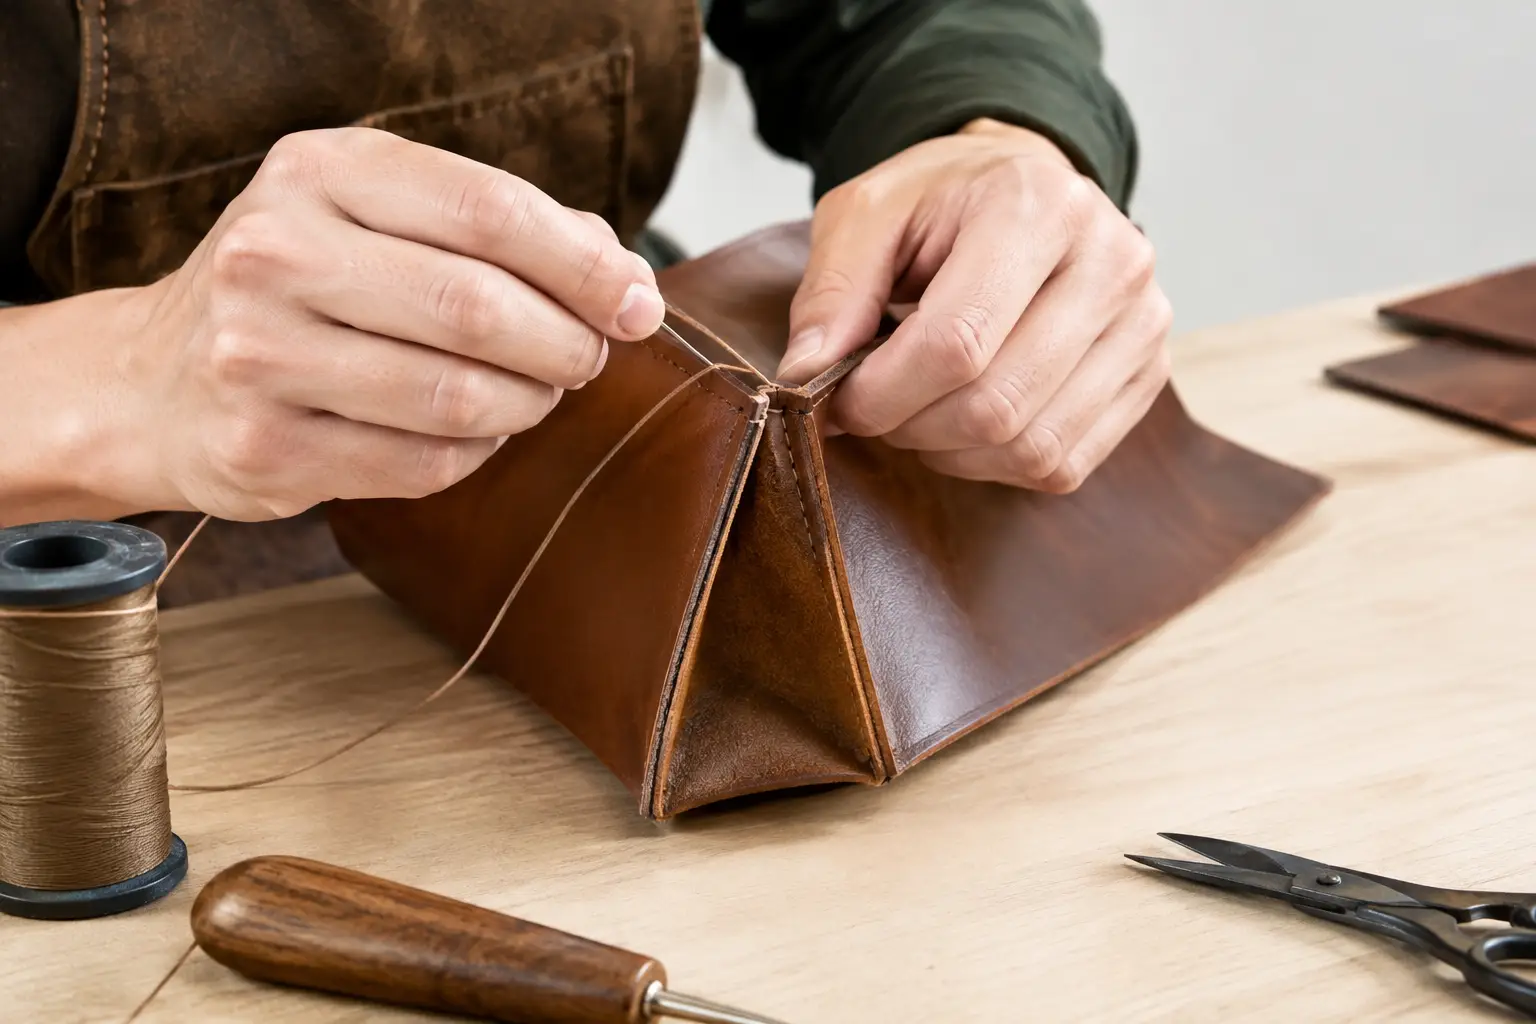
A clean skive can make a folded edge sit flat, reduce bulk at a seam, or give a wallet pocket a more refined finish. A rushed skive can do the opposite: cut through the grain, leave a wavy taper, or send a sharp blade toward your hand. Learning how to skive leather safely is less about force and more about control, setup, and knowing when to stop.
Skiving is one of those bench skills that improves quickly when you work in small, deliberate passes. Start with scrap from the same leather you plan to use, give yourself room to work, and let the tool remove only what the project requires. The goal is a smooth transition in thickness, not the thinnest possible piece of leather.
Set Up to Skive Leather Safely
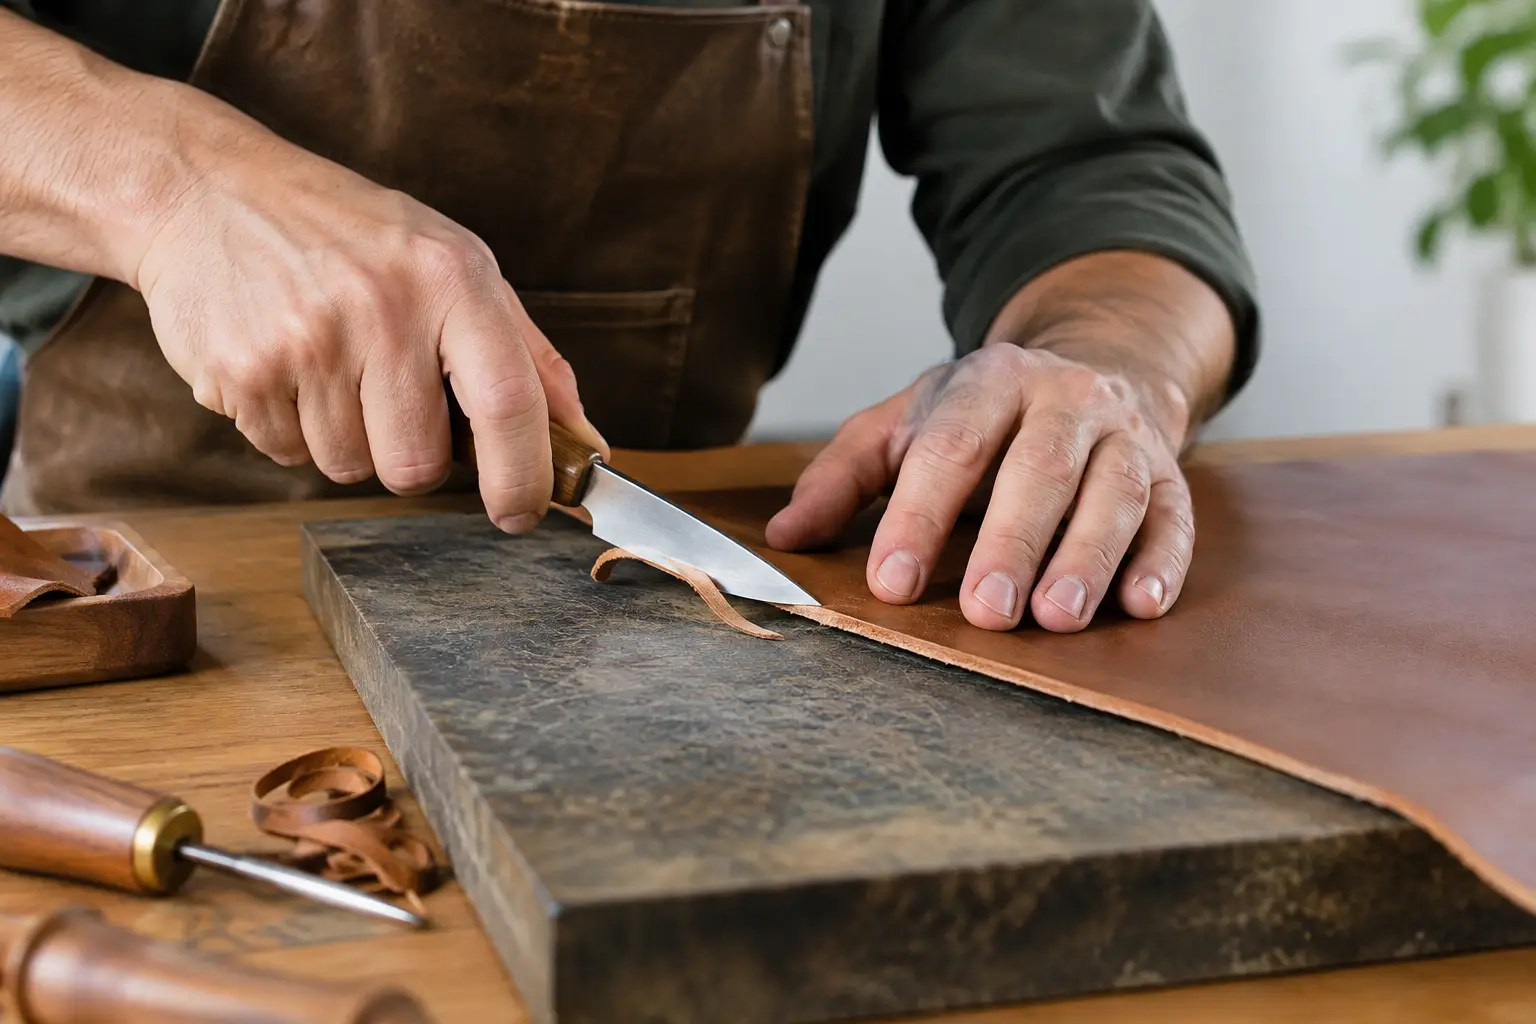
Before the blade touches leather, look at your bench. A stable cutting surface matters because skiving puts forward pressure on both the leather and the tool. Use a firm, non-slip work surface and make sure the leather cannot slide unexpectedly. A smooth piece of marble, granite, or a dense cutting board can work well beneath the leather, depending on the tool and project.
Good lighting is equally useful. You need to see the changing thickness of the leather, especially when skiving natural veg tan or a light-colored flesh side. Shadows can hide an uneven pass until it is too late to correct it.
Place the work so your cutting path moves away from your body and away from your free hand. Keep that free hand behind the blade, not ahead of it and not beside the direction of travel. If you need to hold a small piece close to the cutting area, use a clamp, a weight, or a simple hold-down tool rather than placing fingertips in the blade’s path.
Cut-resistant gloves can add a useful layer of protection, particularly while you are learning or working with a very sharp hand skiving knife. They are not a reason to cut toward your hand or ignore tool control. Treat them as backup, not permission to take shortcuts.
Choose the Tool That Fits the Job
There is no single best skiving tool for every leather and every pattern. The right choice depends on how much material you need to remove, the shape of the area, and how visible the finished edge will be.
A sharp skiving knife gives the most flexibility. It can feather a long edge, taper a pocket, reduce a seam allowance, or work into a tight corner. It also asks more of your technique, because you control the angle, pressure, and direction at once.
A safety beveler is helpful for consistent channels and controlled reductions along an edge. A French edger can remove wider, rounded sections cleanly, while a small curved skiving knife can be useful for delicate work. For larger panels or repeat production, a bench skiver may save time, but it still needs careful adjustment and respect for the blade.
If you are building from a project pattern, check whether the skive is meant to reduce bulk at a fold, a stitched seam, or an overlap. Those are different jobs. A fold often benefits from a gradual, wide taper. A hidden seam may only need a narrow reduction near the edge. Removing more leather than the construction calls for can weaken a stress point.
Sharp Beats Strong
A dull blade is one of the most common reasons skiving feels unpredictable. It catches on the fibers, requires extra force, and encourages the tool to jump forward when it finally bites. A sharp blade starts cutting with light pressure, allowing you to make small corrections before a mistake becomes permanent.
Sharpen before the tool becomes frustrating, not after. For many hand tools, that means regular stropping between passes and occasional sharpening when stropping no longer restores a clean edge. Keep the bevel polished and free of nicks. If the tool drags, chatters, or leaves torn fibers instead of a smooth shaving, stop and address the edge.
A very sharp blade deserves calm handling. Keep the blade covered or stored safely when it is not in use, and do not leave it buried beneath scraps on the bench. When passing a tool to another person, set it down handle-first rather than handing it blade-first.
Mark the Area Before You Cut
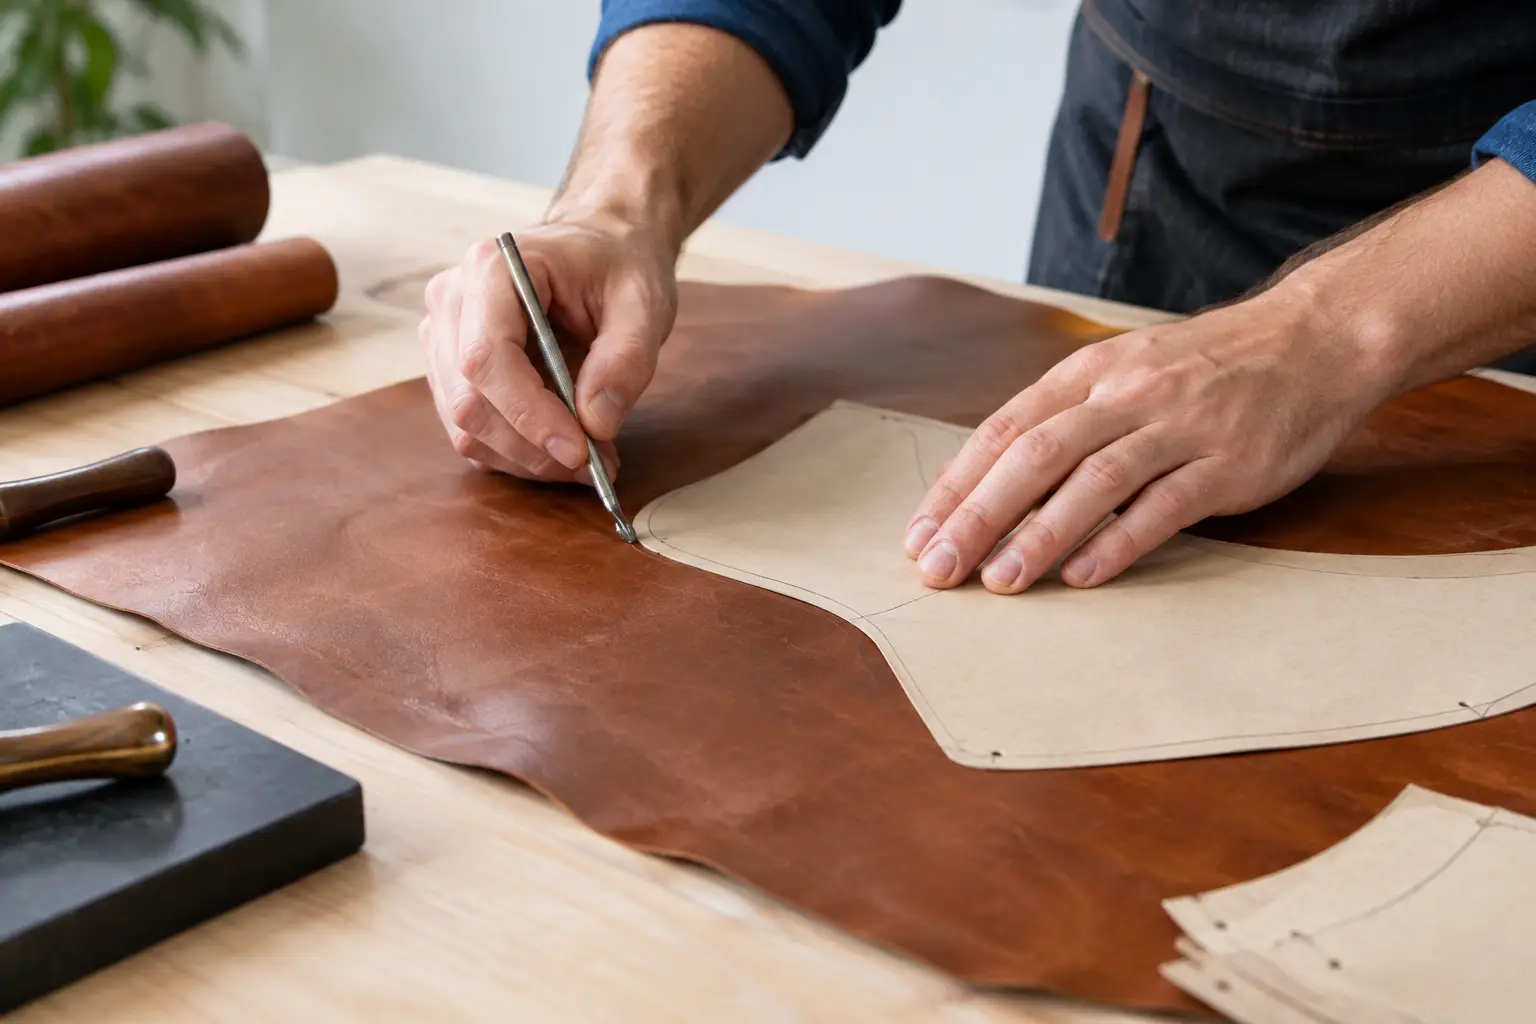
A clear guideline makes skiving safer because it removes guesswork. Mark the start and end of the skive lightly on the flesh side when possible. If you need a defined stop line, use a wing divider, scratch awl, or light crease to establish it before picking up the blade.
For a folded edge, mark the fold line and give yourself enough room for a gradual taper leading into it. For a seam allowance, mark the stitch line and the edge reduction separately. This helps you preserve material where the stitches need strength.
It is usually better to begin farther from the final edge than you think you need. You can extend a skive gradually. You cannot put thickness back after cutting too deep.
Test the Leather First
Leather density changes from hide to hide and sometimes across the same panel. Even a familiar weight of veg tan can skive differently near the shoulder than near the belly. Test a few passes on offcuts and look at the shape of the shaving.
A thin, continuous shaving usually suggests the angle and pressure are working. Dusty crumbs, torn fibers, or thick chunks suggest a change is needed. Try a sharper blade, a shallower angle, or a shorter pass before changing everything at once.
Use Light, Repeated Passes
The safest and cleanest approach is to remove leather in layers. Hold the blade at a low angle to the leather and begin with almost no downward force. Push or pull according to the tool’s intended use and the direction that gives you the most stable control, but keep the motion moving away from your body.
Start the cut gently, then maintain a steady, shallow angle through the pass. Avoid digging in at the beginning or lifting sharply at the end. If you need to remove more material, repeat the pass rather than pressing harder.
Long skives are easier when you break them into manageable sections. Work a few inches at a time, overlap the passes slightly, and inspect the surface as you go. This takes longer than one aggressive stroke, but it gives you a much better chance of keeping the taper even.
For tight curves, shorten your stroke and rotate the leather instead of twisting your wrist around the blade. Rotating the work keeps your hand in a stronger, more predictable position. It also helps prevent the blade from following the curve too aggressively and cutting past your marked area.
Watch for Warning Signs
Stop immediately if the blade begins to chatter, the leather shifts, or you feel yourself pushing harder to make progress. These are signals that the setup is no longer under control. Reset the leather, strop the blade, and return with a lighter pass.
Be especially careful near the end of a skive. Once the leather becomes thin, it can suddenly flex or tear. Support the work flat against the surface and reduce pressure as you approach the final thickness. If the project allows it, leave a little extra material and refine it after a test fold.
A test fold tells you more than appearance alone. Fold the skived area as it will sit in the finished piece. If the edge rolls smoothly without a visible ridge, you likely have enough reduction. If it still feels bulky, remove a little more from the thickest part rather than thinning the entire area indiscriminately.
Correct Small Mistakes Without Chasing Them
An uneven skive is not always a ruined piece. A shallow ridge can often be blended with a few light passes. A rough flesh side may smooth out under glue, a lining, or a folded construction. What matters is whether the skive affects the strength, shape, or visible finish of the project.
Do not keep cutting simply because you want the surface to look perfect on the bench. Thin leather can become weak leather quickly. If the area will be stitched, pulled, or flexed repeatedly, leave enough substance to do its job.
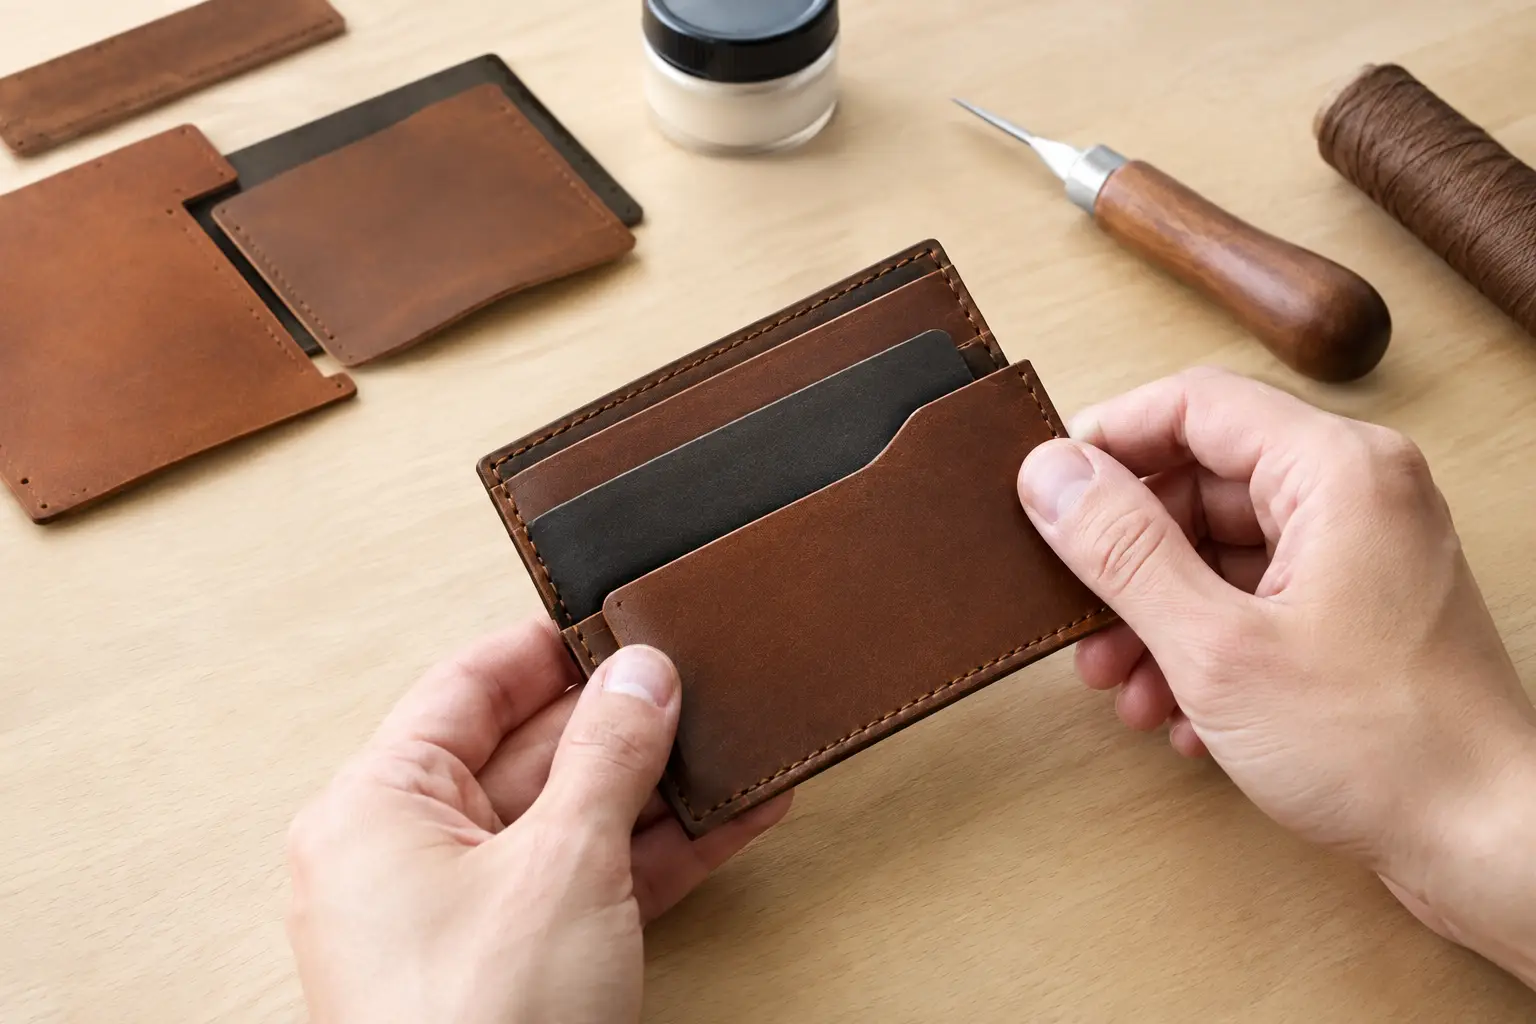
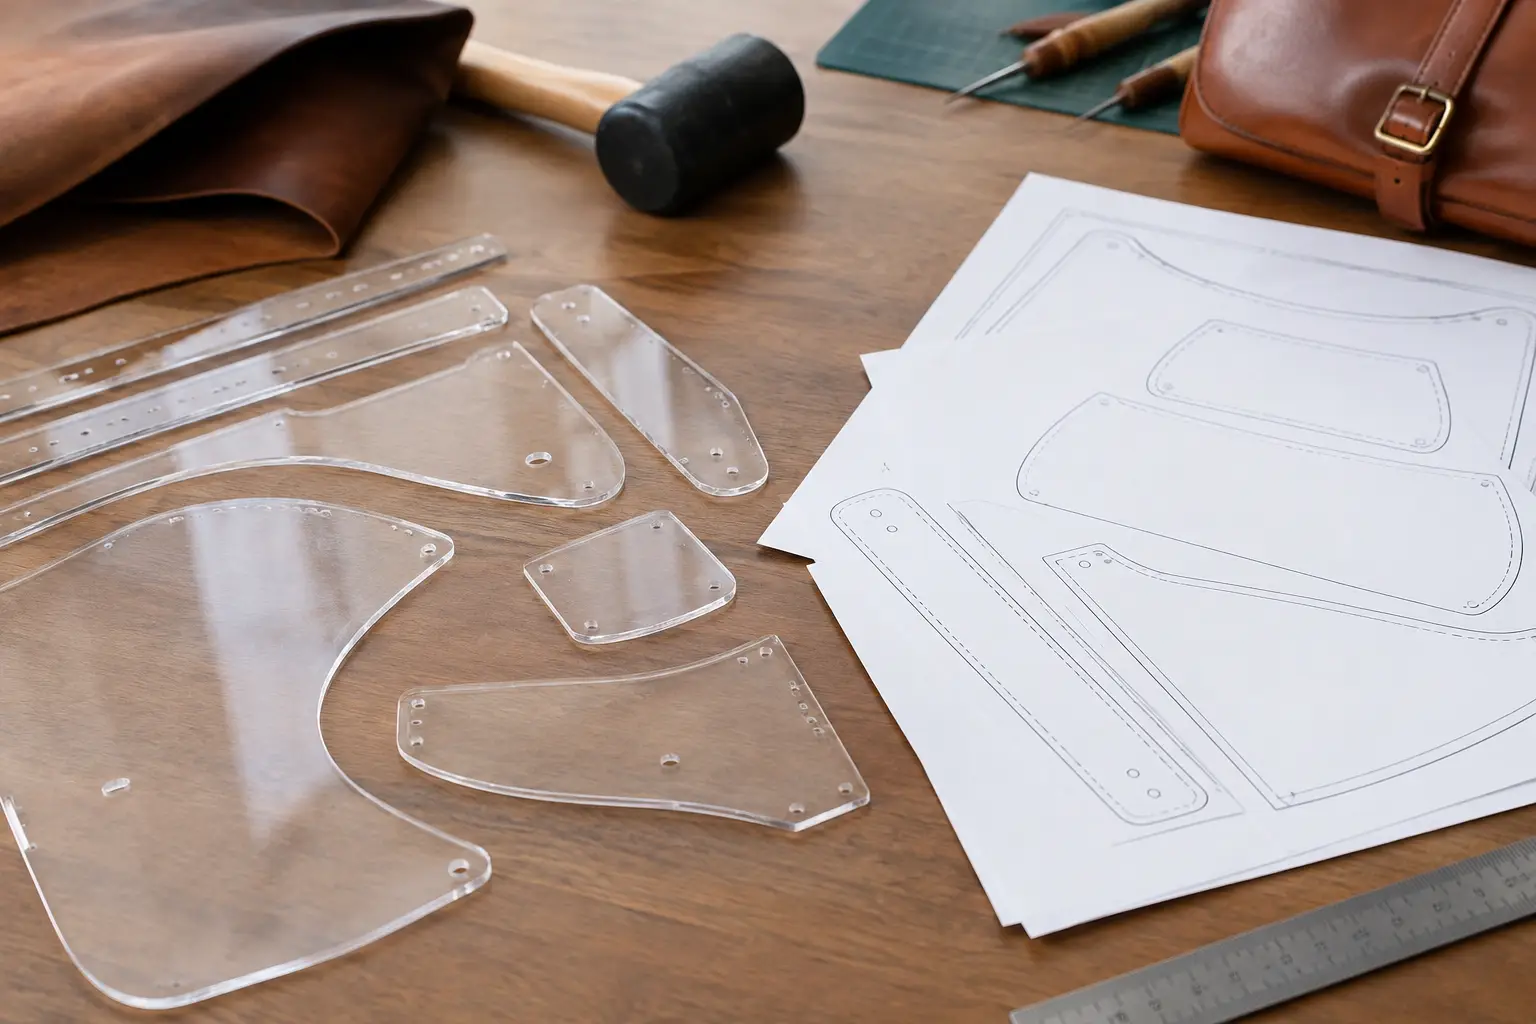
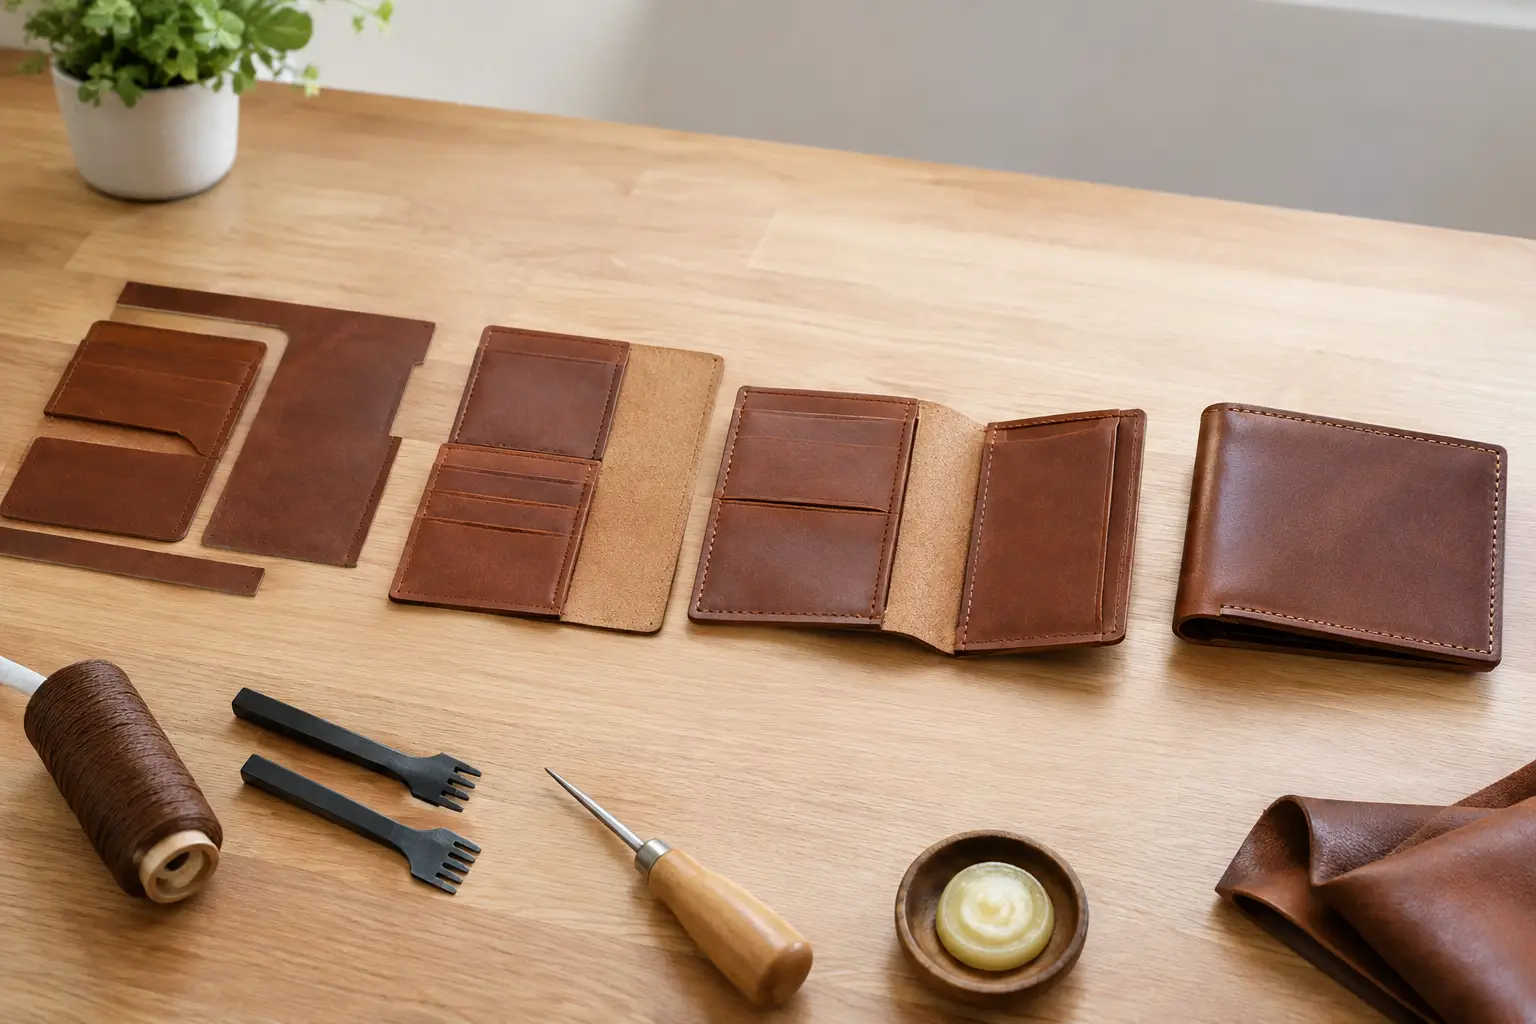
For beginner-friendly builds, choose projects that use short skives on tabs, pocket edges, or simple folds before attempting wide gussets or long bag straps. A well-organized pattern helps here because it tells you where bulk needs to be managed, leaving less time guessing and more time building.
Build the Skill Before the Project Demands It
Set aside a few minutes to practice skiving on scraps whenever you sharpen a tool or start a new leather. Make a broad taper, a narrow edge reduction, and a short curved skive. Then fold and inspect each sample. You will begin to recognize the pressure and blade angle that work for your leather.
Safe skiving is not about making dramatic cuts. It is the quiet habit of a sharp tool, a stable workpiece, clear markings, and light passes that leaves you in control. Give the leather time, and your finished edges will show it.