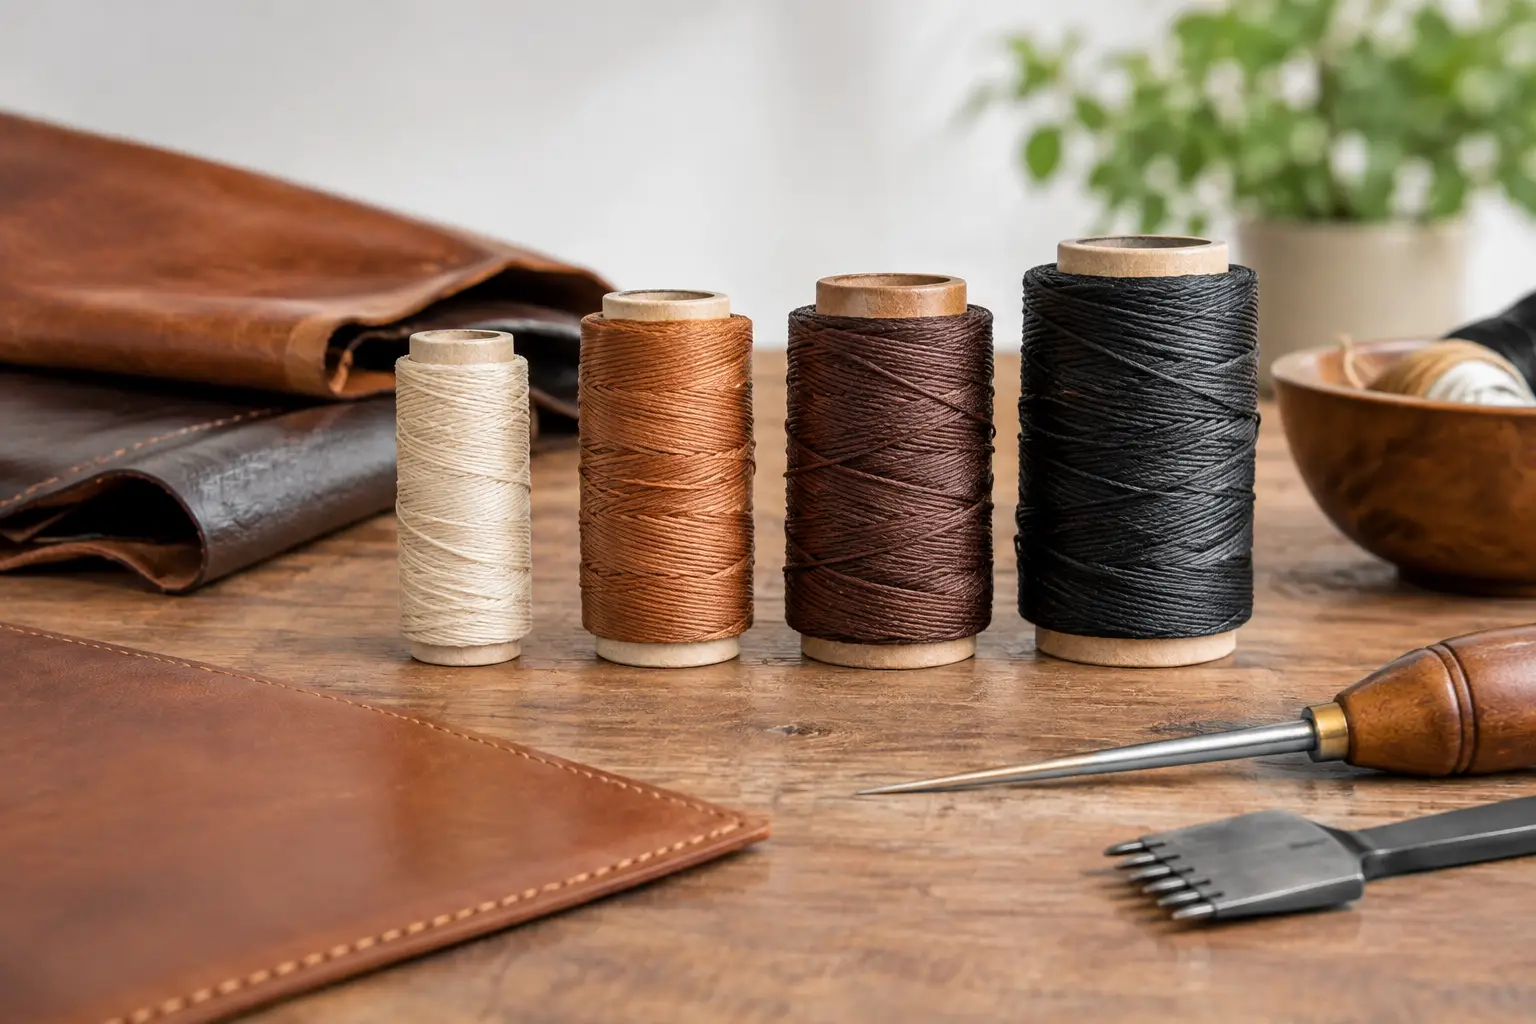
A wallet can look refined with fine thread and short, even stitches. That same thread can look undersized on a heavy tote, while a thick, bold thread may overwhelm a card holder before the edges are even finished. Learning how to choose thread thickness is largely about proportion: matching the thread to the leather, the stitch spacing, and the job the seam needs to do.
Thread choice is not a minor finishing detail. It affects how your project feels in the hand, how clearly the stitching reads from a distance, how much strain a seam can take, and how cleanly your layers close at the edge. A few simple checks before you punch holes can save you from a seam that looks crowded, weak, or out of place.
Start with the project, not the thread spool
Before comparing thread sizes, look at the object you are building. A slim card holder, key fob, valet tray, watch strap, journal cover, and market tote all ask different things from a seam. The best choice is rarely the thickest thread that will fit through your holes. It is the one that suits the scale and use of the finished piece.
Fine goods benefit from restraint. On a card holder or other small accessory, thread around 0.45 mm to 0.55 mm often gives a neat, controlled stitch line without making the seam feel heavy. This range works especially well when you are using close stitch spacing and relatively light leather.
For many everyday projects, 0.6 mm to 0.8 mm is a dependable middle ground. It has enough presence for bifolds, small pouches, notebook covers, cases, and light bags, while still allowing you to maintain a tidy line around corners. This is a useful range for makers who want one versatile starting point at the bench.
Heavier work often calls for 0.8 mm to 1.0 mm thread or larger. Think belts, structured bags, thick sheath-style projects, dog collars, and straps that need a more substantial visual line. Thick thread can support a bold, traditional look, but it also requires enough leather, spacing, and hole size to keep the seam from becoming crowded.
Match thread thickness to leather weight
Leather thickness gives you the first practical boundary. A thread that is too large for thin leather can pull the seam tight enough to pucker the edge or make the stitches look like separate raised loops. On heavier leather, thread that is too fine may disappear visually and feel out of proportion to the build.
As a working guide, use finer thread for projects made from roughly 2 to 4 ounces of leather, medium thread for the common 4 to 6 ounce range, and heavier thread for projects built from 7 ounces and up. This is not a fixed rule. Two layers of 3-ounce leather at a wallet seam behave differently from a single layer of 6-ounce leather on a minimal strap.
Pay attention to the total thickness at the stitch line, including linings, gussets, reinforcements, and folded edges. A thread choice that looked right on the outer panel may be too delicate once several layers come together. Conversely, a bulky thread can create a thick ridge in an area meant to stay slim.
Leather temper matters as well. Firmer vegetable-tanned leather can carry a more pronounced stitch line without losing its shape. Soft chrome-tanned leather may need a slightly finer thread or a wider stitch spacing to prevent the seam from looking compressed and uneven.
Choose stitch spacing and thread together
Thread thickness and stitch spacing should be treated as a pair. Close holes leave less room for each stitch to sit cleanly, so they generally favor finer thread. Wider spacing gives a thicker thread room to show its shape and lets the stitch line read with more confidence.
For fine leather goods, many makers use tighter spacing in the neighborhood of 3.5 mm to 4 mm between holes. Thread around 0.45 mm to 0.6 mm usually sits comfortably in that range. For general-purpose work at 4 mm to 5 mm spacing, 0.6 mm to 0.8 mm thread often looks balanced. Larger spacing, such as 5 mm to 6 mm, can support 0.8 mm to 1.0 mm thread on belts, bags, and heavier strap work.
These measurements are starting points rather than instructions you must follow. Chisel tooth shape, hole size, thread construction, and your stitching tension all affect the final appearance. A well-made sample is more useful than a chart when you are working with unfamiliar leather.
Watch the hole size
A thick thread forced through a small, tight hole can abrade as you stitch, especially at corners or through several layers. It can also leave the finished seam looking swollen because the thread is packed into too little space. If you step up in thread size, check whether your awl or pricking iron creates a hole that will accommodate it cleanly.
The opposite problem is just as noticeable. A very fine thread in oversized holes can leave visible gaps and reduce the crisp, intentional look of the stitch line. The goal is not to fill every bit of the hole. It is to use a hole that lets the thread pass without damage while still allowing the leather to close neatly around the stitch.
Think about strength, but do not choose by strength alone
Thread contributes to seam durability, but seam strength comes from the whole construction. Leather quality, the number of stitches, stitch spacing, edge distance, adhesive use, reinforcement placement, and the direction of pull all matter. A thicker thread cannot correct a poorly placed stitch line or an overloaded piece of thin leather.
For a lightly used wallet, a fine bonded polyester thread may be more than adequate and will usually produce a cleaner result than an oversized alternative. For a tote handle, collar, or gear intended to see regular strain, it makes sense to use a stronger, thicker thread alongside an appropriate leather weight and a construction designed for the load.
Bonded polyester is a practical choice for many leather projects because it handles abrasion and exposure well. Waxed linen brings a more traditional character and can create a softer, more organic stitch line. Either can work beautifully, but compare actual diameter rather than assuming one material’s labeled size will match another’s.
Do not rely only on size labels
Thread labels can be confusing. One brand may identify thread by millimeter diameter, another by Tex weight, and another by a commercial size such as V69 or V92. Those systems do not always translate perfectly from one manufacturer to another.
When possible, use the listed diameter as your most direct visual reference for hand stitching. If you are comparing two unfamiliar spools, pull out short lengths and place them against your leather and along a few punched holes. That quick test shows more than a label alone can tell you.
For machine sewing, follow your machine’s thread and needle limits first. A leather sewing machine has its own requirements for needle size, bobbin tension, and thread path. Hand-stitching guidance can help you judge proportion, but it should not override what your machine is designed to handle.
Make a stitched sample before committing
A small sample takes only a few minutes and removes much of the guesswork. Use the same leather layers, thread, needles, chisel spacing, and finishing plan as the real project. Stitch a straight section and a gentle curve, then look at it from arm’s length as well as up close.
Ask whether the thread dominates the leather or disappears into it. Check whether the holes close around the thread, whether the stitch line lies flat, and whether the edge still has enough leather outside the holes. Pull the sample firmly in the direction the finished seam will experience. You are looking for an even seam that feels secure without distorting the leather.
If the thread appears crowded, move down one size, widen the spacing, or use a slightly larger hole. If it looks faint on a substantial build, try a thicker thread before changing your entire pattern layout. Small adjustments at this stage are far easier than unpicking a finished project.
A practical starting point for your next build
If you are unsure where to begin, choose a medium thread around 0.6 mm to 0.8 mm for many general leathercraft projects, then adjust based on the leather and stitch spacing. Go finer for compact, polished goods and closer holes. Go heavier when the leather, project scale, and stitch spacing all support a stronger visual line.
A clear pattern gives you the construction plan, but thread selection is where you can make the project feel distinctly your own. Set a few inches of leather aside for testing, trust what the sample shows you, and choose the thread that helps the finished piece look considered from the first stitch to the last.
Leave a Reply