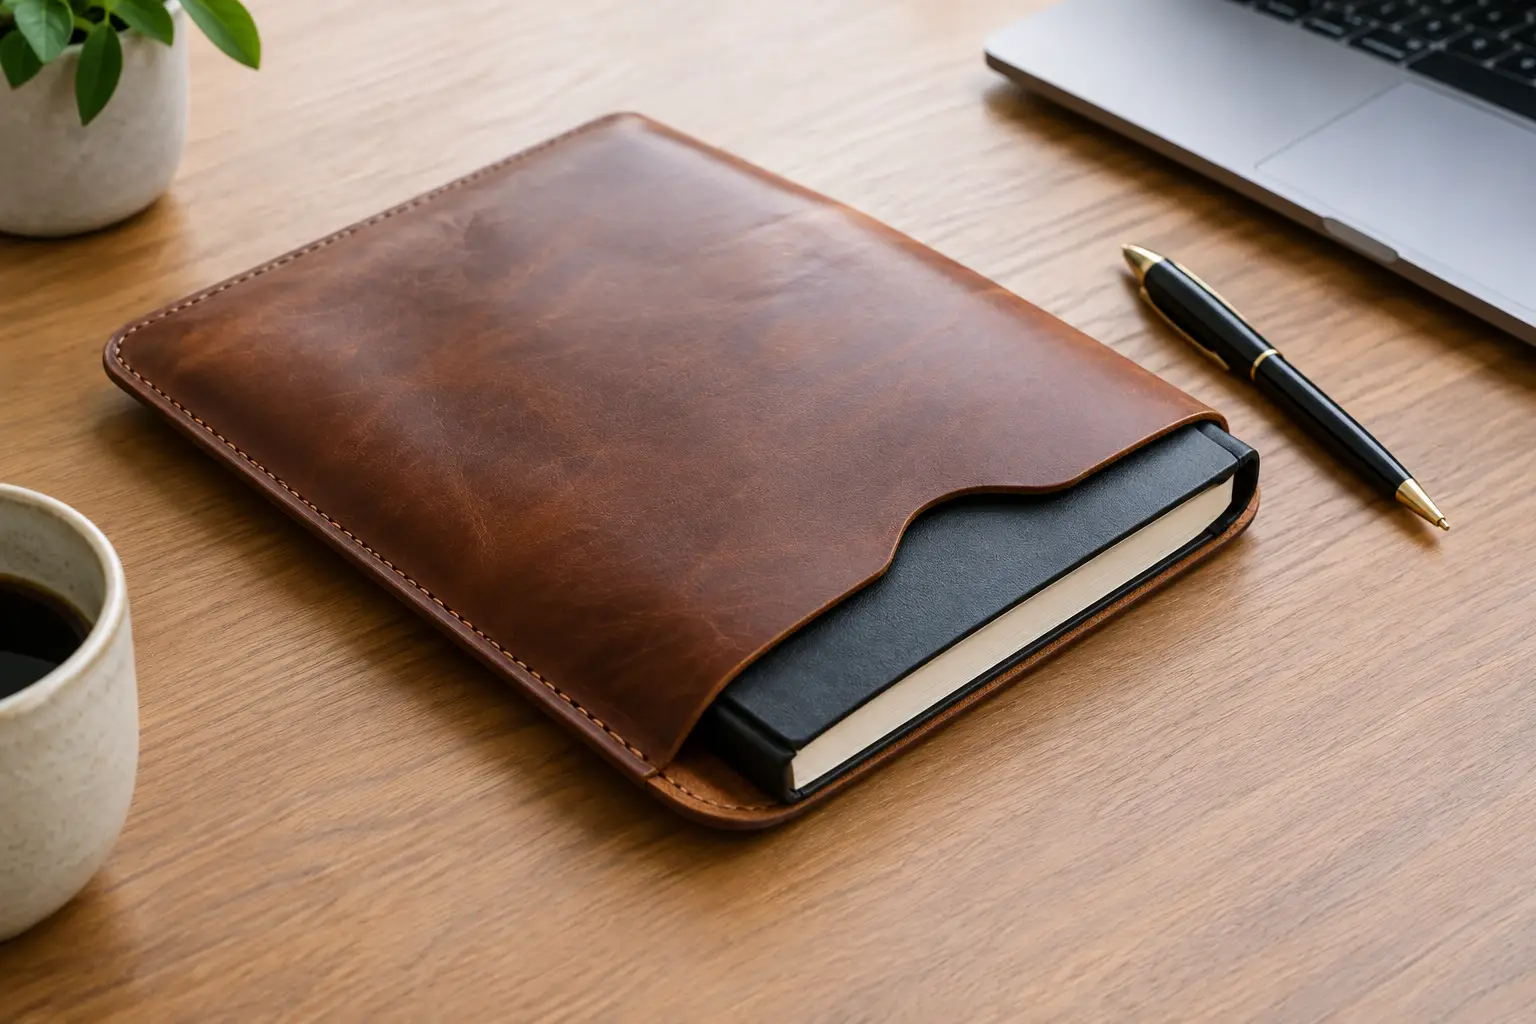
A notebook sleeve earns its place on the bench because it asks for more than a good-looking exterior. It needs to protect a book, feel comfortable in the hand, and open without fighting the leather at the spine. This leather notebook sleeve project example shows how a straightforward design can produce a refined everyday piece while giving you room to practice clean cutting, accurate stitching, and careful edge work.
The goal is not to create the most complicated cover possible. It is to build a sleeve that fits a common notebook well, uses materials wisely, and teaches construction choices you can carry into future projects.
The Project: A Simple Sleeve With a Purpose
For this example, build a slip-style sleeve for an A5 notebook or similarly sized journal. The notebook slides into an open top, with a stitched pocket on the front and back holding it in place. A narrow spine allowance gives the cover enough room to close naturally without looking loose when the notebook is inside.
This design works especially well for a daily journal, sketchbook, or meeting notebook. It has a clean profile, protects the cover from wear, and avoids extra hardware that can complicate the build. You can add a pen loop or closure later, but the basic sleeve deserves attention first. A project with fewer moving parts makes it easier to see where fit and craftsmanship matter most.
Start by measuring the notebook you plan to use, rather than relying only on its labeled size. Measure its height, width, and thickness with the covers closed. Add roughly 1/8 inch to the finished height for easy insertion, then allow enough width to wrap both covers and the spine without pulling. The exact allowance depends on leather weight and notebook thickness. A thin softcover journal needs less room than a thick hardcover notebook.
Leather and Materials That Support the Build
A vegetable-tanned leather in the 3 to 4 ounce range is a dependable choice for this project. It has enough body to protect the notebook and take a crisp finish, yet it can still bend comfortably around the spine. If you prefer a softer, broken-in feel, a 2 to 3 ounce chrome-tanned leather can work well, especially when paired with a firmer lining or pocket reinforcement.
There is a trade-off here. Firmer leather holds a sharp shape and develops character over time, but it asks for more care when forming the spine. Softer leather folds easily and feels relaxed from day one, though it may lose some structure around the pocket openings. Neither choice is wrong. Match the leather to the kind of notebook cover you want to carry.
For thread, a bonded polyester thread in a size appropriate to your stitching irons gives the project a tidy, durable seam. Choose a thread color that supports the leather rather than competing with it. Natural thread on tan leather feels traditional, while dark brown or black thread can give a more defined outline. You will also need adhesive, a scratch awl or silver pen, a skiving tool, edge beveler, and your usual stitching and finishing supplies.
If you are making this as an early project, resist the urge to use every decorative option at once. A clean sleeve in good leather with even stitches will look more considered than a crowded design with uneven details.
Leather Notebook Sleeve Project Example: Pattern Layout
The simplest layout uses three pieces: one full outer panel and two matching inside pockets. The outer panel wraps from the left edge of the notebook, across the spine, to the right edge. Each pocket is stitched along the top, bottom, and outer side, leaving the inside edge open for the notebook cover.
Before cutting leather, make a paper or cardstock mockup. This small step saves material and removes much of the uncertainty from the build. Fold the mockup around the actual notebook, tape the pockets in place, and test the fit. The notebook should slide in with light resistance, not force. It should close flat without the spine bunching or the pockets pulling away from the outer panel.
Mark your stitch lines on the mockup as well. Keep them far enough from the pocket edge that the leather will not weaken over time. A stitch line set about 3/16 inch from the edge is a practical starting point for many notebook sleeves, though your leather thickness and iron spacing may call for a slightly different placement.
Once the paper version fits, transfer each piece to leather. Keep the grain direction consistent across the panels, especially if the hide has visible pull-up, grain texture, or a directional finish. Details like this are easy to miss during cutting, but they make a noticeable difference in the finished project.
Plan for the Spine Before You Stitch
The spine is where an otherwise good sleeve can become frustrating. Leather does not behave like paper. If the outer panel is cut to the exact width of the notebook’s open measurement, it may pull tight when the cover closes.
Give the spine a little breathing room. On firmer leather, you can lightly crease or form two fold lines where the notebook covers meet the spine. On softer leather, the material may shape itself after a short period of use. Do not cut deep groove lines into thin leather simply to force a fold. That can create a weak point and leave a permanent mark that looks harsher than intended.
Build Order for a Cleaner Result
Finish the pocket openings before attaching the pockets to the outer panel. Bevel the exposed edges if the leather supports it, sand lightly, apply your preferred edge treatment, and burnish or finish them fully. Once the pockets are stitched down, those edges are harder to work neatly.
Next, position the pockets using the notebook itself as a fit check. Apply adhesive sparingly along the stitch margins, keeping it away from the open pocket edge. Press the pieces together, then mark or punch your stitching holes. Punching through both layers after they are glued helps keep the stitch lines aligned.
Stitch one side at a time with a consistent saddle stitch. Maintain steady tension, but do not pull so hard that the thread cuts into the leather or causes the panel to curl. Backstitch neatly at the beginning and end, then trim and secure thread ends in your usual method.
After stitching, check the notebook fit again before committing to final edge work. If the cover inserts smoothly and closes well, trim any slight unevenness along the outer edges. Then bevel, sand, and finish those edges in stages. Patient edge work often does more for a project than an extra decorative feature.
Additions Worth Considering
Once the basic sleeve fits correctly, a few additions can make it more personal. A pen loop is useful for a work notebook, but place it away from the spine so it does not create a lump when the cover closes. A small embossed initial panel or maker’s mark can add character without overwhelming the design.
A snap tab or elastic closure is another option, though it changes the project from a simple sleeve into a more fitted cover. Add one when the notebook will travel in a bag or when you want to keep loose papers contained. For a notebook that stays on a desk, an open sleeve is often the better choice because it is quicker to use and easier to build.
What This Project Teaches
A notebook sleeve is a useful lesson in controlled tolerances. A wallet can hide a slight fit issue in its layers. A notebook cover cannot. If the pockets are too tight, insertion becomes a struggle. If they are too loose, the notebook shifts. If the spine is not considered, the cover will resist closing.
That is what makes this a worthwhile project for both newer and experienced makers. Beginners can build confidence with a manageable pattern and a functional result. More experienced makers can focus on refinement: selecting better leather, adjusting the fit for a favorite notebook, or developing a version with a lining, closure, or custom interior.
Build the first sleeve as a working sample, not a test you have to pass. Make notes on your allowances, leather weight, and how the cover behaves after a few days of use. Those small observations are how a good pattern becomes a design that truly fits your bench.
Leave a Reply