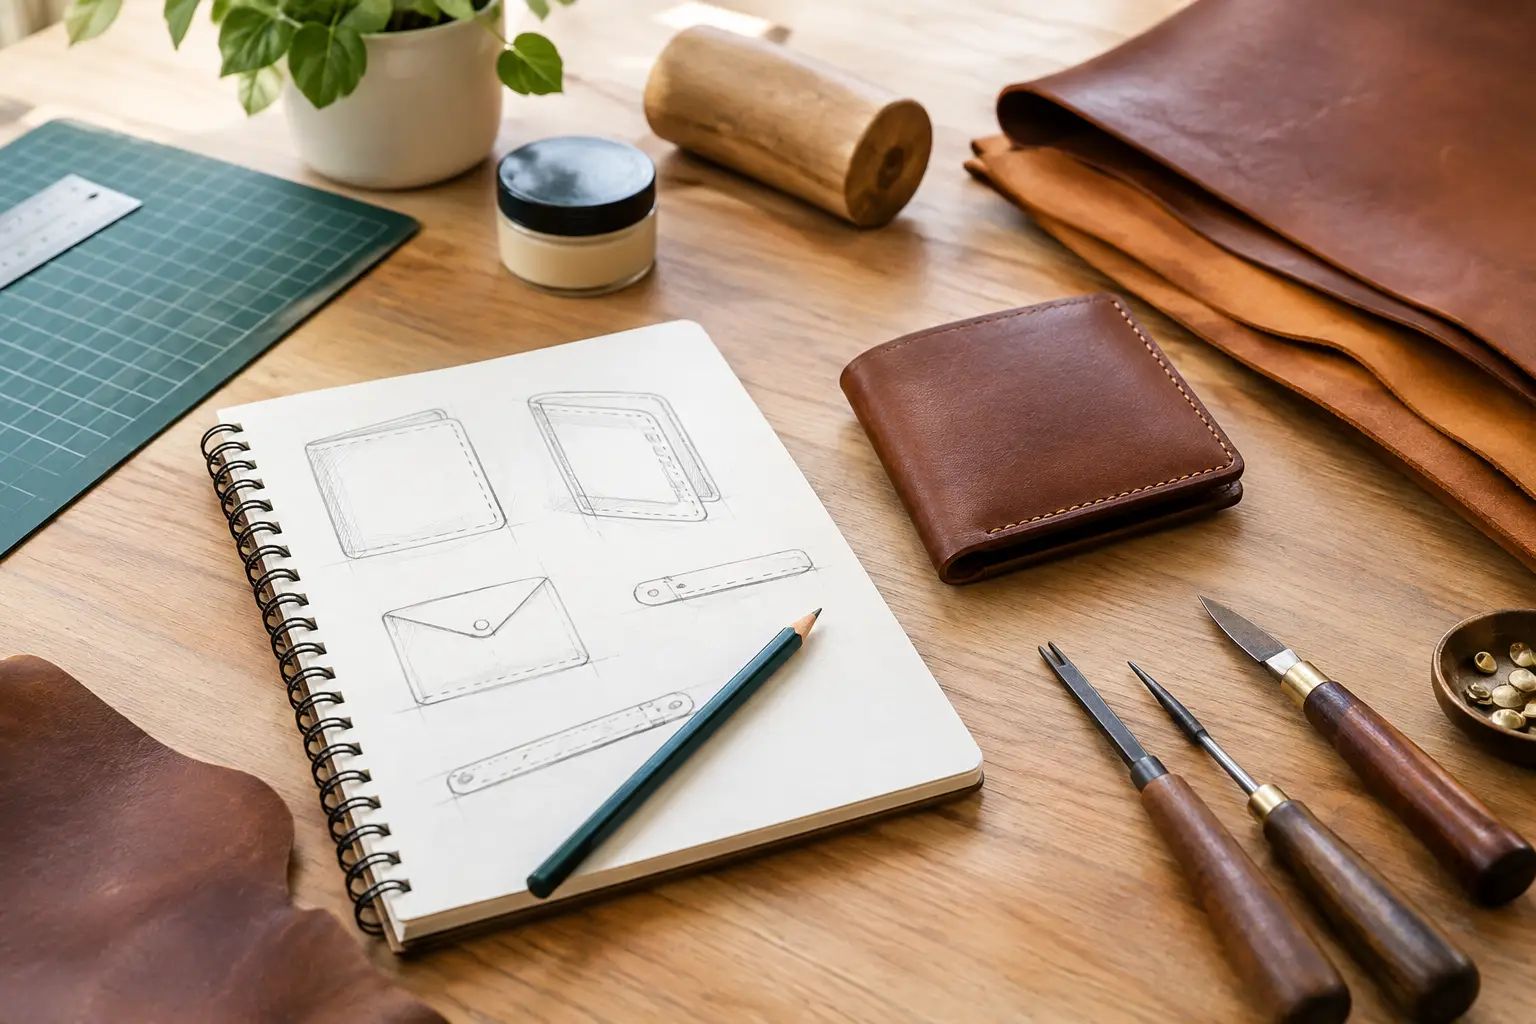
A clean stitch line and a good edge finish begin before the knife touches the leather. This beginner leathercraft project planning guide is built around that simple idea: choose a project that fits your current skills, understand what it asks of your materials, and make a few decisions at the bench before small surprises become expensive ones.
Planning does not take the enjoyment out of leatherworking. It gives your build a calmer starting point, so you can spend less time second-guessing and more time working through each step with purpose.
Start With a Project You Can Finish
The best first projects are usually small, useful, and forgiving. A valet tray, card holder, key fob, simple notebook cover, or basic belt gives you repeatable skills without requiring a large hide, specialized hardware, or complicated construction.
Choose a project based on the techniques you want to practice, not only the finished item you want to own. If your goal is to improve hand stitching, a card holder with several straight seams is a better choice than a one-piece tray. If you want to learn edge finishing, look for a build with visible, accessible edges rather than a design that folds or lines every edge.
Be honest about your current tools as well. A pattern that calls for a skiving knife, strap cutter, or press is not automatically out of reach, but it may require an alternate method or a few additional purchases. There is no advantage in forcing a project to fit a bench that is not ready for it. A well-chosen simple project can teach more than an ambitious one that stalls halfway through.
Read the Pattern Before Buying Leather
Treat the instruction sheet and pattern layout as part of your material list. Before selecting leather, read through the full project and look for the details that shape the build: leather weights, lining requirements, stitch spacing, hardware sizes, fold lines, and any areas that need to be skived.
This is also when you should notice whether the project is designed for hand stitching, machine stitching, or either method. A pattern may look straightforward at first glance but include a gusset, turned edge, or layered pocket that adds difficulty. That does not make it a poor beginner project. It simply means you should plan enough time and material to learn the process without rushing.
Clear, workshop-ready patterns reduce a great deal of uncertainty here. They show you what needs to happen before assembly begins, rather than leaving you to discover the construction order after pieces have already been cut.
Build a Materials Plan, Not a Shopping Pile
Leathercraft supplies add up quickly when every project becomes an excuse to buy another tool. Start with what the pattern truly requires, then separate those essentials from tools that would be convenient but are not necessary for this particular build.
For a first project, the essential categories are usually leather, thread, needles, adhesive, a cutting tool, a straightedge, a punch or stitching chisel, and a method for finishing edges. Depending on the pattern, you may also need hardware such as snaps, rivets, rings, or a buckle. The exact choices matter less than making sure they work together.
Leather weight deserves special attention. A wallet pocket cut from heavy belt leather will become bulky and difficult to stitch. A tray made from thin, soft leather may not hold its shape. Patterns commonly state an appropriate weight range because the material affects more than appearance. It changes how a project folds, how easily it burnishes, how well it takes a crease, and how much thickness builds up at seams.
If you are unsure, buy a little extra leather in the recommended weight rather than cutting it close. You need room for test cuts, practice holes, and the occasional piece that does not come out as planned. A small scrap can save the main panel.
Match Hardware Before You Cut
Hardware has measurements, and those measurements need to match the leather and the pattern. A snap post must be long enough to pass through all layers, but not so long that it sets loosely. Rivets need the same consideration. Buckles, D-rings, and swivel clips must fit the strap width called for in the design.
Lay the actual hardware on the printed pattern before cutting leather. Check that the hardware fits the marked locations and that the parts sit in the direction you expect. This takes only a minute, but it catches common errors such as ordering a 3/4-inch buckle for a 1-inch strap or placing a snap cap on the wrong side of a flap.
Use the Beginner Leathercraft Project Planning Guide at the Bench
Once you have selected a pattern and gathered materials, turn your plan into a simple bench sequence. You do not need a complicated project spreadsheet. A written checklist beside your cutting mat is often enough.
Start by printing and checking the pattern. Confirm that any scale reference measures correctly, especially if your printer settings can shrink or enlarge pages. Cut out the paper pieces carefully and arrange them on your leather before tracing. Pay attention to grain direction, surface marks, and the best areas of the hide. A natural scar may look handsome on a tray exterior but distracting on a clean wallet front.
Then plan the order of operations. Most projects follow a familiar rhythm: cut pieces, mark fold and stitch lines, prepare edges that will later be inaccessible, attach pockets or hardware, glue and assemble, punch or chisel stitch holes, stitch, trim if needed, and finish exposed edges. Your pattern may vary, but thinking through the sequence prevents the classic mistake of stitching a layer that needed a snap or a pocket installed first.
Keep parts organized as you cut. Painter’s tape labels or small paper notes work well for identifying left and right pieces, lining panels, pockets, and exterior parts. This matters most when components look nearly identical. The more deliberate you are early on, the less likely you are to glue a good piece in the wrong position.
Make a Test Piece Before the Real One
A test piece is not wasted leather. It is one of the least expensive ways to improve a finished project.
Use a scrap from the same leather to test your stitch spacing, adhesive, dye or finish, crease line, edge paint, and burnishing method. If the project includes a tight fold, make that fold on scrap first. If it uses a snap, set one through the same number of layers you will use in the project.
These tests reveal useful things that instructions alone cannot always predict. Vegetable-tanned leather may darken more than expected when burnished. A chosen thread color may disappear against the leather. Your stitching chisel may create holes that are too close to an edge for your comfort. Adjusting on scrap is easy. Adjusting after a front panel is cut is much harder.
Plan for Time, Not Just Materials
Leatherworking is often slower than it looks, especially while you are building new habits. Cutting, edge preparation, glue drying, stitching, and finishing all take time. Plan your first build as two or three short bench sessions rather than a single rushed afternoon.
A sensible schedule might include one session for reading the pattern, printing, choosing leather, and cutting. The next can cover edge preparation, hardware, and assembly. The final session can be reserved for stitching, final edge work, and inspection. Some adhesives and finishes need drying or curing time, so follow the product directions rather than pushing ahead because the project feels nearly done.
Good lighting is part of the plan, too. Stitching and edge work are easier when you can clearly see your marks, hole alignment, and glue placement. A clear bench helps just as much. Put away tools you do not need for the current step, and keep a small trash container nearby for thread ends and leather scraps.
Decide What “Finished” Means Before You Begin
For a beginner, a finished project does not need to be flawless. It should be functional, structurally sound, and complete enough that you are proud to use it or give it away. A slight variation in stitch angle or an edge that is not perfectly glassy is part of learning, not a reason to abandon the build.
Before you start, decide which details deserve your closest attention. On a card holder, that may be even pocket placement and tidy stitching. On a tray, it may be clean corner hardware and smooth edges. Put your effort where the eye and the hand will notice it most.
When the project is complete, take a moment to inspect it with a maker’s eye. Check that hardware is secure, stitches are backstitched or otherwise locked, edges feel comfortable, and any moving parts work cleanly. Make a quick note about what you would change next time. That small record becomes your most useful planning tool for the next build.
A thoughtful pattern and a few minutes of preparation can turn a first project from a guessing game into a satisfying bench session. Choose a design that fits your skills, prepare the details before assembly, and give yourself room to learn. The leather will teach you plenty along the way, but a clear plan helps you hear the lesson.