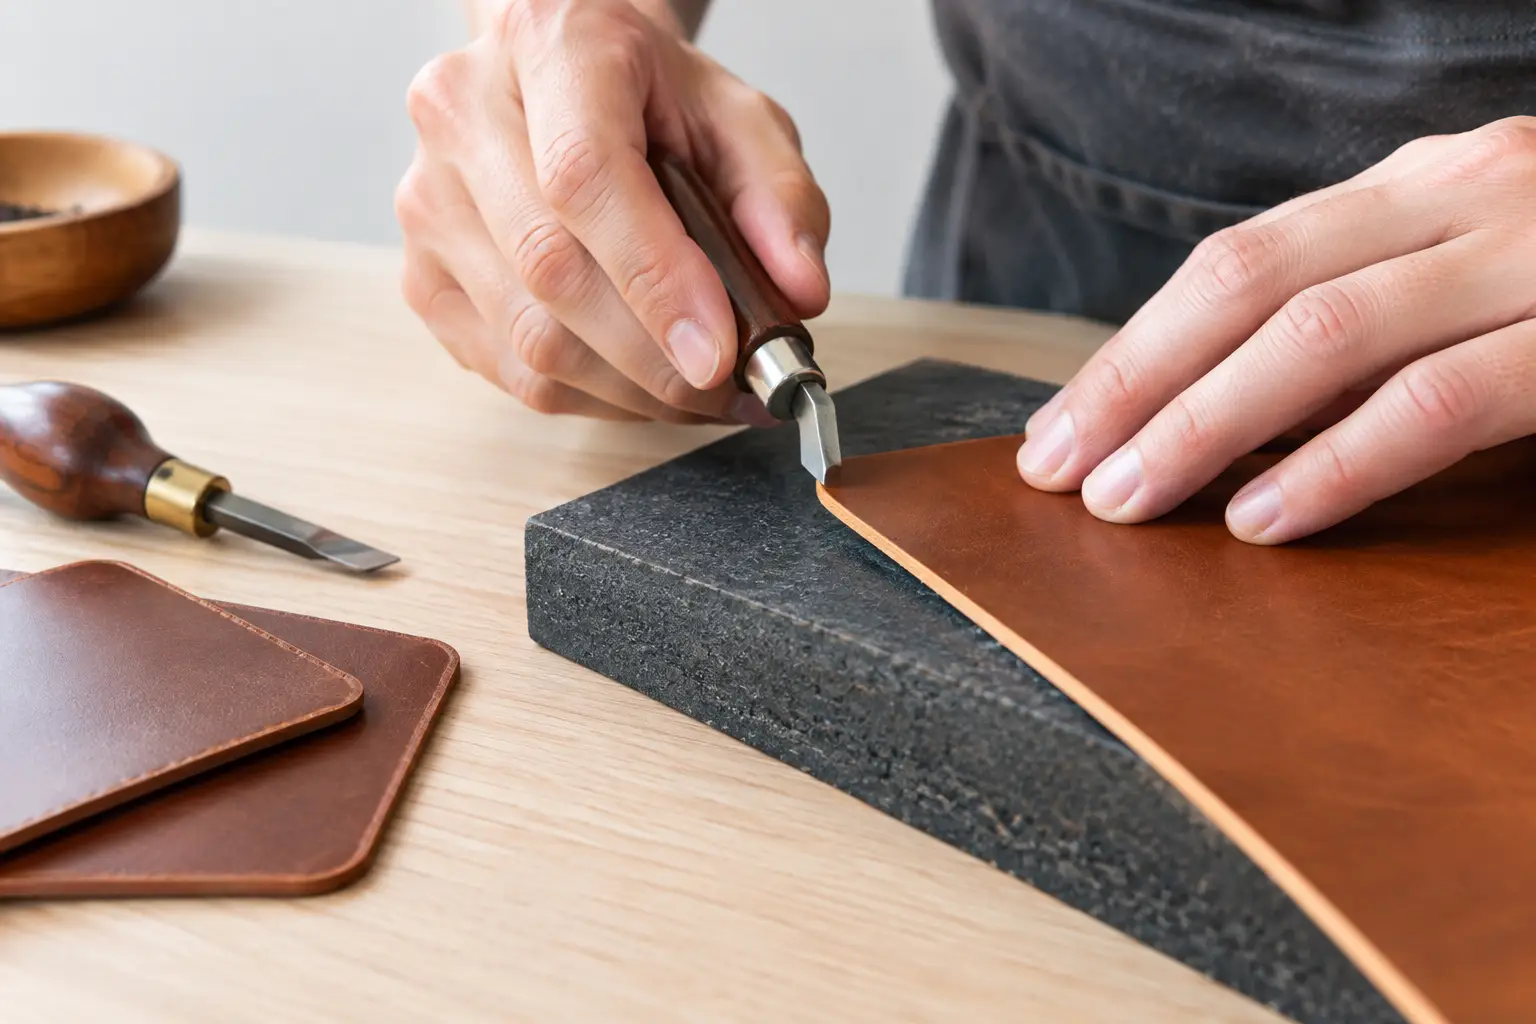
A leather edge can be neatly cut, dyed, and burnished, yet still look unfinished if the corners are left sharp. Learning how to bevel leather corners gives trays, wallets, key fobs, and small goods that small but noticeable sense of care. The goal is not to round every corner heavily. It is to remove the hard, square ridge consistently so the edge feels comfortable and takes a better finish.
Corner beveling is a short operation, but it rewards patience. A light, controlled pass usually looks better than trying to remove too much material at once. Once you understand how the tool behaves as it enters, travels around, and exits a corner, the process becomes a dependable part of your bench routine.
Start with the right corner and tool
An edge beveler removes a narrow strip from the top edge of leather. It is different from a skiving knife, which thins a larger area, and from a corner-rounding punch, which changes the shape of the pattern itself. For most projects, an edge beveler is the tool you want after cutting, sanding, and before final edge finishing.
Beveler sizes vary by maker, so the number stamped on one tool does not always match another brand exactly. Instead of focusing only on the number, match the bevel to the leather weight and the look of the project. Thin leather generally needs a fine bevel. Medium-weight vegetable-tanned leather often accepts a moderate bevel well. Thick belt leather can take a larger bevel, especially when you want a softer, more rounded edge.
A bevel that is too large can make a corner look hollowed out or uneven. A bevel that is too small may leave the edge feeling sharp after burnishing. If you are using leather from a new hide or trying an unfamiliar beveler, test on an offcut from the same leather first. That small test tells you more than a tool number alone.
A sharp tool matters just as much as the size. A dull beveler drags fibers, skips at curves, and makes you push harder than you should. The result is usually a rough cut that takes extra sanding to correct. Keep the cutting channel clean, strop the tool when it begins to feel resistant, and let the edge guide the cut rather than forcing it.
How to bevel leather corners without digging in
Place the leather flesh-side down on a firm, flat surface. Hold the beveler so its guide rides against the edge and its cutting channel captures the corner. Begin a short distance before the corner rather than starting directly at the point. This gives the tool time to settle into a clean, even cut.
Use a gentle forward pull or push, depending on the beveler design and what feels stable in your hand. Maintain light downward pressure. As you approach the curve, rotate the leather with your free hand instead of twisting the beveler sharply. The tool should travel along the edge in one smooth motion while the workpiece turns beneath it.
Continue a short distance past the corner before lifting away. Starting and stopping exactly on the corner is one of the most common causes of a visible divot. Entering before the turn and exiting after it keeps the bevel continuous.
For a rounded outside corner, keep your pace slow and your pressure even. The tighter the radius, the more gradually you should turn the leather. If the corner is very small, it can be cleaner to use two or three short, overlapping passes than one rushed pass. Overlap them lightly and inspect the edge before moving on.
Square corners need a slightly different approach. Bevel one edge toward the corner, then bevel the adjacent edge into it. Do not try to swing the tool around a sharp 90-degree turn. That often removes a chunk from the tip. A tiny bit of hand sanding after both passes can blend the meeting point and preserve the crisp shape.
Treat inside corners carefully
Inside corners are where many makers overcut. An edge beveler is designed to follow an outside edge, so forcing it into a tight inside angle can leave a deep notch or cause the tool to jump.
When an inside corner is broad and gently curved, use a small beveler with very light pressure. Work toward the corner from each direction and stop just before the point. Then blend the remaining fibers with fine sandpaper or an edge burnisher.
For a tight inside corner, especially on a pattern with a narrow slot or a sharply cut opening, it is often better not to bevel it at all. Sanding, light crease work, or careful finishing may give a cleaner result without weakening the area. This is one of those places where a perfectly uniform bevel is less important than keeping the leather strong and the pattern shape clear.
Set yourself up for a clean edge finish
Corner beveling works best as part of an edge-prep sequence, not as an isolated fix at the end. On many vegetable-tanned leather projects, cut the pieces accurately, glue and stitch where required, then trim or sand the joined edge flush. Bevel after the edge is level. If you bevel before final sanding, you may remove the bevel while trying to correct the seam.
After beveling, lightly sand the edge to blend any small transitions. Start with a grit that corrects the surface without creating deep scratches, then move finer as needed. You are not trying to reshape the whole corner. You are simply smoothing the line left by the tool.
From there, use the finish that suits the leather and project. Water and gum-based compounds are common choices for vegetable-tanned leather, followed by burnishing with canvas, wood, or a powered burnisher. Edge paint can work well on some projects, but it needs a smooth, stable base and usually benefits from several thin coats. Wax can add a final slick feel after burnishing.
Chrome-tanned leather may not burnish in the same way as firmer vegetable-tanned leather. On soft or heavily finished chrome-tan, a small bevel and a controlled edge paint process may be more appropriate. Let the leather guide the method rather than applying the same finish to every hide.
Fix common corner-beveling problems
If the corner has a deep gouge, the cause is usually too much pressure, a beveler that is too large, or turning too sharply. Sand the area gently to soften the damage. If there is enough leather remaining, make a lighter pass around the full corner to blend it. On a small piece, though, aggressive repair can create a larger problem. Sometimes the best lesson is to set that piece aside as a shop sample and start again.
If the bevel looks fuzzy, inspect the tool first. A sharp beveler should leave a clean channel. Fuzzy fibers can also mean the leather is too dry or the cut is being made against the grain in an awkward direction. A little moisture can help firm vegetable-tanned leather cut more cleanly, but avoid soaking it. The leather should feel barely cased, not wet.
If one side of a corner looks larger than the other, check your hand position. Makers often press harder as they approach a turn because they expect resistance. Slow down, reduce pressure, and keep the guide seated against the edge. Consistency comes from control, not force.
Practice on the projects you already build
A simple tray, card holder, or key fob is an excellent place to practice because the corners are visible and the stakes are low. Cut a few extra pieces from scrap, mark the beveler size used, and compare the result after burnishing. You will quickly see how a small change in pressure affects the final edge.
Well-organized project patterns help here because the cut shapes and construction order are already settled. That leaves more attention for the hands-on details that make a build feel personal, including clean corners and a finish you are proud to handle.
A carefully beveled corner will rarely call attention to itself. That is exactly the point. It lets the shape of the project, the stitch line, and the leather do their work, while your hand recognizes a smooth edge every time you pick it up.