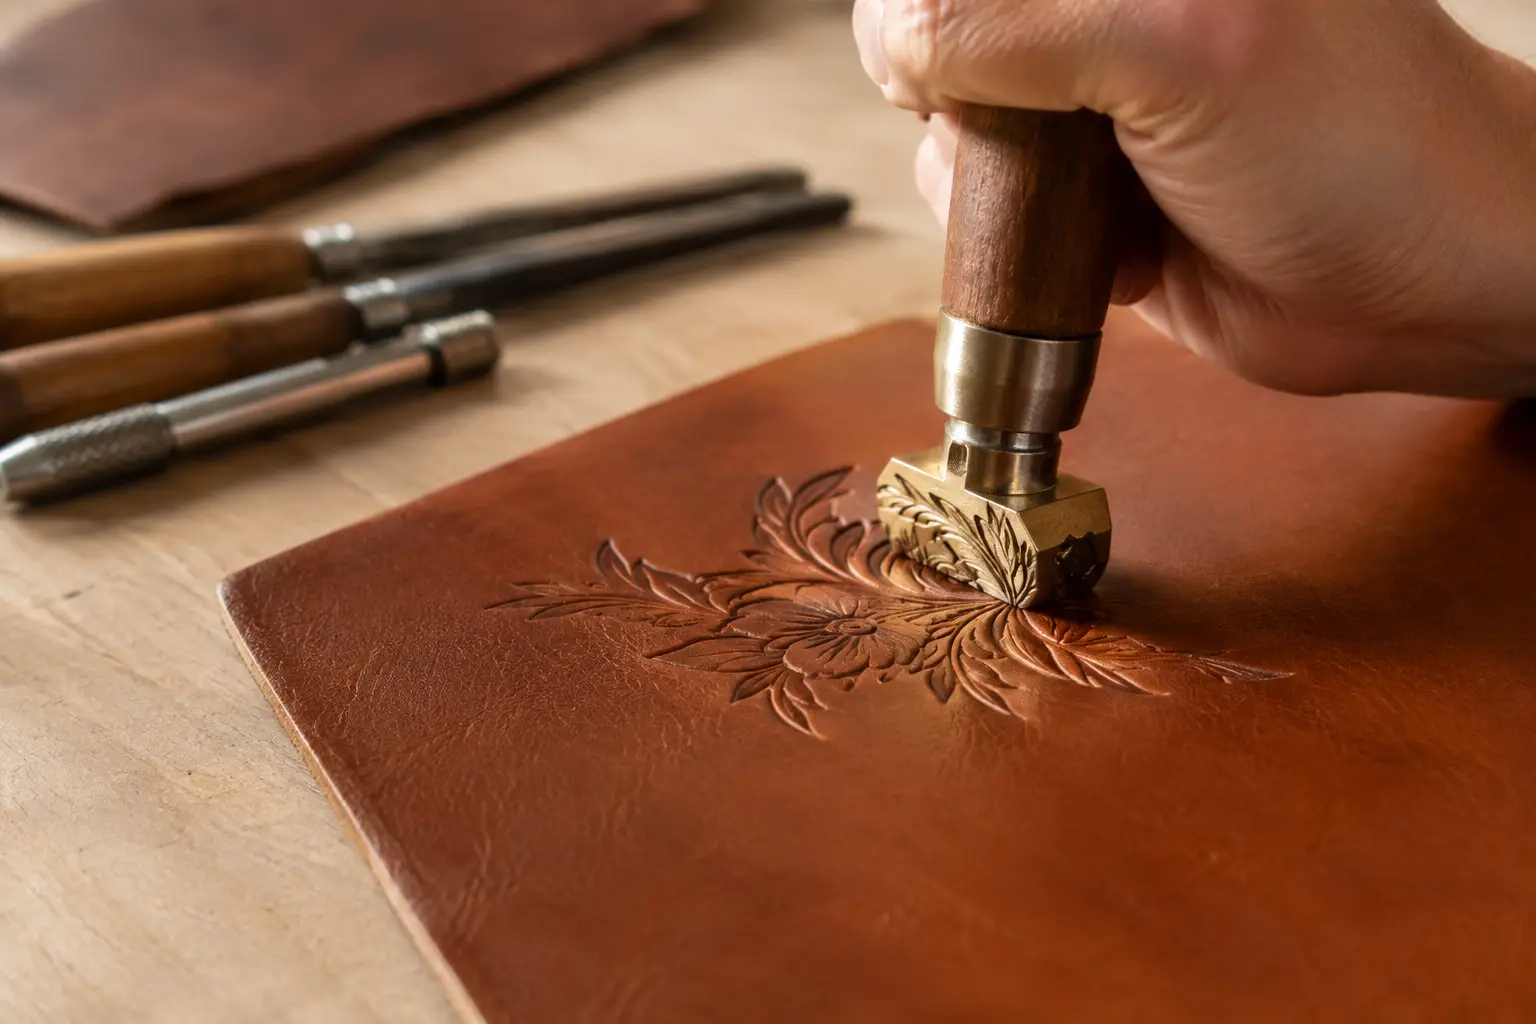
A stamped border can turn a simple valet tray into a gift-worthy piece. A small maker’s mark can make a wallet feel distinctly yours. That is the appeal of leather embossing: it adds depth, texture, and intention without requiring a more complicated project.
It also asks for a little patience. Crisp impressions come from the right leather, the right moisture level, and controlled pressure – not from hitting a stamp harder. Once those basics are in place, embossing becomes a useful skill for personalizing patterns, refining edges, and giving functional goods a more finished presence.
What Leather Embossing Actually Does
Leather embossing creates a raised or recessed design by compressing the grain side of vegetable-tanned leather with a stamp, plate, or modeled tool. In most home workshops, the term includes simple stamping: placing a metal stamp on damp leather and striking it with a maul or press.
You may also hear embossing used alongside tooling, carving, and debossing. The terms overlap, but the distinction can help when planning a project. Stamping repeats a prepared shape, such as a geometric mark, flower center, or border element. Carving cuts and shapes a design with swivel-knife and modeling tools. Debossing usually describes a recessed mark, while embossing can refer more broadly to any pressed design.
For a maker building wallets, trays, notebook covers, belts, or small cases, stamping is often the most practical place to start. It produces consistent detail quickly and fits neatly into a project that already has a clear pattern and construction sequence.
Start With Leather That Will Take an Impression
Vegetable-tanned leather is the standard choice for leather embossing. Its fibers respond well to moisture and pressure, allowing a stamp to compress the surface and leave a defined mark. Natural, undyed veg tan is especially forgiving because you can see the impression clearly and choose a finish after the design is complete.
Chrome-tanned leather is generally a poor candidate for traditional hand stamping. It may be soft, stretchy, coated, or finished in a way that resists an impression. Some leathers will accept a light decorative mark, but the result is less predictable and often lacks the sharpness makers expect.
Leather weight matters, too. For many small goods, 3 to 5 ounce veg tan offers a good balance of workability and structure. Lighter leather can take a stamp, but deep impressions may distort the piece or show through the back. Heavier leather supports more pronounced detail, though it requires more force and may be better suited to belts, holsters, covers, and structured panels.
Before stamping a project panel, test the exact leather you plan to use. A small offcut tells you more than a product description can. Try the stamp at different moisture levels, then compare the edge definition and depth after the leather dries.
Smooth grain gives you the clearest result
A smooth, firm grain gives stamps a clean canvas. Pull-up leather, heavily oiled leather, pebble grain, and loose-fibered hides can all be beautiful in the right project, but they may soften fine lines or make repeated impressions inconsistent.
That does not mean every project needs pristine tooling leather. A slightly rustic surface can work well with bold maker’s marks and larger geometric stamps. The design simply needs to match the character of the hide.
The Moisture Window Makes the Difference
Leather that is too dry resists the stamp. Leather that is soaking wet can leave mushy edges, stretch under pressure, and darken unevenly as it dries. The workable middle ground is often called casing.
For simple stamping, lightly dampen the grain side with a sponge or fine mist. Let the moisture absorb until the surface returns close to its natural color but still feels cool and flexible. The exact timing depends on the hide, temperature, humidity, and how much water you applied.
A test impression is the best guide. If the stamp barely marks the surface, add a small amount of moisture and wait a few minutes. If the leather looks dark, swollen, or leaves a soft-edged print, let it dry longer before trying again.
Avoid rushing this stage. Many uneven stamp results are blamed on tools when the real issue is inconsistent moisture across the panel. If you are working on a larger piece, dampen evenly and cover it briefly in a clean plastic bag so the moisture can settle through the leather.
Set Up for Controlled Pressure
A solid surface is not optional. Place the leather on a firm stone slab, dense poly board, or other non-bouncy work surface. A padded cutting mat absorbs force and weakens the impression, even if the stamp and leather are otherwise right.
Hold the stamp upright and make deliberate contact with the leather before striking. For a small stamp, one controlled blow with a non-metal maul is often enough. For a larger stamp, use a few measured strikes while keeping the tool vertical. Rocking the stamp can blur the edges or create a doubled impression.
A press can be useful for maker’s marks, logos, and repeated impressions, especially when you want consistency across several pieces. It is not automatically better, though. Too much pressure can flatten surrounding grain, push detail through the back of thinner leather, or make a design look harsh. Hand tools offer more feel, while a press offers repeatability. The better choice depends on the stamp, the leather weight, and the number of pieces you are making.
If you use a maker’s mark, place it where it supports the design rather than competes with it. On a tray, that may be near a corner or centered in the base. On a wallet, an interior panel can feel more considered than a large logo on the front. A paper pattern is useful here because it lets you decide placement before the leather is cut and assembled.
Plan Embossing Before Construction
Most embossing should happen after cutting the leather but before stitching, lining, edge finishing, or assembly. A flat panel is easier to support, position, and inspect. Once a project is glued or sewn, the raised layers can interfere with the stamp and make it harder to keep pressure even.
Leave enough space around stitch lines, folds, and edge creases. A deep stamp placed too close to a fold can distort when the piece bends. A border pushed too near a stitch line may leave little room for clean pricking or stitching. The design should follow the project’s function, not fight it.
This is one reason a well-organized pattern saves time. When cut lines, stitch paths, fold locations, and decorative areas are clear from the start, you can decide where embossing belongs before the bench gets crowded with tools and adhesive. Old Line Crafts & Designs patterns are built around that same practical rhythm: less time guessing and more time building.
Use simple designs to learn repeatable spacing
Borders are an excellent practice exercise because they teach alignment. Begin with a center mark or a deliberate starting point, then work outward so any spacing adjustment is hidden near an edge rather than obvious in the middle.
For repeated impressions, use a ruler and light guide marks on the flesh side or in an area that will be covered. On visible grain, avoid deep pen marks. A wing divider can create a subtle guide line for borders, and a strip of low-tack tape can help establish a straight visual reference outside the stamping area.
Do not expect every handmade impression to be identical. Consistency matters, but a well-made stamped border still has the character of handwork. The goal is an intentional rhythm, not machine-perfect uniformity.
Finish Without Losing the Detail
Let the leather dry fully before applying dye, oil, conditioner, or a protective topcoat. Finishing too early can soften the impression or pull color unevenly into compressed areas.
Dye can make stamped detail stand out, particularly when the recessed areas take color differently from the surrounding grain. It can also hide subtle impressions if applied heavily. If you want a high-contrast antique effect, practice on scrap first. Antique pastes and gels can settle into the low areas beautifully, but they need an appropriate resist if you want the background to remain lighter.
For a natural look, a light application of conditioner followed by a suitable finish may be all the project needs. Keep coats thin. Heavy finishes can fill fine stamp lines and reduce the tactile quality that made the detail worthwhile.
Common Problems and Straightforward Fixes
A faint stamp usually points to dry leather, an unstable work surface, or insufficient pressure. Correct one variable at a time so you know what improved the result. A blurry stamp often means the leather was too wet, the stamp moved during striking, or the tool was rocked rather than held upright.
If impressions vary across one panel, check moisture first. The center of a large panel can dry at a different rate than the edges. If a stamp leaves a visible halo or crushed area around the design, reduce the force or use a smaller, more suitable stamp for that leather weight.
For a mistake in an obvious location, resist the urge to keep stamping around it in hopes that it disappears. Sometimes a border can be adjusted or a decorative element can be repeated intentionally. Other times, the cleanest answer is to recut the panel. Good leatherwork includes knowing when a fresh start will produce the better result.
Embossing does not need to dominate a project to earn its place. A single mark on a tray, a quiet border on a notebook cover, or a small stamped detail inside a wallet can give a familiar build a personal finish. Start with scrap, make a few deliberate test impressions, and let the leather show you how much detail it wants to hold.
Leave a Reply