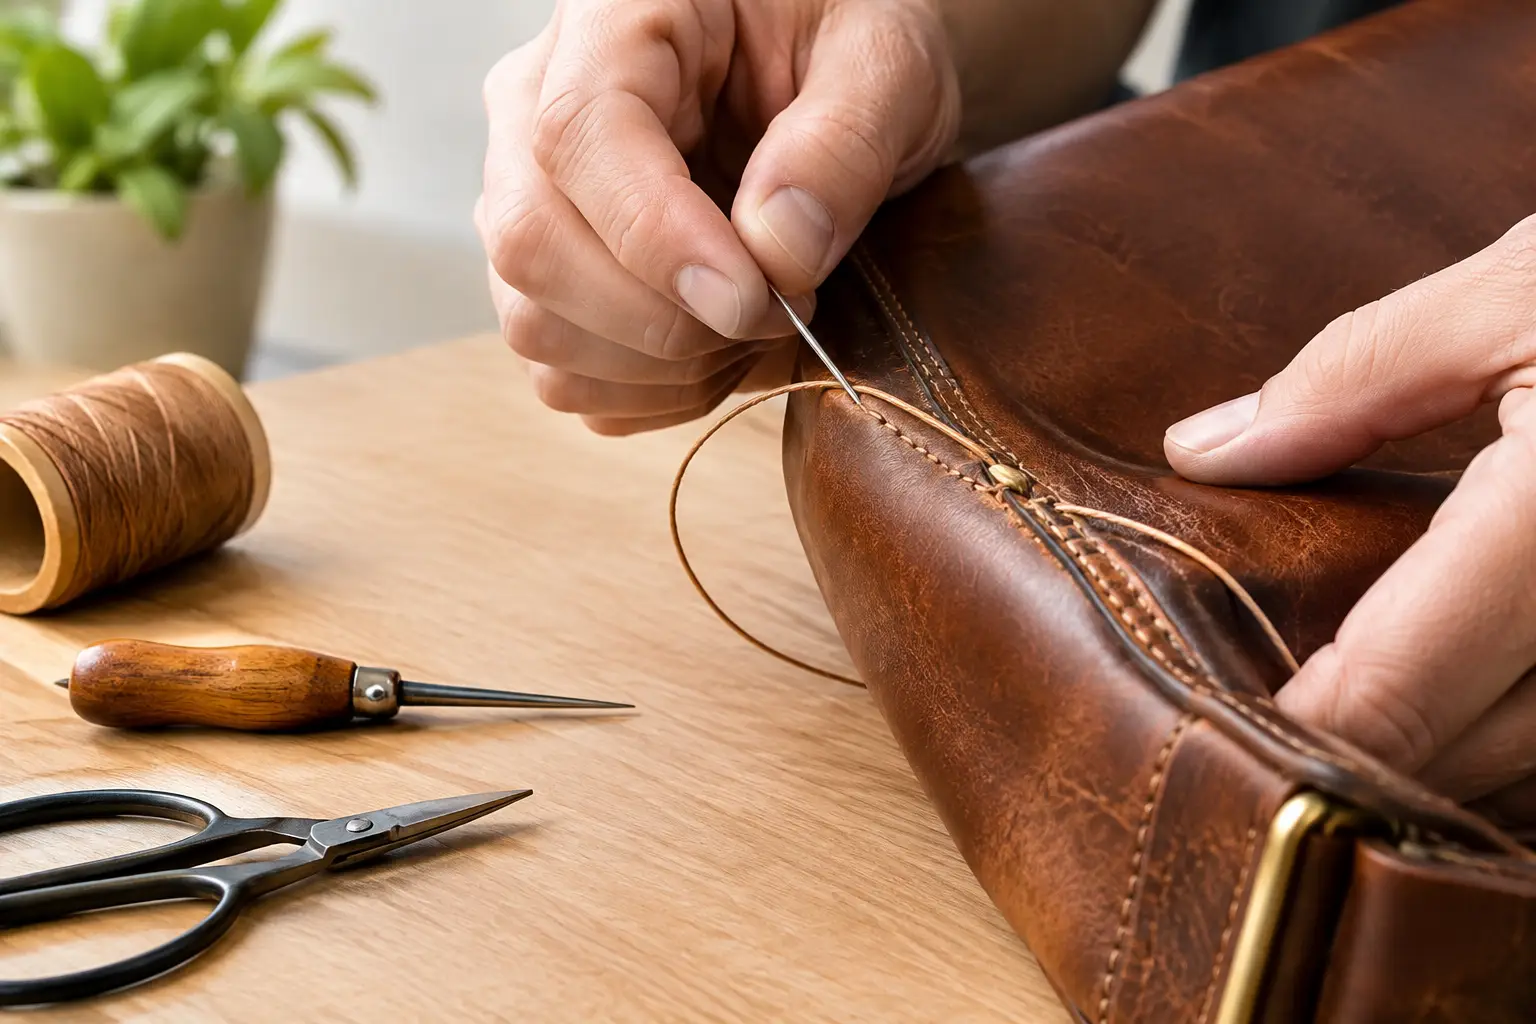
A saddle-stitched seam can look firm when it leaves the bench, then develop a little play after a few weeks of use. That shift is frustrating, especially when the rest of the project is clean. Understanding why leather stitches loosen helps you correct the real cause instead of simply pulling the thread tighter and hoping it holds.
Loose stitches are rarely caused by one mistake alone. Leather moves, thread settles, holes can stretch, and the way a piece is used puts force on particular parts of a seam. A durable result comes from treating stitching as a system: leather weight, hole placement, thread choice, tension, and finishing all need to work together.
Why leather stitches loosen after use
The most common reason is that the thread was not set under consistent tension during stitching. In hand sewing, it is easy to pull one needle firmly and the next one only enough to close the stitch. The seam may appear even at first, but the lighter pulls leave small pockets of slack. With flexing and use, that slack migrates along the thread and becomes visible.
Overtightening can create a similar problem. When thread is pulled so hard that it compresses the leather around each hole, the leather may rebound later. The stitch then loses its snug appearance. The goal is not maximum force. It is firm, repeatable tension that seats the thread into the leather without crushing the grain or distorting the edge.
Leather itself also changes the equation. Softer temper leathers, chrome-tanned leather, and thinner panels can stretch around a stitch hole more easily than a firm vegetable-tanned leather. A card pocket, wallet fold, or bag strap sees repeated bending and pulling. If the stitch line is close to the edge or the holes are oversized, the leather gradually opens around the thread.
Thread can settle after stitching as well. Waxed thread grips nicely while you sew, but it can compress into the holes with handling. This is usually a small adjustment, not a failed seam. A seam that becomes noticeably loose, however, often points to inconsistent tension, unsuitable hole size, or construction that puts too much load on a single row of stitches.
Check the stitch holes before blaming the thread
A clean stitch begins with holes that suit both the leather and the thread. If an awl or stitching chisel creates a hole much larger than the thread, the thread has room to move. It may look acceptable on the first day, but the gap becomes more obvious as the leather flexes.
This does not mean every hole should be tiny. Thick thread needs enough clearance to pass without scraping, fraying, or forcing the layers apart. The useful target is a hole that lets the thread pass cleanly while allowing the leather to close around it afterward. Test your combination on an offcut before committing to a project.
Hole shape matters, too. Diamond-shaped holes made with a sharp pricking iron and opened carefully with an awl help create the familiar angled hand-stitch appearance. Round holes can work well for certain projects, but they may show more thread movement if they are larger than necessary. Dull tools are another quiet culprit. Instead of cutting a defined opening, they tear and stretch fibers, leaving a hole that is more likely to relax under load.
Spacing and edge distance deserve the same attention. Stitches placed too close to the edge can pull outward and loosen as the edge flexes. On most everyday goods, a stitch line set at a sensible distance from a clean, well-supported edge will wear better than one crowded tightly against it. The right measurement depends on leather thickness, project type, and pattern design, but consistency matters more than chasing a single universal number.
Tension problems happen one stitch at a time
Saddle stitching is strong because each stitch is independently locked by two lengths of thread. But that strength depends on a repeatable sequence. If you pull both needles in a different direction or with a different amount of force each time, the lock can sit unevenly inside the leather.
Set a rhythm that feels controlled: pass the first needle through, pass the second needle through without piercing or splitting the first thread, then draw both threads outward and slightly back along the line of the seam. Keep the direction and pressure consistent. You are seating the stitch, not trying to win a tug-of-war with it.
Many makers notice loose areas near the beginning or end of a seam. At the start, hands are still finding their position. At the end, it is tempting to rush the backstitching or pull hard to make the finish disappear. Slow down at both points. A few careful stitches make more difference than a dramatic final pull.
It also helps to hold the work securely. A stitching pony keeps both hands free and presents the seam at a stable angle. You can sew without one, but unsupported work often leads to uneven pulls, twisted thread, and small changes in tension from stitch to stitch. Good bench setup is not about collecting tools. It is about removing variables that make clean work harder.
Match thread to the project
Thread that is too thin can leave a seam looking underfilled and can allow more movement within the holes. Thread that is too heavy may force open holes, crowd the stitch line, and overpower a fine wallet or small case. The best choice depends on the leather weight, hole spacing, and visual character of the piece.
For a compact item with fine stitching, a smaller thread paired with closely spaced, clean holes can create a refined seam. For a tool roll, tote, or strap project, a heavier thread and more substantial edge distance may be appropriate. Neither approach is automatically stronger. The seam needs to suit the material and the work it will do.
Thread quality matters as much as size. Low-quality thread can flatten, fuzz, or weaken during stitching. If it loses its surface finish quickly, it may not draw through the holes consistently, making tension harder to judge. A dependable, appropriately waxed thread gives you clearer feedback at the bench.
Construction can put too much force on a seam
Sometimes the stitching is sound, but the design asks it to carry more stress than it should. A strap attached directly to a soft bag body, a wallet pocket that is pulled tight across the grain, or a tray corner that is constantly flexed can all strain stitches over time.
Look for signs of this before repairing the seam. If the leather beside the holes is stretched, puckered, or beginning to tear, simply restitching with tighter tension will not solve the problem. The piece may need reinforcement, a wider attachment area, a different leather weight, or a revised construction order.
This is where a well-planned pattern earns its place on the bench. Clear stitch lines, sensible seam allowances, and construction steps that account for leather thickness help prevent stress from building into the project. Less time guessing at the layout leaves more attention for the parts that make a finished piece feel considered.
How to repair loose leather stitching
If only one or two stitches have relaxed and the thread is otherwise intact, you may be able to carefully tighten the affected area by working the slack toward an accessible end of the seam. Use a blunt needle or smooth tool to guide the thread gently. Avoid pulling hard on a single stitch, which can distort the hole or create uneven tension farther along the line.
For a seam that is loose across a larger section, restitching is usually the cleaner repair. Remove the old thread without enlarging the holes, inspect the leather for damage, and stitch again using steady tension. If the holes have stretched significantly, consider whether a slightly larger thread can fill them appropriately. If the leather fibers are torn, reinforcement or a redesign may be more durable than forcing another seam through weakened material.
After backstitching, trim the thread neatly and secure the ends in the manner that suits your material and project. A careful finish helps prevent the final stitches from backing out, but it should not be used to compensate for loose tension along the whole seam.
Build a seam you can trust
Before sewing your next project, make a short test seam using the same leather, thread, irons, and needles you plan to use. Bend the sample, pull gently across the seam, and inspect both sides. This small habit reveals whether the holes are too large, the thread is mismatched, or your tension needs a little adjustment before the real work begins.
Leatherwork rewards measured practice. A stitch line does not need to be perfect to be strong and satisfying, but it should be intentional. With sharp holes, appropriate thread, steady hand tension, and construction that respects the material, your seams will stay neat long after the project leaves the bench.
Leave a Reply