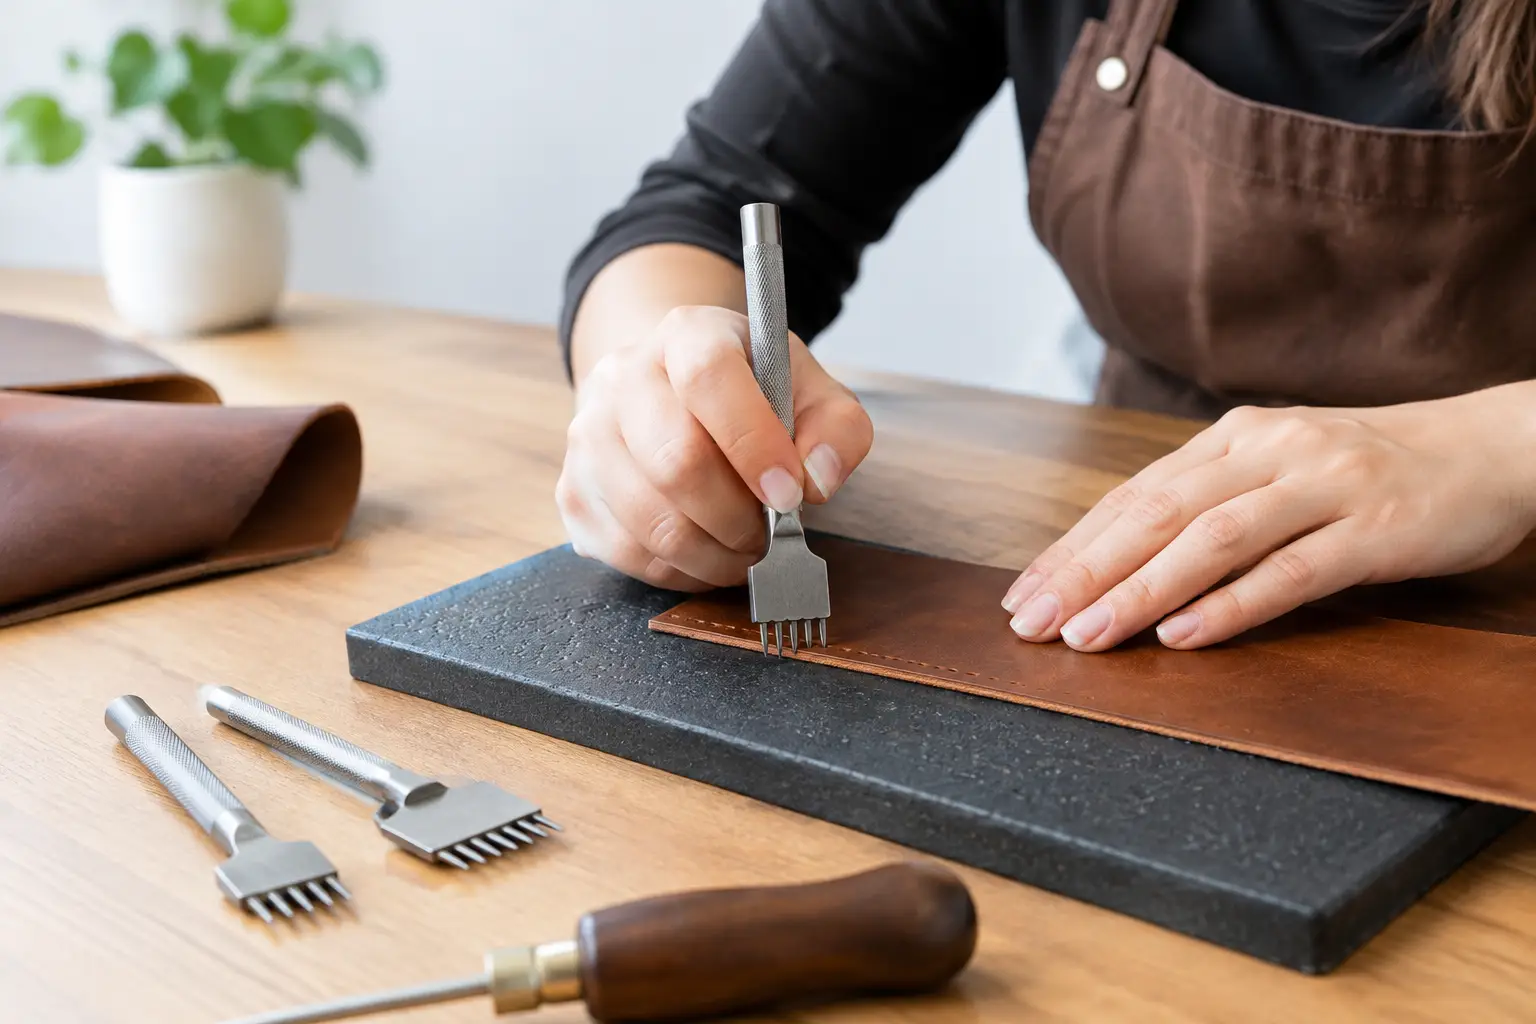
A first set of pricking irons can make leather stitching feel more precise almost immediately – or leave a new maker staring at a row of uneven marks and wondering what went wrong. So, can beginners use pricking irons? Absolutely. They are one of the most useful tools a beginner can bring to the bench, provided you understand what they do, choose a sensible size, and practice on scrap before committing to a finished project.
Pricking irons are not a shortcut around hand stitching. They are a layout tool that gives your stitches consistent spacing and a clean, deliberate rhythm. That structure is especially helpful when you are building from a well-organized pattern and want less time guessing and more time building.
Can Beginners Use Pricking Irons Without Frustration?
Yes, but start with the right expectation: the iron marks or punches the spacing for your stitches; it does not create a polished stitch line on its own. Your cutting, glue-up, edge preparation, thread tension, and saddle-stitch technique still matter. The good news is that consistent hole placement removes one major variable while you learn the rest.
A beginner does not need a large collection of irons. One workable set, a stable striking surface, a mallet or maul, and a little scrap leather are enough to build familiarity. The goal at first is not speed. It is learning to place the teeth squarely, strike with control, and continue a line without drifting.
Pricking irons also make it easier to read a project pattern. When a pattern calls for a stitch line near an edge, you can use a wing divider to mark that line, then follow it with the iron. Instead of estimating every stitch position, you establish a repeatable spacing that carries through the build.
What Pricking Irons Actually Do
The name can be confusing because leatherworkers use several related tools. Traditional pricking irons are often used to mark angled stitch positions, while stitching chisels or hole-punching irons are driven through the leather to create holes or slots. In everyday leathercraft, many makers use the term “pricking irons” for both.
For a beginner, the practical question is simple: does the tool leave a clear mark, or does it punch all the way through? Either approach can work.
A marking iron is useful when you prefer to open each hole with an awl. This method offers control and works well for traditional hand stitching, but it adds a skill to learn. A punch-through iron is more direct. It creates ready-to-stitch holes and can make early projects feel more manageable, especially in lighter veg-tan leather.
Neither choice is automatically better. If you want a straightforward path to wallets, trays, key fobs, and small accessories, punch-through irons are often the easier starting point. If you are interested in traditional saddlery-style work and want maximum control over hole shape, a marking iron and awl may be worth learning over time.
Stitch Spacing Matters More Than Beginners Expect
Iron spacing is usually measured by the distance from one tooth to the next. A larger number means wider spacing and fewer stitches per inch. For many beginner projects, a spacing around 3.5 mm to 4 mm is forgiving and versatile. It produces a stitch line that is visible, balanced, and not overly crowded.
Tighter spacing, such as 2.7 mm or 3 mm, can look refined on smaller goods, but it requires more accuracy. The holes sit close together, thread can fill the line quickly, and any inconsistency becomes easier to see. Wider spacing can suit heavier leather and rugged work, though it may look too open on a small card holder.
If you are buying only one size, choose the spacing that fits the projects you expect to make most often rather than chasing a universal answer. A tidy 4 mm stitch line is better than a cramped fine stitch line that makes the project harder to complete.
Choosing a Beginner-Friendly Set
Look for an iron set with at least a two-tooth and a six- or eight-tooth iron. The longer iron handles straight runs efficiently. The two-tooth iron is essential for curves, corners, and short areas where a larger tool will not fit cleanly.
Tooth shape affects the appearance of the stitch line. Diamond-shaped teeth create the familiar angled marks associated with traditional hand stitching. Flat or slotted teeth tend to create a cleaner, more modern look. Both are valid choices, and the best option depends on the style you enjoy making.
Avoid choosing solely by the lowest price. Very inexpensive irons can have rough edges, inconsistent tooth spacing, or teeth that are difficult to remove from leather. That does not mean a beginner needs premium tools on day one. It means the tool should be cleanly made enough to give you a fair chance at learning the technique.
A basic setup also benefits from a dense striking surface. Use a proper punching board or a firm surface designed for leatherwork. Do not punch directly onto a hard workbench, concrete floor, or metal surface. You can damage the teeth, distort the holes, and create an unpleasant amount of bounce.
How to Make Clean, Even Stitch Marks
The first rule is to prepare the leather before you pick up the iron. Cut your pieces accurately, glue layers securely when the design calls for it, and trim any mismatched edges. Pricking irons cannot compensate for pieces that shift during construction.
Mark your stitch line with a wing divider. For many projects, placing the line about 1/8 inch from the edge gives a practical balance between appearance and durability, though leather thickness and pattern instructions should guide the final distance. Keep the divider pressure light enough to leave a visible guide without gouging the grain.
Set the first iron carefully. Place it on the guide line, hold it upright, and make sure the teeth are not leaning toward or away from the edge. A few controlled strikes are better than a hard swing. On thinner leather, you may only need enough force to mark the locations. On thicker leather, strike until the teeth pass through into the punching board.
For the next impression, use the last tooth or two from the previous row as your registration point. This overlap is what keeps the spacing consistent. Keep your eye on the guide line as well. If you only follow the previous holes, a small early drift can slowly pull the whole stitch line off course.
On curves, switch to the two-tooth iron. Take shorter, more deliberate steps, rotating the tool gradually to follow the line. Trying to force a long iron around a curve usually creates awkward spacing and visible kinks.
Common Beginner Problems and Simple Fixes
Crooked holes usually come from holding the iron at an angle. Slow down and check the tool from the front and side before striking. If your bench height makes this difficult, adjust your work position rather than trying to compensate with your wrist.
Uneven depth is often a striking issue. Use consistent, moderate blows and let the punching board support the leather. If the iron gets stuck, pull it straight up with a gentle rocking motion. Twisting aggressively can enlarge holes and mark the leather surface.
Misaligned stitch lines often begin before punching. Check that your glued layers are flush and that your divider line follows the intended edge. A clear project pattern with stitch lines and assembly order can prevent much of this frustration before it reaches the bench.
Crowded or bulky stitches may mean your iron spacing is too tight for the leather and thread combination. Try a slightly wider iron, thinner thread, or a smaller needle setup on scrap. Testing these choices before starting a finished build is time well spent.
A Good First Practice Routine
Before using new irons on a project, cut a few strips of scrap leather and make straight lines, gentle curves, and a rounded corner. Punch one set with light strikes and another with full punch-through force. Then stitch both samples. You will quickly see how hole shape, spacing, and thread weight affect the finished result.
Practice starting and ending a stitch line near an edge. These areas reveal whether your spacing is planned well. It is also useful to practice joining two layers, since glued leather behaves differently than a single scrap piece.
Keep your first finished project modest. A leather tray, key organizer, simple card holder, or small pouch gives you enough stitching to learn without turning each mistake into a major setback. Old Line Crafts & Designs patterns are designed to give makers a clear build sequence, so you can focus your attention on tool control rather than drafting every detail from scratch.
Pricking irons become familiar through repetition, not perfect first attempts. Start with a spacing that suits your project, keep your stitch line visible, and give yourself permission to use scrap leather as part of the process. Every straight row and carefully managed curve builds the hand skills that make the next project more satisfying.