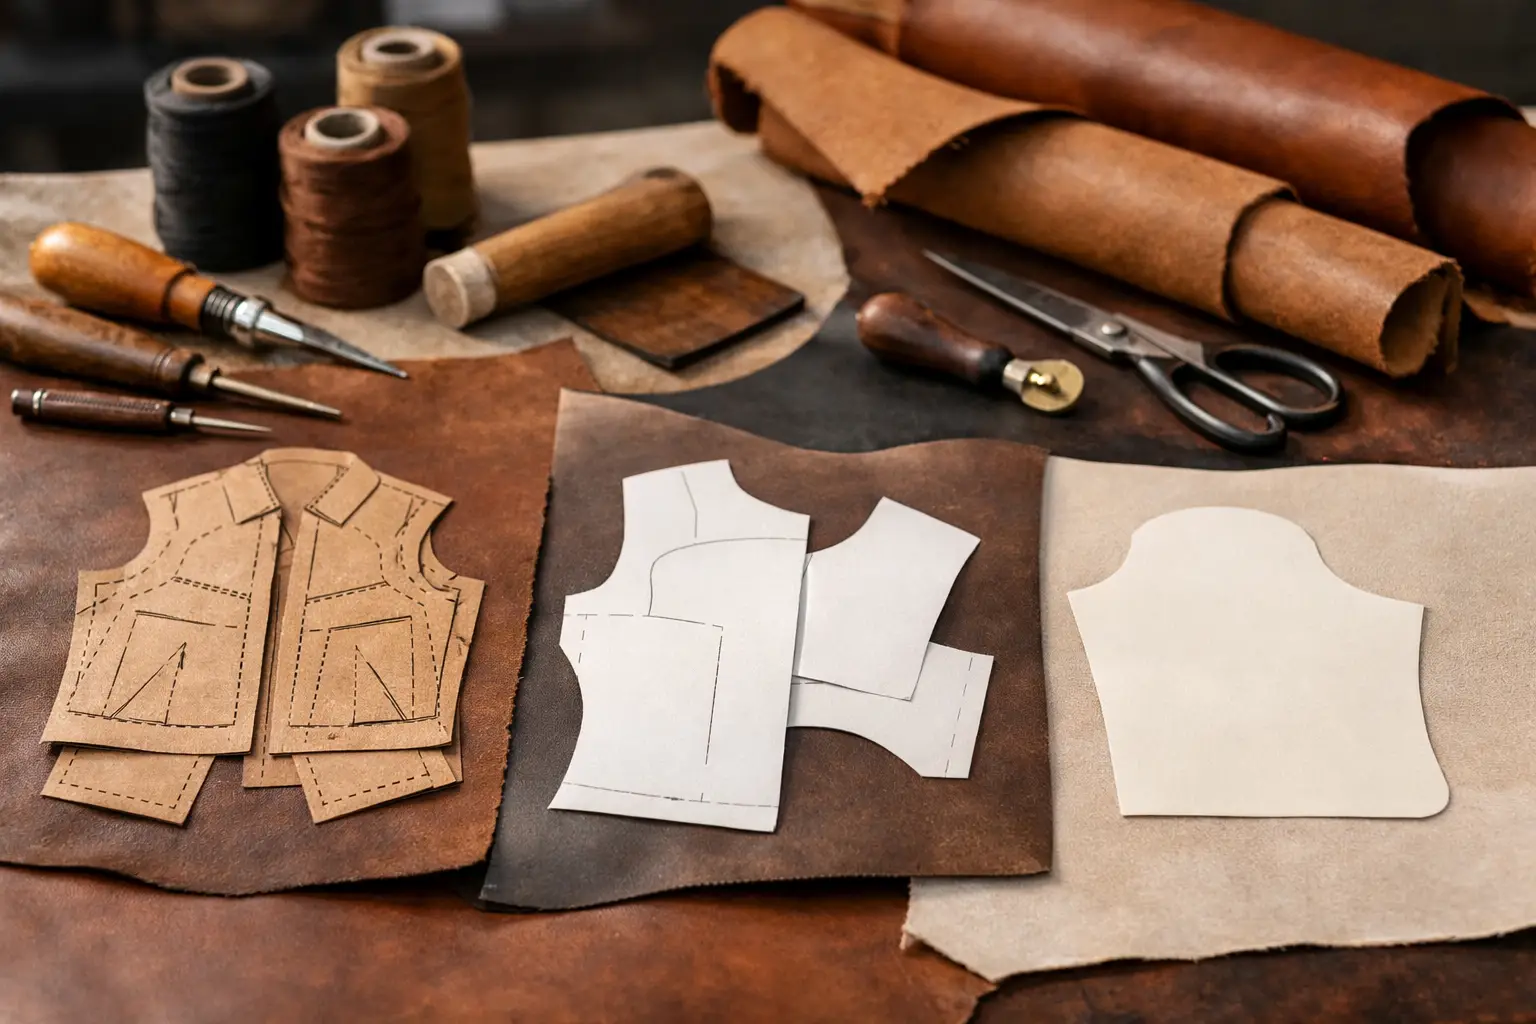
A pattern can look simple in a photo and still ask a great deal of your bench. That is why learning how to choose pattern skill level matters more than choosing by appearance alone. A good match gives you enough challenge to stay interested without turning a relaxing build into a stalled project full of costly leather scraps.
Pattern skill levels are not a judgment of your ability as a maker. They are a practical way to estimate the tools, techniques, planning, and patience a project requires. The right level is the one that lets you build with confidence while adding one or two skills you are ready to practice.
What a Pattern Skill Level Actually Tells You
Most leathercraft patterns are labeled beginner, intermediate, or advanced. Those labels are useful, but they do not tell the whole story. A beginner pattern may use careful stitching but have very few pieces. An intermediate wallet may be small, yet require more precise edge work and tighter construction than a larger bag.
Think of a skill level as a picture of the project’s demands. It should account for the number of parts, the accuracy of the cuts, the type of leather, the hardware, the construction order, and the finishing work. Instructions matter, too. A well-organized pattern with clear assembly notes can make a new technique far more approachable than a vague pattern labeled “easy.”
Your goal is not to stay within one category forever. It is to understand what is being asked of you before you cut into your material.
How to Choose Pattern Skill Level for Your Bench
Start with the skills you can repeat reliably, not the skills you have tried once. If you have stitched one straight practice line, you are still learning to stitch consistently around curves, corners, and layered seams. If you have installed a snap successfully, you may be ready for a project with one or two snaps, but not necessarily a design where hardware placement controls the entire build.
This honest starting point saves frustration. It also helps you pick projects that build momentum. A project should feel like a stretch, not a test you have to pass.
Look at the construction, not just the finished item
A card holder, notebook cover, tray, and key fob may all be suitable early projects, but their difficulty can vary widely. A card holder with two panels and a single stitched perimeter is very different from one with several pockets, skived edges, turned corners, and tight interior seams.
Before choosing, look for clues in the pattern description and preview pages. Consider how many separate pieces must be cut, whether pieces are layered or folded, and whether assembly leaves room to correct small errors. Projects with a simple construction sequence are generally more forgiving than projects where one misplaced stitch line affects every later step.
A useful rule is this: choose your first project in a new category with fewer components than you think you need. Once you understand the construction, a more detailed version becomes much more enjoyable.
Match the project to your current tool kit
You do not need a fully equipped shop to make quality leather goods. You do need the tools required to do the work cleanly. A pattern may call for basic cutting, hole punching, saddle stitching, edge finishing, and a small amount of hardware installation. That is a reasonable range for many developing makers.
Be more cautious when a project depends on tools you do not own or have not used. A pattern that requires extensive skiving, gusset work, zipper installation, lining, molded leather, or specialized setting tools can be a poor first choice if those processes are unfamiliar.
Buying a new tool is not always a reason to avoid a project. In fact, a carefully selected pattern can give a new tool a clear purpose. The difference is whether you are learning one new tool or trying to learn five new operations at once. Keep the learning curve manageable, especially when working with premium leather.
Count the unfamiliar techniques
A project becomes difficult quickly when every stage introduces something new. If you are comfortable cutting and stitching, a pattern that adds edge paint may be a good next step. If it also adds lining, zipper tape, gussets, skiving, reinforcement panels, and several kinds of hardware, the project may be asking too much at once.
For a satisfying build, aim for one main new technique and perhaps one smaller new detail. That might mean trying a folded edge on a familiar pouch design, or installing a snap on a simple tray. You will have enough familiar work to stay steady while giving your attention to the skill you want to improve.
This approach also makes troubleshooting easier. When something goes wrong, you can identify the likely cause instead of sorting through six unfamiliar variables.
Be realistic about precision and finishing
Some projects are demanding because they require fine tolerance rather than complicated construction. Small goods often fall into this category. A watch strap, slim wallet, or fitted case may use only a few pieces, but the cut lines, stitch spacing, and edge work are highly visible.
Larger projects can be more forgiving in some areas, though they bring their own challenges. Totes and bags may require long straight cuts, consistent seams, strong reinforcement, and thoughtful assembly order. A beginner should not assume that a bigger project is automatically harder, or that a small project is automatically easy.
Ask yourself where the finished piece will show mistakes. If every edge is exposed and close to the eye, plan for slower work and more careful preparation. If the design has a broader, more forgiving silhouette, it may be a better place to practice a new method.
A Quick Skill Check Before You Start
Before downloading or printing a pattern, take a moment to assess your bench honestly. You are likely ready for a beginner pattern if you can cut along a line with reasonable control, punch or mark stitches consistently, complete a basic saddle stitch, and finish a simple edge.
You may be ready for an intermediate pattern when you can keep stitch lines even around corners, work from an assembly sequence without skipping ahead, install common hardware cleanly, and correct minor fit issues without losing the shape of the project.
Advanced patterns are best approached when you can read a template critically, anticipate how layers will behave, and make deliberate adjustments to suit your leather or hardware. This level is less about owning every tool and more about understanding construction well enough to solve problems as they appear.
If you are between levels, choose the simpler design in the category you want to explore. The result will still teach you plenty, and finishing a project cleanly is more valuable than forcing a complicated build to the end.
Read the Pattern Details Before Choosing Leather
A pattern’s recommended leather weight, hardware, and construction notes are part of its skill level. They are not minor suggestions to skim past. Leather that is too thick can make folds bulky, strain stitching, and change how a finished item fits together. Leather that is too soft may not support a structured design without reinforcement.
Pay attention to whether a pattern uses ounces or millimeters, whether it calls for a firm temper or a softer hand, and whether the design expects a lining. These details can determine whether a project feels straightforward or frustrating.
When possible, use the recommended material range for your first build. Once you have completed the design, you will have a better sense of where you can make substitutions. That is the right time to experiment with color, texture, thread contrast, or a slightly different leather weight.
Choose for the Time You Actually Have
Skill level and time commitment are related, but they are not identical. A simple project can take longer than expected if you are learning to mark, punch, stitch, and finish carefully. A more involved pattern may be manageable for an experienced maker with a full afternoon at the bench.
Consider whether you want a project you can finish in one session or a build you will return to over several evenings. There is value in both. A short project gives you practice and a quick win. A longer project teaches planning, consistency, and the patience needed for refined work.
If your bench time comes in small windows, avoid projects with stages that need to be completed back to back, such as certain glue-ups or shaping processes. A pattern with clear stopping points is easier to enjoy when you are fitting the craft around a busy week.
Let the Next Project Build on the Last One
The most reliable way to grow is to choose patterns in a sequence. Start with a straightforward item that teaches accurate cutting and clean stitching. Then move to a project with additional layers, a pocket, a fold, or hardware. Later, take on more fitted construction, refined finishing, or structured designs.
Old Line Crafts & Designs patterns are designed to support that kind of progress with practical layouts and clear project guidance, so you can spend less time guessing and more time building. Still, the best pattern is always the one that fits your tools, your available time, and the skill you want to practice next.
A finished project does more than add something useful to your everyday carry. It gives you a clear record of what your hands can do now. Choose a design that leaves you eager to make the next one, then let each clean cut, steady stitch, and finished edge move your skills forward.