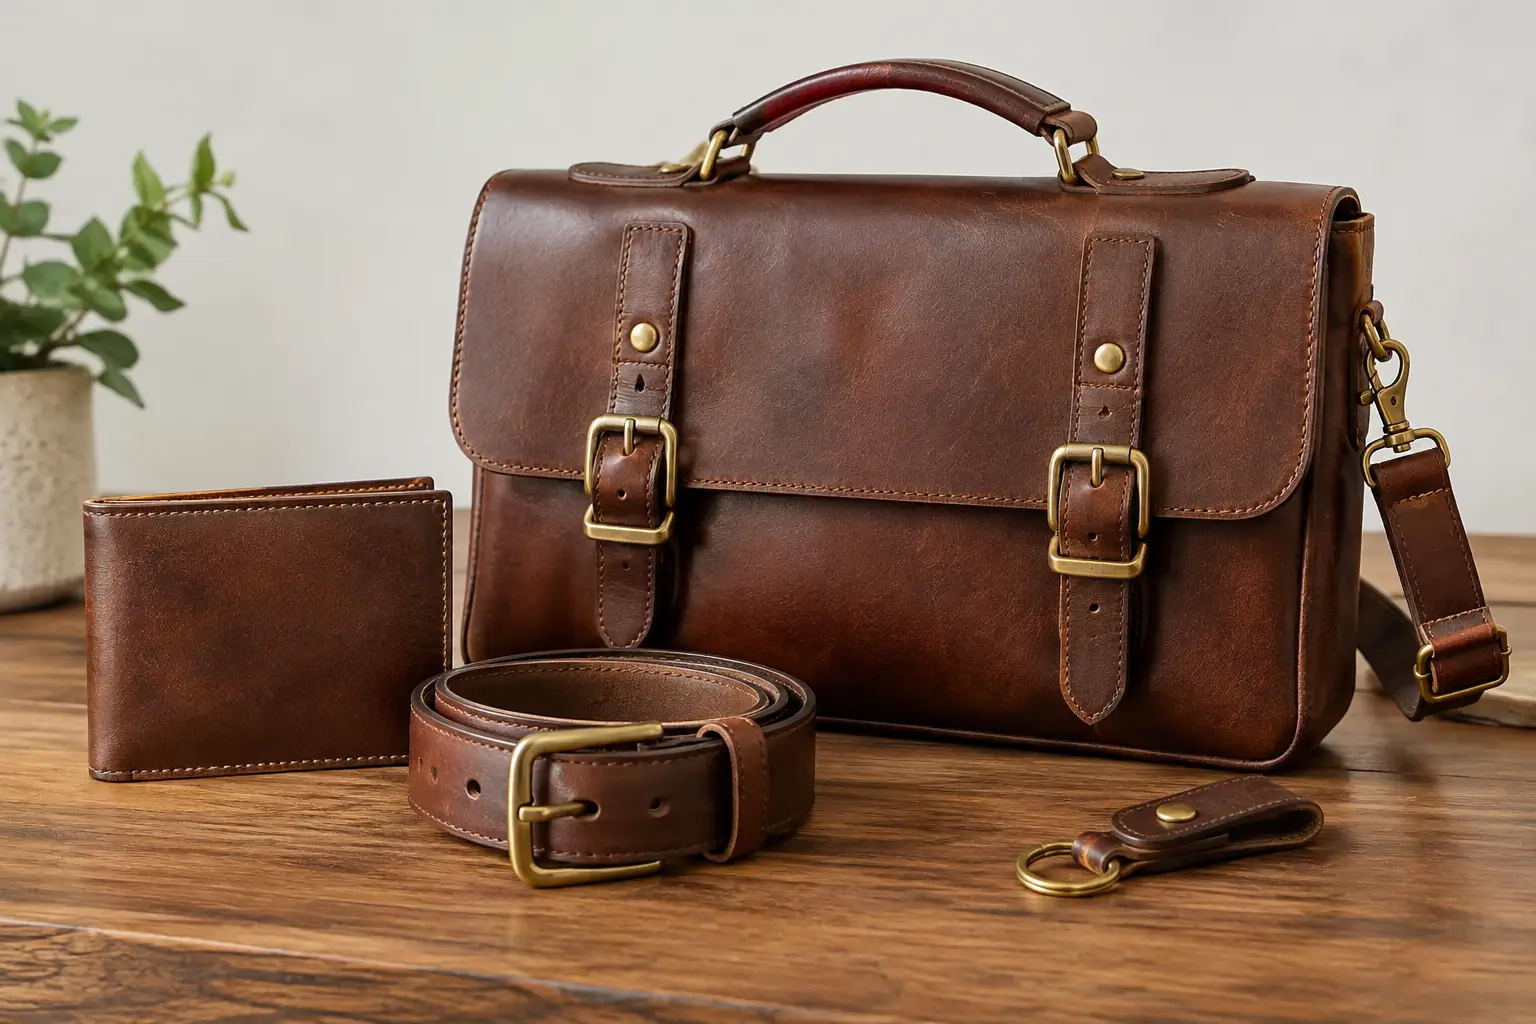
Brass hardware can change the character of a leather project before a single stitch is pulled. On a field notebook cover, it adds a warm, practical detail. On a tote, it can make the strap system feel dependable and intentional. On a wallet or small pouch, it brings a finished look without asking for decoration that does not serve the build. Leather goods featuring brass hardware work best when the leather, hardware, and construction are chosen as one system rather than as separate decisions.
For makers, that is the useful part of working with brass. It is not simply a finish to choose at the end. Hardware affects pattern layout, leather weight, reinforcement, edge treatment, and how the project will wear over time. A few considered choices at the start mean less time guessing at the bench and a result that feels made to be used.
Why Brass Works So Well With Leather
Brass has a natural warmth that sits comfortably beside vegetable-tanned, pull-up, oil-tanned, and chrome-tanned leather. New brass is bright but not flashy. With use, it develops a softer patina that often complements the marks and color shifts leather gains along the way. That shared ability to age is a major reason the pairing feels so established.
It is also a practical material. Quality solid brass hardware resists corrosion well and stands up to regular handling. That makes it especially suitable for hardware that carries load or sees repeated movement, such as buckles, D-rings, snap hooks, rivets, and closures. A brass key clip on a small organizer may be a visual choice. A brass buckle on a shoulder strap needs to be a functional one.
Still, brass is not automatically the right answer for every project. It costs more than many plated alternatives, and its golden tone can compete with certain leathers or a more minimal design. A black finish, nickel, or antique copper may better suit a particular pattern. The goal is not to put brass on every build. The goal is to choose hardware that supports the project’s purpose and gives the finished piece a consistent point of view.
Start With Function, Then Choose the Hardware
A clean pattern can make hardware selection much easier because it tells you where the forces will travel. Before ordering components, ask what the hardware needs to do. Is it holding a strap, adjusting fit, securing a flap, organizing keys, or simply adding a closure to a pocket? Each role calls for a different kind of part and a different level of reinforcement.
For a crossbody bag, a buckle and adjustment slider must match the strap width exactly. If the strap is cut at 1 inch, use 1-inch hardware rather than forcing leather through a slightly smaller opening. That small mismatch can wrinkle the strap, make adjustment frustrating, and create unnecessary wear at the fold.
For a tray, valet catchall, or small goods project, snaps and rivets are usually under much less stress. Here, proportion matters more than load capacity. An oversized snap can make a compact piece feel clumsy, while a very small snap can disappear visually or be difficult to operate. Test the hardware against a scrap or the printed pattern before cutting your final leather.
A useful way to think about hardware is in three categories: load-bearing, moving, and closing. Load-bearing hardware includes D-rings, buckles, and strap anchors. Moving hardware includes swivels, sliders, and hinges. Closing hardware includes snaps, magnetic clasps, turn locks, and button studs. Some components do more than one job, but identifying the primary job helps you avoid selecting a part based only on appearance.
Match Leather Weight to the Job
The leather around hardware often needs more support than the rest of the piece. A soft 3 to 4 ounce leather can make a beautiful pouch body, but it may stretch around a D-ring or deform at a snap tab if used alone. A lining, a folded strap end, or a small reinforcement patch can give that area the structure it needs.
For strap tabs and buckle attachments, many makers use a firmer leather or build thickness by laminating layers. The exact approach depends on the leather temper and the expected load. A lightly used notebook cover can tolerate a slimmer tab than a bag meant to carry a water bottle, tools, and daily essentials.
This is where a well-considered pattern earns its place on the bench. Hardware placement marks, reinforcement pieces, and clear fold lines remove much of the trial-and-error that can turn an enjoyable build into a stalled one. You can still make material choices your own, but the structure is already doing useful work for you.
Brass Hardware Needs Accurate Layout
Brass is forgiving in appearance, but it is not forgiving of a crooked slot, an off-center rivet, or a strap keeper placed too close to a buckle. Because the material draws the eye, layout errors become more noticeable. Take the time to mark centerlines and confirm the orientation of each component before making a permanent cut.
For buckle straps, check the path of the strap through the buckle before setting the keeper or stitching the fold. It sounds basic, but it is easy to install a buckle facing the wrong direction when working from the back side of a strap. Dry-fitting the whole assembly takes only a moment and can save a finished strap.
When installing snaps, magnetic clasps, or turn locks, consider the leather thickness after folds, liners, and reinforcement are included. Hardware posts that are too short may not set securely. Posts that are too long can leave a loose setting or deform the cap. Use scraps from the actual project leather to test your setter, pressure, and post length first.
Rivets deserve the same care. A rivet is not a substitute for good construction in a high-stress area. On a bag strap, stitching a folded tab and then using rivets as reinforcement generally gives a stronger, more polished result than relying on rivets alone. On a decorative closure tab, rivets may be sufficient. It depends on the job the part will be asked to do.
Choosing Solid Brass, Plated Brass, and Finishes
Not all gold-toned hardware is brass. Some pieces are solid brass, some are brass-plated, and some use another base metal with a finish designed to resemble brass. There is nothing wrong with plated hardware in the right project, especially when cost matters or the hardware is lightly used. It simply will not age the same way or offer the same long-term wear resistance as solid brass.
For heirloom-minded builds, frequently handled bags, and projects with exposed load-bearing hardware, solid brass is often worth the added cost. Look for clear product descriptions and pay attention to the component itself, not only the finish name. A maker selling “antique brass” hardware may be describing the color, not the underlying material.
Finish consistency matters, too. Brass snaps, buckles, rivets, and zipper pulls from different suppliers can vary from bright yellow to muted brown. That variation may be subtle in a bin of parts but obvious once installed on the same project. Whenever possible, gather all visible hardware before starting the build and compare it in natural light.
If you like the richer look of aged brass, let real brass develop naturally rather than trying to force every piece into an artificial patina. Regular handling will create its own character. If you prefer a brighter finish, a gentle polish can restore shine, though it is wise to keep polishing compounds away from unfinished leather and stitching.
Design Details That Make the Hardware Feel Intentional
Good hardware placement gives a project rhythm. Repeating brass rivets on strap tabs, matching a brass snap to a brass zipper pull, or using a buckle that echoes the curve of a D-ring can make a design feel organized without becoming overly styled. You do not need every metal detail to be visible. Often, one closure and two or four structural rivets are enough.
Keep proportions in mind. Heavy harness buckles can overpower a slim card holder, while delicate purse hardware can look undersized on a rugged tote. Consider the scale of the completed object, the width of the strap, and the visual weight of the leather. Thick, distressed leather usually welcomes more substantial hardware. Smooth, refined leather may call for simpler forms and cleaner edges.
Edge finishing also affects the final impression. Burnished edges pair naturally with solid brass and vegetable-tanned leather, especially on straps and structured small goods. Painted edges can look equally sharp on a more modern design, but they need careful preparation around folds and hardware tabs. There is no single correct finish. The best choice is the one that matches the leather, construction, and intended use.
Build for Use, Not Just the First Photograph
Before you call a project finished, operate every moving and closing part several times. Adjust the buckle. Open and close the snap. Pull gently on strap anchors. Check whether a clasp contacts the leather where it should, and make sure the hardware sits flat rather than twisting under tension.
This final check is especially helpful for makers building a new pattern for the first time. A thoughtful layout provides the structure, but your material choices still shape the final fit. Leather thickness, temper, and hardware dimensions can shift a build slightly. Taking a few minutes to inspect the result helps you learn what you would repeat and what you would adjust on the next one.
The best leather goods featuring brass hardware do not rely on brass to make the project feel special. They use it with purpose: to carry weight, secure a closure, guide a strap, and add a quiet detail that improves with age. Choose the parts carefully, test them on scraps, and let the construction lead the design. That is how a simple piece becomes one you will be glad to use, carry, and build again.
Leave a Reply