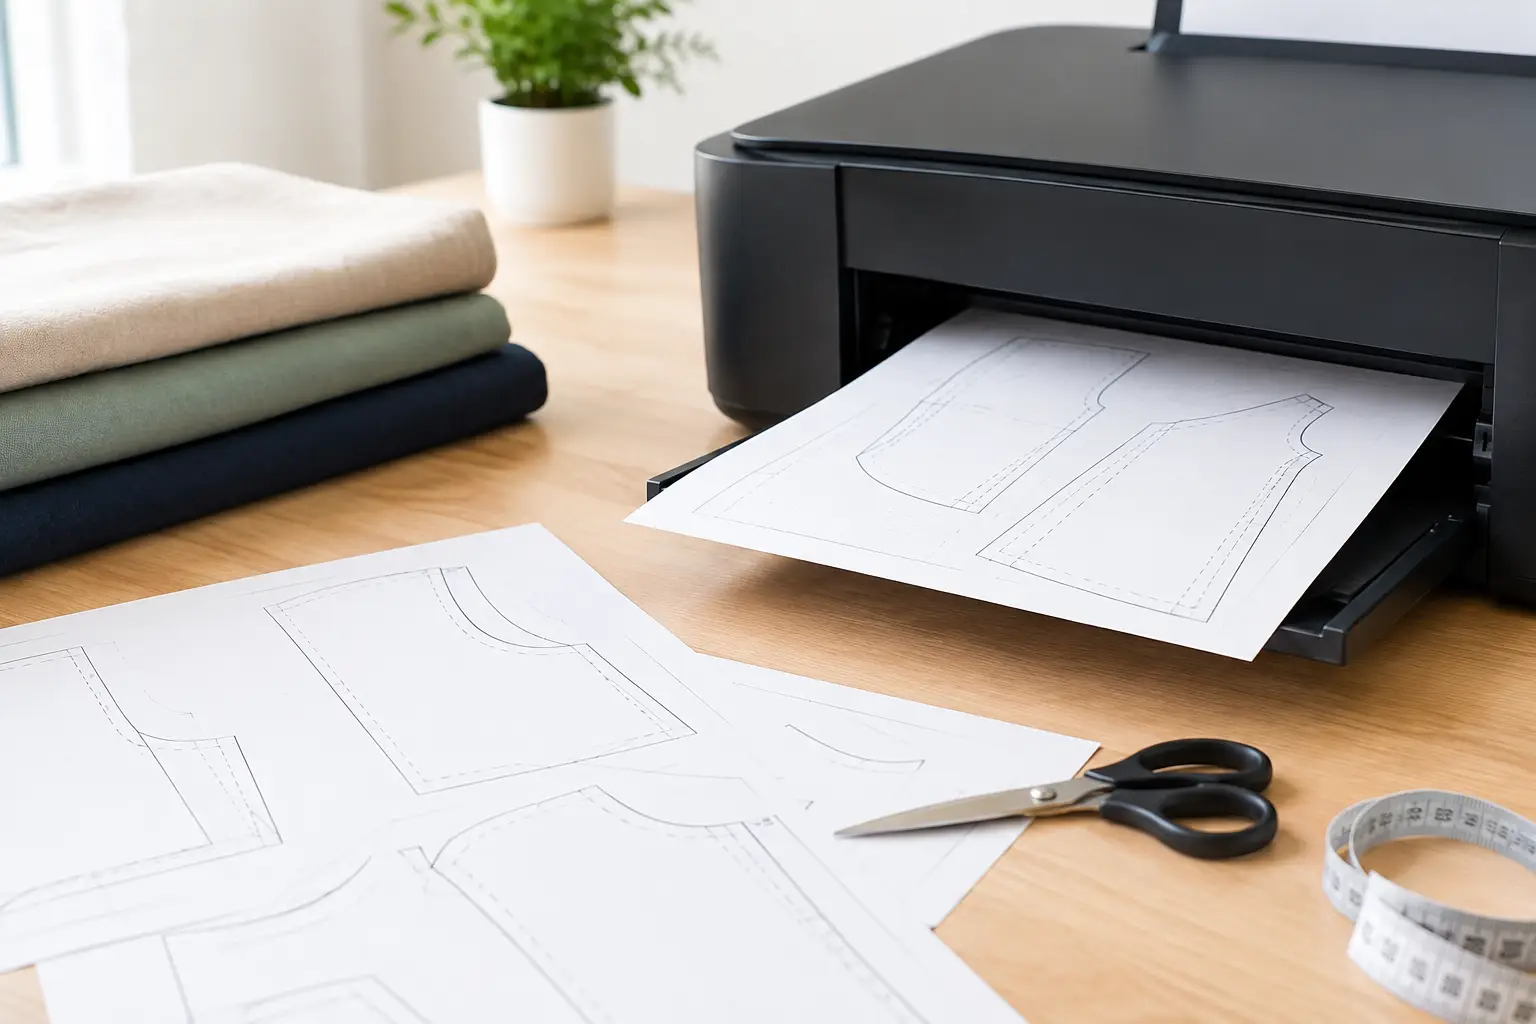
A leather pattern can be carefully designed, clearly labeled, and ready for the bench, but one incorrect print setting can change the entire build. A small scale error affects stitch spacing, hardware placement, fold lines, and the way pieces fit together. Learning how to print PDF patterns correctly gives you a dependable starting point before you cut into good leather.
The process is straightforward once you know what to check. Take a few minutes to set up the file, verify its scale, and assemble tiled pages carefully. You will spend less time guessing and more time building.
Start With the PDF, Not the Print Button
Download the pattern to your computer or tablet before printing if possible. Opening a file directly in a web browser can work, but browser print windows sometimes simplify settings or apply automatic scaling without making it obvious. A dedicated PDF reader usually gives you more control over page size, orientation, and scale.
Before printing, look through the pattern instructions and identify what kind of file you have. Most leathercraft PDFs fall into one of three formats: a full-size single-page pattern, a tiled pattern spread across several letter-size pages, or a pattern that includes both. Full-size pages are convenient if you have access to a wide-format printer. Tiled pages are designed for a standard home printer and need to be taped together before use.
Also check whether the designer has called for US Letter paper, which measures 8.5 by 11 inches, or A4 paper. Many US-based leather patterns are formatted for Letter paper. Printing an A4 file on Letter paper, or the other way around, may create cropped edges or an unwanted size adjustment.
How to Print PDF Patterns at Actual Size
Open the print window and look for the setting that controls scale. The wording differs between devices and programs, but the correct choice is generally called Actual Size, 100%, or Custom Scale: 100%.
Avoid settings such as Fit, Fit to Page, Shrink Oversized Pages, or Scale to Fit unless the pattern instructions specifically tell you to use them. These options are useful for ordinary documents, but they can quietly reduce or enlarge a leather pattern to fit within your printer’s printable area.
Set the page orientation shown in the file. If the pattern page is wider than it is tall, choose landscape. If it is taller than it is wide, choose portrait. Many PDF readers select orientation automatically, but confirming it can prevent a wasted print.
Print only the first page containing a test square before committing to the entire pattern. A properly prepared pattern commonly includes a one-inch square, a two-inch square, or a metric reference box. Measure it with a steel rule or an accurate ruler. If a one-inch test square measures 15/16 inch, do not assume the difference is too small to matter. Across a wallet panel, bag gusset, or several matching pieces, that error can become frustrating.
If the test square is correct, print the remaining pages using the same settings. If it is not correct, stop and adjust the scale before proceeding. The most common cause is a Fit setting that remained selected from a previous print job.
When 100% Still Does Not Measure Correctly
A file set to 100% should print accurately, but printer drivers and PDF viewers do not always behave alike. First, try printing from a different PDF reader rather than a browser. Then confirm that the paper size selected in the print dialog matches the paper loaded in the tray.
If the pattern is consistently too small or too large, compare the test square to its stated size and calculate the adjustment. For example, if a two-inch square prints at 1.9 inches, dividing 2 by 1.9 gives about 1.053. Try a custom scale of 105% and print the test page again. Make small changes and measure each test rather than trying to correct it by eye.
This is also a good time to check your printer’s paper setting. A printer told it is handling A4 paper may shift or scale a Letter-size file even when the PDF reader appears to be set correctly.
Assemble Tiled Pattern Pages With Care
Tiled patterns include registration marks, page labels, or dashed trim lines that show how pages connect. They are there to make alignment repeatable, so use them instead of matching the artwork or guessing at the outer edges.
Start by laying all printed pages on a clean, flat surface in their numbered order. A dining table, cutting table, or clear section of floor works well. Do not trim every edge right away. Most tiled files are easier to assemble when you trim only the right and bottom margins, leaving the top and left pages intact. That creates a clean overlap where one page can sit over the next.
Use paper scissors or a rotary cutter with a straightedge to trim along the indicated lines. Then align the registration marks on two pages before applying tape. If the marks line up but the outer paper edges do not, trust the marks. Printers often leave different margin widths, while the registration marks define the pattern’s true position.
Clear tape works well because it lets you see pattern lines beneath the joint. Apply a few short pieces of tape first, check the alignment again, then reinforce the seam. Tape the back of the assembly when possible so the front remains easy to read and trace.
For a larger pattern, assemble one row at a time and then join the rows. This keeps the paper manageable and makes it easier to spot a page that was placed out of order. Once the full layout is taped, recheck any scale square that appears near the center or lower edge of the completed pattern.
Choose Paper That Fits Your Working Method
Standard 20-pound copy paper is enough for most first prints. It is easy to trim, tape, and replace if you make a correction. For patterns you expect to build more than once, you may prefer slightly heavier paper, such as 24-pound or 28-pound printer paper, because it holds its shape better during tracing.
Cardstock can be useful for small, frequently used template pieces, but it is not always the best first choice. It can be difficult to feed through some home printers, and taped cardstock tiles become bulky at the seams. A practical approach is to print and confirm the pattern on ordinary paper, then transfer only the repeat-use pieces to template material.
Many leatherworkers trace paper patterns onto manila folder stock, poster board, chipboard, or flexible plastic after the first successful build. This protects the original print and gives you a durable template for future projects. If a piece includes stitch marks, hole locations, or fold lines, transfer those carefully rather than tracing only the outside edge.
Check the Pattern Before Cutting Leather
Printing at the right scale is the first checkpoint, not the last. Place related pieces next to each other and compare their shared edges. A gusset should correspond with the body panels it joins. A strap end should fit the hardware it was designed for. Mirror-image pieces should be clearly marked, especially when one side of the leather has a noticeable grain or finish.
Read the cutting notes before tracing. Some pieces may need to be cut once, twice, or as a mirrored pair. Others may include a stitch allowance, while a few patterns expect you to add your own. Do not assume every line has the same purpose. Cut lines, fold lines, center lines, and stitching guides should remain distinct throughout the transfer process.
When you are ready to trace, secure the paper pattern so it cannot shift. Small pattern weights, clips outside the cut area, or low-tack tape can help. An awl, scratch awl, silver pen, or fine-point marker may work depending on the leather’s surface and your preferred cutting method. Test your marking tool on an offcut first, particularly with light-colored or natural vegetable-tanned leather.
If you are using a digital pattern from Old Line Crafts & Designs, treat the printed layout as part of the project setup, just like choosing your leather weight or thread color. A clean, verified pattern helps the instructions make sense at the bench.
Solve the Common Print Problems Before They Slow You Down
If the pattern is cropped at an edge, check whether your printer has non-printable margins. Tiled patterns are typically designed to account for them, but a full-page pattern may need to be printed on a larger sheet or at a copy shop with the proper paper size. Do not reduce the file simply to make every edge appear unless the designer provides a scaled-print option.
If a line looks faint, replace low ink or toner before printing the full set. Faint cut lines are easy to miss, and faint stitch marks can lead to uneven work. Grayscale printing is usually fine when the pattern relies on solid and dashed lines, but use color if the instructions depend on color-coded pieces or construction steps.
If pages will not align, verify that each page was printed at the same scale. Mixed settings are more common than they seem, especially if a printer paused or a file was printed in separate batches. Reprint the mismatched page rather than forcing it into place with tape.
A well-printed pattern is quiet preparation. Once the test square measures true, the tiles meet cleanly, and every piece is accounted for, you can move to leather with confidence and give your attention to the part that matters most: making something you will be glad to use.