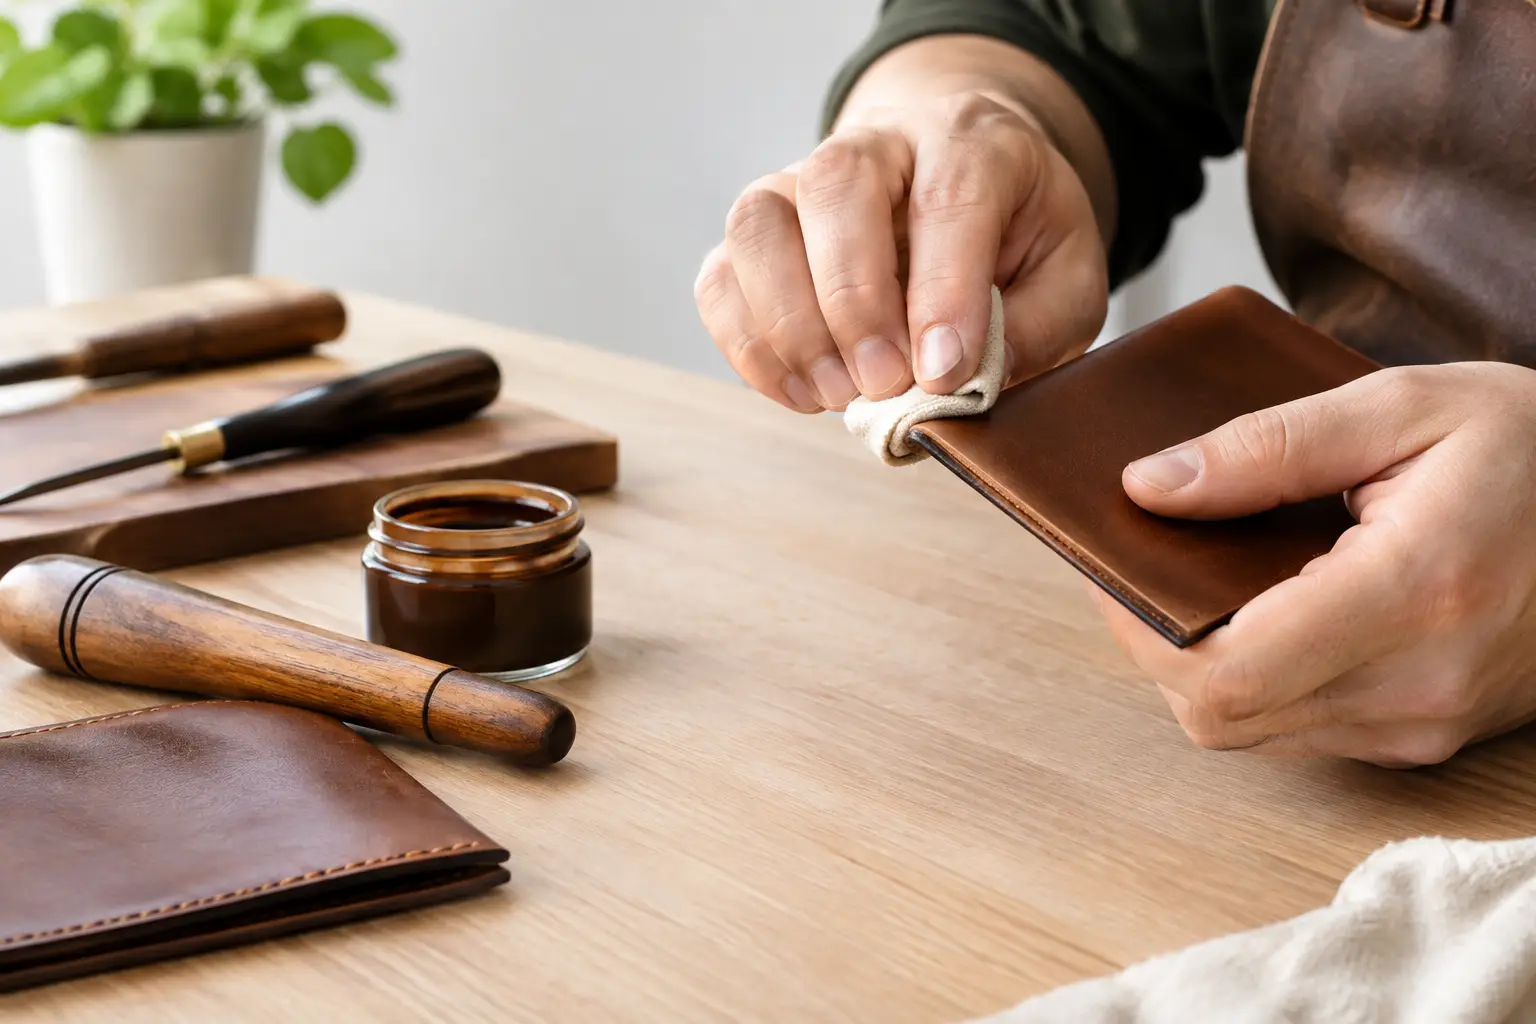
A leather project can be cut accurately, stitched neatly, and still look unfinished at the edges. That small strip of exposed leather is where uneven cutting, loose fibers, and rushed work tend to show first. Learning how to finish leather edges gives wallets, trays, cases, and straps the clean, intentional look that makes a handmade piece feel complete.
The best method depends on the leather, the project, and the look you want. Vegetable-tanned leather responds beautifully to a traditional burnished edge. Chrome-tanned leather, soft leathers, and layered pieces often look better with edge paint. The goal is not to force every project into one technique. It is to choose a finish that suits the build and take the time to prepare the edge before adding any product.
Start With a Clean, Even Edge
A polished edge begins long before burnishing or painting. If the layers are not flush, no amount of gum, wax, or paint will fully hide the problem. Trim your piece carefully after glue-up, especially on projects made from multiple layers such as card holders, belts, and small cases.
Use a sharp knife, a trim jig, or a belt sander to bring the layers into alignment. Work slowly around curves and corners. A slightly proud layer may not seem significant at first, but it becomes obvious once color or shine is applied to the edge.
After trimming, sand the edge flat. Start with a coarser grit only when necessary, then move to finer grits as the surface evens out. For many projects, 220 grit followed by 400 grit is a practical place to start. Thick stacks of leather may need more shaping, while a single-layer strap may only need a light pass.
Keep the sanding block square to the edge. Sanding at an angle can round over one face of the project or create a wavy profile. Check your work often under good light. The edge should feel level from one layer to the next before you move on.
How to Finish Leather Edges by Burnishing
Burnishing is the classic choice for firm, vegetable-tanned leather. It compresses the exposed fibers and creates a smooth edge with a natural shine. It works especially well on natural, dyed, or oil-tanned veg-tan projects where you want the leather itself to remain visible.
Before burnishing, bevel the corners of the edge. An edge beveler removes the sharp corners on both the front and back of the leather, making the finished edge more comfortable and less likely to catch or fray. Use a beveler sized for the leather weight. A heavy bevel on a thin wallet panel can look overdone, while a tiny bevel may disappear on a thick belt.
Apply a small amount of water, gum tragacanth, saddle soap, or a purpose-made burnishing compound. You need just enough moisture or lubricant to help the fibers compress. Too much can darken the leather unevenly, soften the edge excessively, or leave residue that is difficult to smooth out.
Rub the edge briskly with a wooden slicker, canvas, or a motorized burnishing tool. Friction and pressure do the work. On a small project, hand burnishing gives you plenty of control and lets you feel when the edge is becoming smooth. A powered tool saves time on straps and larger runs, but it can scorch leather or create uneven spots if you press too hard.
Let the edge dry, then inspect it. A good burnished edge should feel smooth rather than fuzzy, with a gentle sheen instead of a thick coating. If fibers remain raised, sand lightly with fine grit, apply a little more burnishing agent, and repeat. Finish with a light application of beeswax or edge wax if you want added luster and some moisture resistance.
When Burnishing Is the Right Choice
Burnishing is a strong fit for firm vegetable-tanned leather, exposed natural edges, and projects with a traditional leathercraft feel. It is also approachable for beginners because the tools are simple and mistakes can often be corrected with another light sanding pass.
It is less effective on loose-fibered chrome-tanned leather, very soft leather, or edges with a lot of contrasting layers. You can still improve those edges with sanding and a conditioning product, but trying to force a glassy burnish may lead to frustration. That is where edge paint becomes useful.
Use Edge Paint for a More Uniform Finish
Edge paint creates a coated, consistent edge rather than a compressed natural one. It is commonly used on refined bags, accessories, and small leather goods, particularly when the leather has a soft temper or a finished surface that does not burnish well.
Preparation still matters. Glue and trim the layers flush, sand them smooth, and bevel lightly if the design calls for it. Some makers leave the edge more square for a modern painted look, while others use a subtle bevel to make the coating feel softer in the hand. Either choice can work if it is consistent around the project.
Apply edge paint in thin coats. A roller pen, edge-paint applicator, fine brush, or small metal tool can all work, depending on the shape of the piece. Focus on laying down an even first coat rather than trying to create full coverage immediately. Thick paint tends to pool at corners, form ridges, or crack as the leather flexes.
Allow each coat to dry according to the product instructions. Then sand lightly with fine grit to remove dust, bumps, and high spots. Apply another thin coat and repeat as needed. Two to four coats is common, but the leather and paint system will decide the final number. A thin, carefully leveled finish usually outperforms one heavy coat.
Some edge paints are designed to be heat set or lightly creased with a heated tool. This can help level the surface and improve the finished appearance, but only use heat when the product calls for it. Too much heat can bubble the paint, discolor the leather, or leave a hard, brittle edge.
Choose Your Finish Before You Cut
Edge finishing should influence project planning, not become an afterthought at the end. A folded edge construction hides the raw edge entirely. A turned edge may need skiving and careful glue work but avoids burnishing or paint. An exposed edge asks more from your preparation and finishing skills, so choose leather that suits the result you have in mind.
For a first build, a vegetable-tanned leather tray, valet dish, or simple card holder is a useful place to practice. The edges are accessible, the shapes are manageable, and you can compare different approaches on test pieces before committing to the final project. A small scrap of the same leather tells you far more than a product label about how it will sand, burnish, or accept paint.
Color also changes the decision. Natural and darker veg-tan edges can look excellent with a burnished finish. Brightly dyed leather, pale chrome tan, or a project made from contrasting layers may benefit from matching or contrasting edge paint. There is no single premium finish. The better choice is the one that fits the leather and supports the design.
Common Edge-Finishing Problems
Fuzzy edges usually point to insufficient sanding, leather with loose fibers, or not enough compression during burnishing. Return to fine sanding, use a modest amount of burnishing compound, and work the edge again with firm pressure. If the fibers continue to lift, consider switching to paint rather than adding more product.
Dark blotches often come from too much water or burnishing agent. Apply less on the next pass and distribute it evenly. Test on scrap first, particularly with light-colored leather where moisture marks are easier to see.
Cracked edge paint is usually caused by coats that are too thick, poor drying time between layers, or an edge that flexes more than the paint can handle. Thin coats and proper cure time help, but project design matters too. A sharply folded wallet spine will always be a demanding place for a rigid coating.
Uneven shine is often a preparation issue. If one section looks dull, do not immediately add more wax or paint. Check whether the edge is actually level. A few careful passes with fine sandpaper can bring the whole edge back into balance.
A clean edge is built in stages: accurate cutting, careful glue-up, patient sanding, and a finish chosen for the leather in your hands. Give that final inch of the project the same attention you gave the stitch line, and your next build will feel better every time you pick it up.