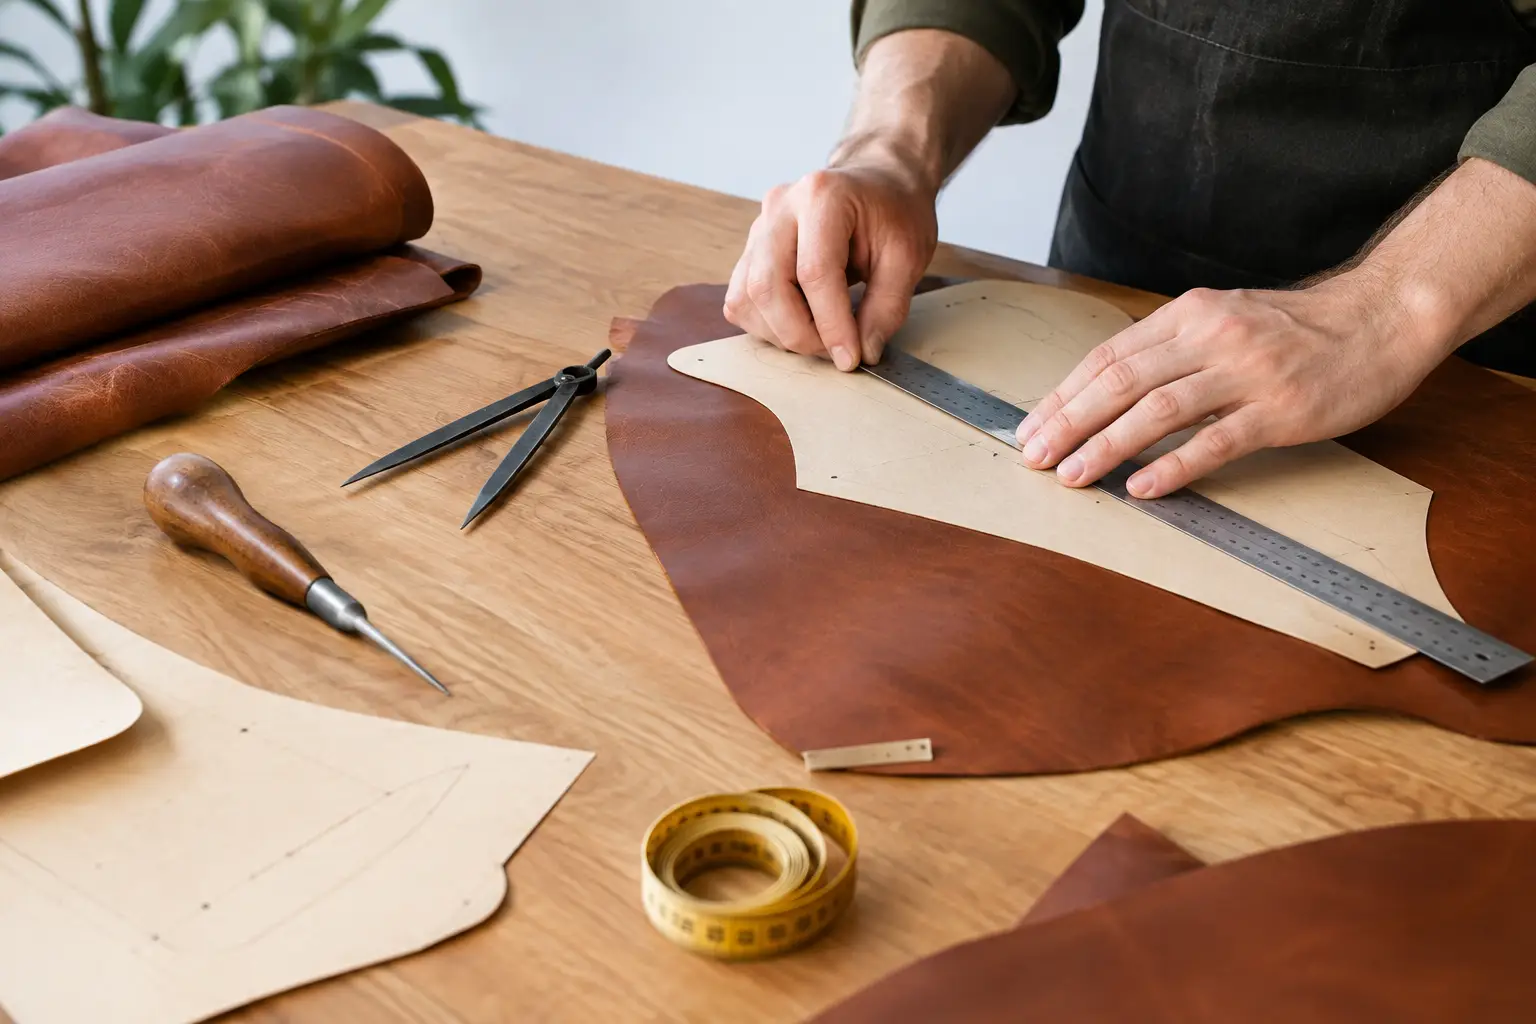
A pattern can be beautifully drawn and still lead to a disappointing build if it prints at the wrong scale. This leather pattern sizing guide will help you move from a digital file to accurately cut leather, with less time guessing and more time building. Whether you are making a simple tray, wallet, sheath, or bag, sizing affects more than the finished dimensions. It affects how pieces meet, how folds behave, and whether hardware lands where it should.
Start With the Pattern’s Intended Scale
Most leathercraft PDF patterns are designed to print at 100% scale. That means the file should leave your printer without being reduced to fit within margins, enlarged to fill a page, or adjusted by a print dialog box that is trying to be helpful.
Before printing, look for a test square, calibration box, or stated reference measurement on the pattern. It may be marked as a 1-inch square, a 2-inch line, or a metric reference. Print one page first, then measure that reference with a reliable ruler. If a 1-inch square measures 15/16 inch, the difference may seem small, but it can create noticeable problems across a long wallet panel or a multi-piece project.
Set the print menu to “Actual Size,” “100%,” or “No Scaling.” Avoid “Fit,” “Fit to Printable Area,” and similar settings. Those options can shrink a pattern just enough to throw off stitch-hole alignment, strap lengths, or hardware placement.
If you use a print shop, tell them clearly that the document must print at 100% with no page scaling. Bring the pattern’s test measurement with you, and check the first sheet before approving the full job. A few minutes at this stage can save a hide and several hours at the bench.
Why Leather Pattern Sizing Is More Than Printing
Printing accurately is the first part of sizing. The next part is understanding what the pattern dimensions are designed to accomplish.
A pattern may include cut lines, stitch lines, fold lines, skiving areas, slots, and hardware marks. These are not interchangeable. A cut line gives you the outside shape of the leather piece. A stitch line shows where the seam is intended to sit. If you trim to a stitch line or add an unplanned seam allowance, the project can become too small, too loose, or difficult to assemble.
This matters most where several layers meet. A card pocket that is only slightly oversized can wrinkle under a wallet edge. A gusset cut too short may pull a bag body out of shape. A snap placement moved without considering leather thickness can make a closure overly tight or unable to reach at all.
Treat the pattern as a working set of instructions, not just an outline to cut around. Read the labels before transferring anything to leather. If a line is unclear, compare it with the other pieces and think through the order of assembly. A well-organized pattern should make that process easier, but taking a moment to orient yourself is still good shop practice.
Match Leather Weight to the Build
Pattern size and leather thickness work together. A design sized for 3-4 oz leather will not always behave the same way in 6-7 oz leather, even when every piece is cut perfectly.
Thicker leather takes up more space at folds and seams. On a wallet, that extra bulk can make interior pockets tight and prevent the piece from closing neatly. On a structured case, it can change the way the gusset bends around corners. On a tray, heavier leather may produce a firmer form, but tight corners can become harder to set cleanly.
Use the recommended leather weight when it is provided. If you want to substitute a different weight, consider the role of each piece rather than changing everything at once. A bag body may benefit from firmer leather while a gusset needs a lighter, more flexible weight. A strap may need more substance than a lining panel. The goal is not to follow a number blindly. It is to preserve the intended proportion, movement, and function of the design.
Lining leather deserves the same attention. Adding a lining to a pattern intended for a single layer changes the thickness at every seam and fold. Sometimes the adjustment is straightforward, such as skiving edges more aggressively. Other times, a slightly wider gusset or revised closure placement may be needed. Make a small test assembly when the project includes several layers or close-fitting pockets.
Consider Stretch Direction Before Cutting
Leather has more give across the hide than along the backbone. For pieces that carry tension, such as straps, handles, and closure tabs, pattern orientation matters. Cutting a long strap in a stretchy direction can make it feel undersized at first and overly long after use.
If a pattern includes grain-direction guidance, follow it. If it does not, use your judgment based on how the part will work. Parts that need stability should generally run with the least stretch. Parts that need to curve or form can often take advantage of a bit more flexibility.
Check Fit Before Committing to Leather
For a new project, paper is one of the best sizing tools on the bench. Print the pattern, cut out the major pieces, and tape them together where practical. You will quickly see the project’s footprint, pocket depth, strap length, and the relationship between components.
This is especially useful when you are adapting a pattern for a specific item. If you are building a sleeve for a notebook, phone, or tool, make a cardstock mockup around the object first. Account for depth, not just height and width. A flat measurement rarely tells the whole story once seams, rounded corners, and material thickness enter the picture.
For wearable projects, test the pattern with the real-world use case in mind. A belt length should account for the buckle, fold-over, keeper, and preferred adjustment range. A crossbody strap should be checked on your body or on the person who will use it. A handle that looks correct on paper may feel too short once a bag gains depth and hardware.
Mockups are not wasted effort. They are a practical way to find a design that fits your bench, your materials, and the finished use of the item.
When and How to Resize a Pattern
Sometimes resizing is reasonable. A simple organizer, tray, or flat panel project can often be enlarged or reduced if you understand what needs to change along with it. But scaling a complete pattern up or down is not always a one-click solution.
When a PDF is enlarged, stitch holes spread farther apart. Slots become wider. Hardware marks move outward. A 20% increase can turn a suitable snap tab into an awkwardly long one or make a zipper opening incompatible with the zipper size you planned to use. Reducing a pattern creates the opposite problem: seam allowances become narrow, corner radii tighten, and hardware may no longer fit.
If you need a modest size adjustment, start by identifying the functional dimensions. On a notebook cover, those may be the notebook height, width, spine allowance, and pocket depth. On a pouch, they may be the interior width, gusset depth, and zipper length. Adjust the areas that control those dimensions instead of scaling every feature without review.
Keep stitch spacing consistent whenever possible. Rather than enlarging existing holes, redraw or mark a new stitch line at the intended seam allowance, then prick or punch at your normal spacing. This takes more care, but it gives the finished project a more intentional look.
Add Allowance Deliberately
A pattern does not need extra material unless its instructions call for it. Many leather patterns are drawn with the cut line already established, so adding a general seam allowance can create confusion at assembly.
Add material only for a clear reason: accommodating a thicker item, lengthening a strap, changing a fold-over closure, or allowing for a custom edge treatment. Mark the change directly on a paper copy first. Then confirm that connected pieces still agree with one another. A single altered panel often requires a related adjustment elsewhere.
A Quick Pre-Cut Sizing Check
Before making the first cut, pause for a short review. Confirm that the printed reference square measures correctly and that the page is at 100%. Check that you are using the correct pattern version and have identified the cut, fold, and stitch lines. Compare the recommended leather weight with what is on your bench, then think through any effect of lining, reinforcement, or hardware.
Finally, lay out the largest pieces on the hide with stretch direction and surface character in mind. This step helps you avoid discovering too late that a long strap will fall across a soft area or that a prominent scar sits at the center of a clean front panel.
Common Sizing Questions
Can I print a leather pattern on letter-size paper?
Yes, if the pattern is formatted for letter-size pages. Multi-page patterns are often designed to be tiled, with registration marks or alignment guides for taping the sheets together. Print at 100%, trim only where instructed, and align the marks before taping.
Should I cut directly from the printed pattern?
You can, but many makers prefer to transfer pieces to cardstock, manila folder material, or reusable template plastic. A sturdier template is easier to trace accurately and holds up well if you plan to make the project again.
What if my hardware is a different size than the pattern calls for?
Measure the hardware before cutting. You may be able to adjust a slot, hole, or tab, but review the surrounding construction too. A larger buckle may need a wider strap end, while a larger snap may require more clearance from an edge or fold.
Accurate sizing is not about making every project identical. It gives you a dependable starting point, so your adjustments are thoughtful choices rather than surprises. Print carefully, test what matters, and let the pattern provide the structure while your material choices make the build your own.