A pattern can be perfectly designed and still give you a frustrating build if the cut pieces are off by even a small amount. A wandering cut line can change a fold, shift a stitch line, or leave two mirrored panels slightly different. Learning how to cut leather templates carefully is one of the simplest ways to spend less time correcting and more time building.
The goal is not to make every pass feel precious. It is to create a repeatable setup: a readable pattern, a stable template, a sharp blade, and a cutting sequence that protects both the leather and your accuracy. Once those habits are in place, cutting becomes a calm part of the project rather than the moment you hope turns out well.
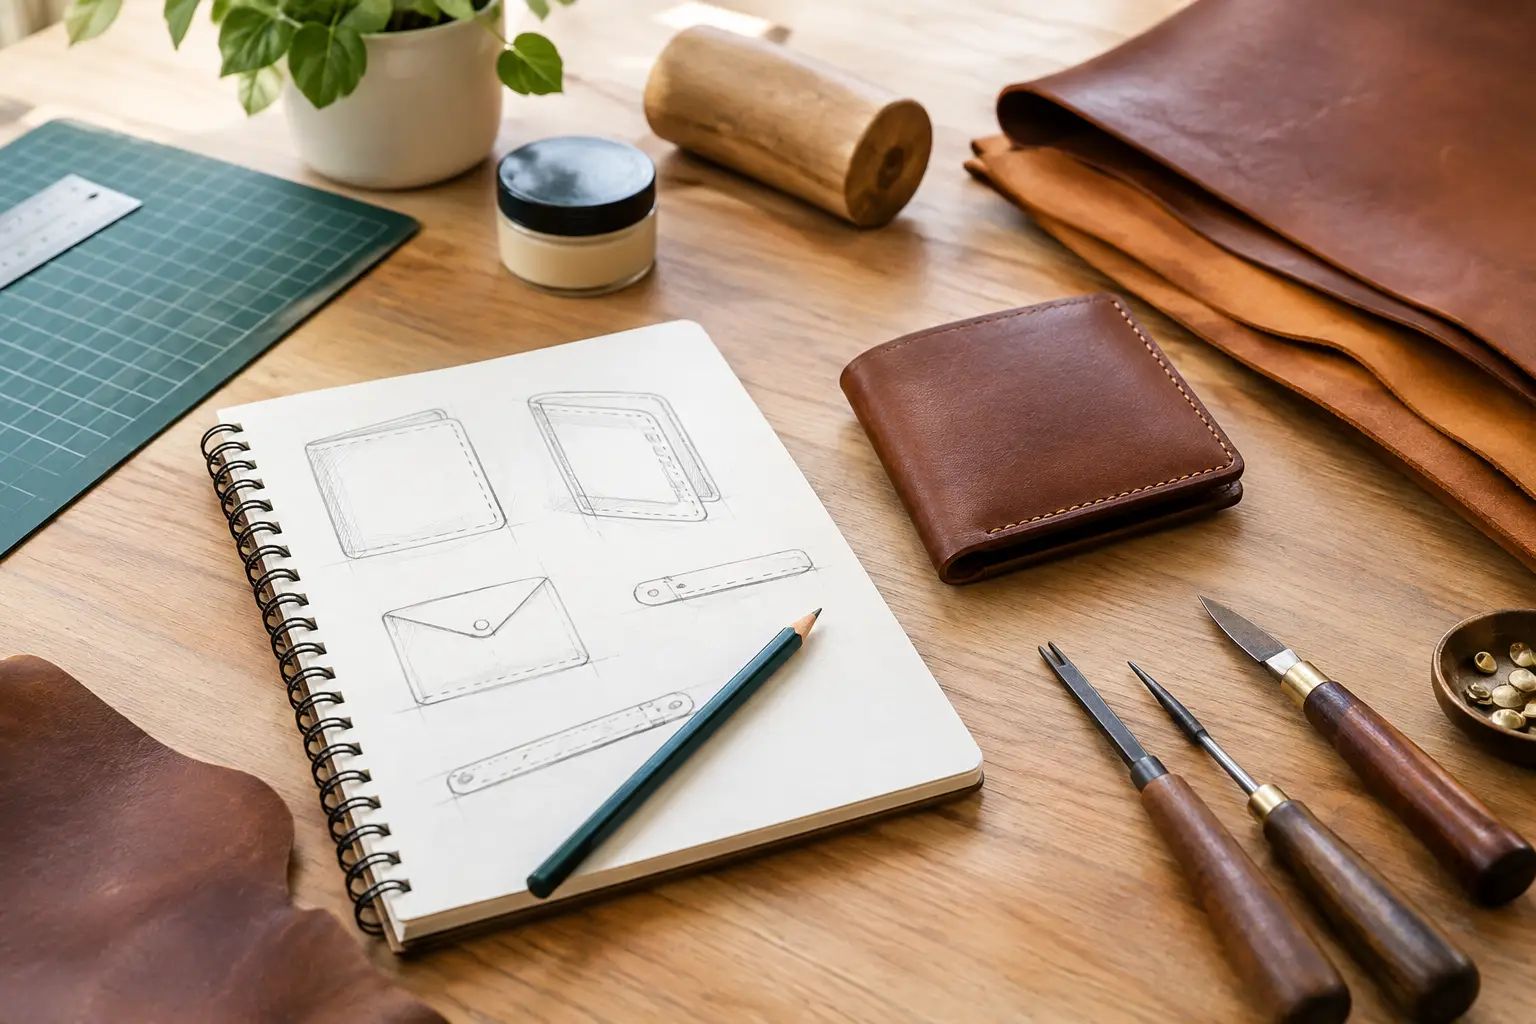
Start With a Pattern You Can Read
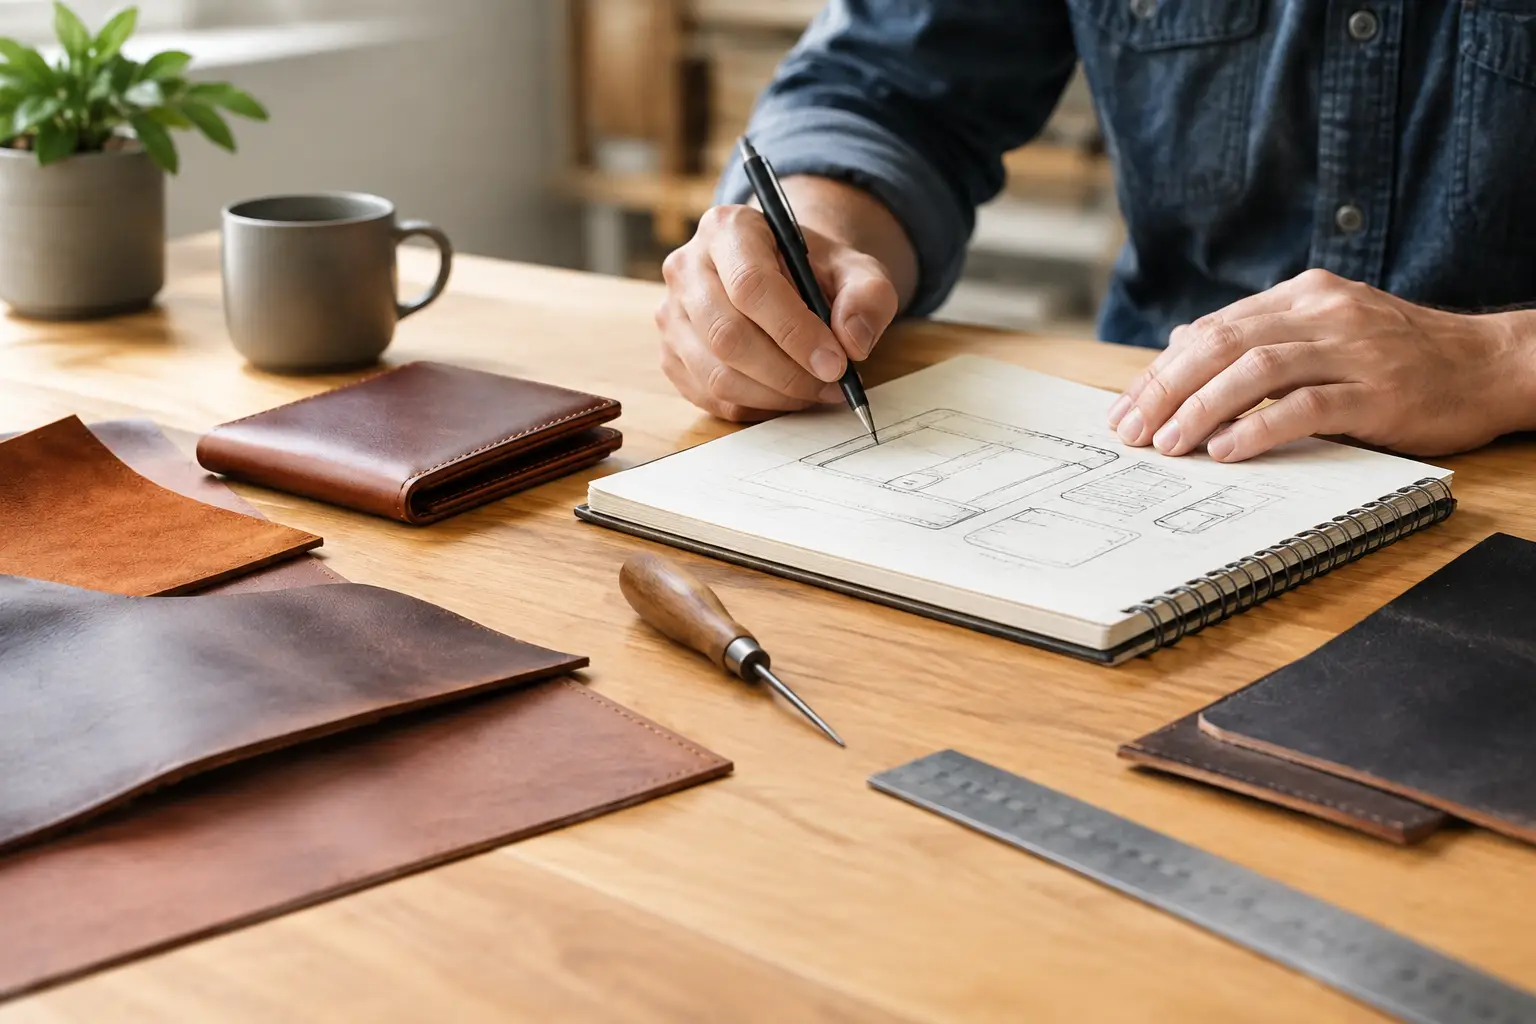
Before putting a knife to leather, review the pattern sheet closely. Confirm the print scale, piece count, grain or direction marks, fold lines, stitch marks, and any notes about mirrored parts. If a pattern includes a one-inch or 50 mm test square, measure it after printing. A printer set to “fit to page” can quietly reduce or enlarge a pattern, and that difference carries through the whole project.
Print at 100 percent or “actual size.” Then decide whether the printed paper itself will be your cutting guide or whether you will make a reusable template. For a one-time project in softer leather, a carefully cut paper pattern can work well. For repeated builds, firm leather, or pieces with curves and precise corners, transfer the pattern to cardstock, chipboard, template plastic, or acrylic.
Paper patterns are quick, but they can soften at the edges after repeated tracing. Acrylic and firm template plastic last longer and give a cleaner edge to run against, though they take more time to make. There is no single right material. Choose the option that fits the number of times you expect to use the pattern and the precision the project needs.
Cut the Template Before You Cut the Leather
If you are making a physical template, cut it accurately first. Use scissors for broad outside shapes in paper or cardstock, but use a knife and straightedge for long straight lines. Small curves are often easiest with short, controlled cuts rather than one sweeping motion.
Keep an eye on the line convention in the pattern. Most well-organized patterns are designed to be cut on the outside edge of the printed line unless they say otherwise. If you cut through the center of a thick line on every piece, small inconsistencies can accumulate. Pick one approach and stay consistent.
Set Up Your Leather for Accurate Cuts
A clean cutting surface matters. Use a self-healing cutting mat or a suitable poundo board beneath the leather so the blade can pass through without dragging against a hard tabletop. The leather should lie flat and be free of dust, loose hardware, and scraps that can tilt a template.
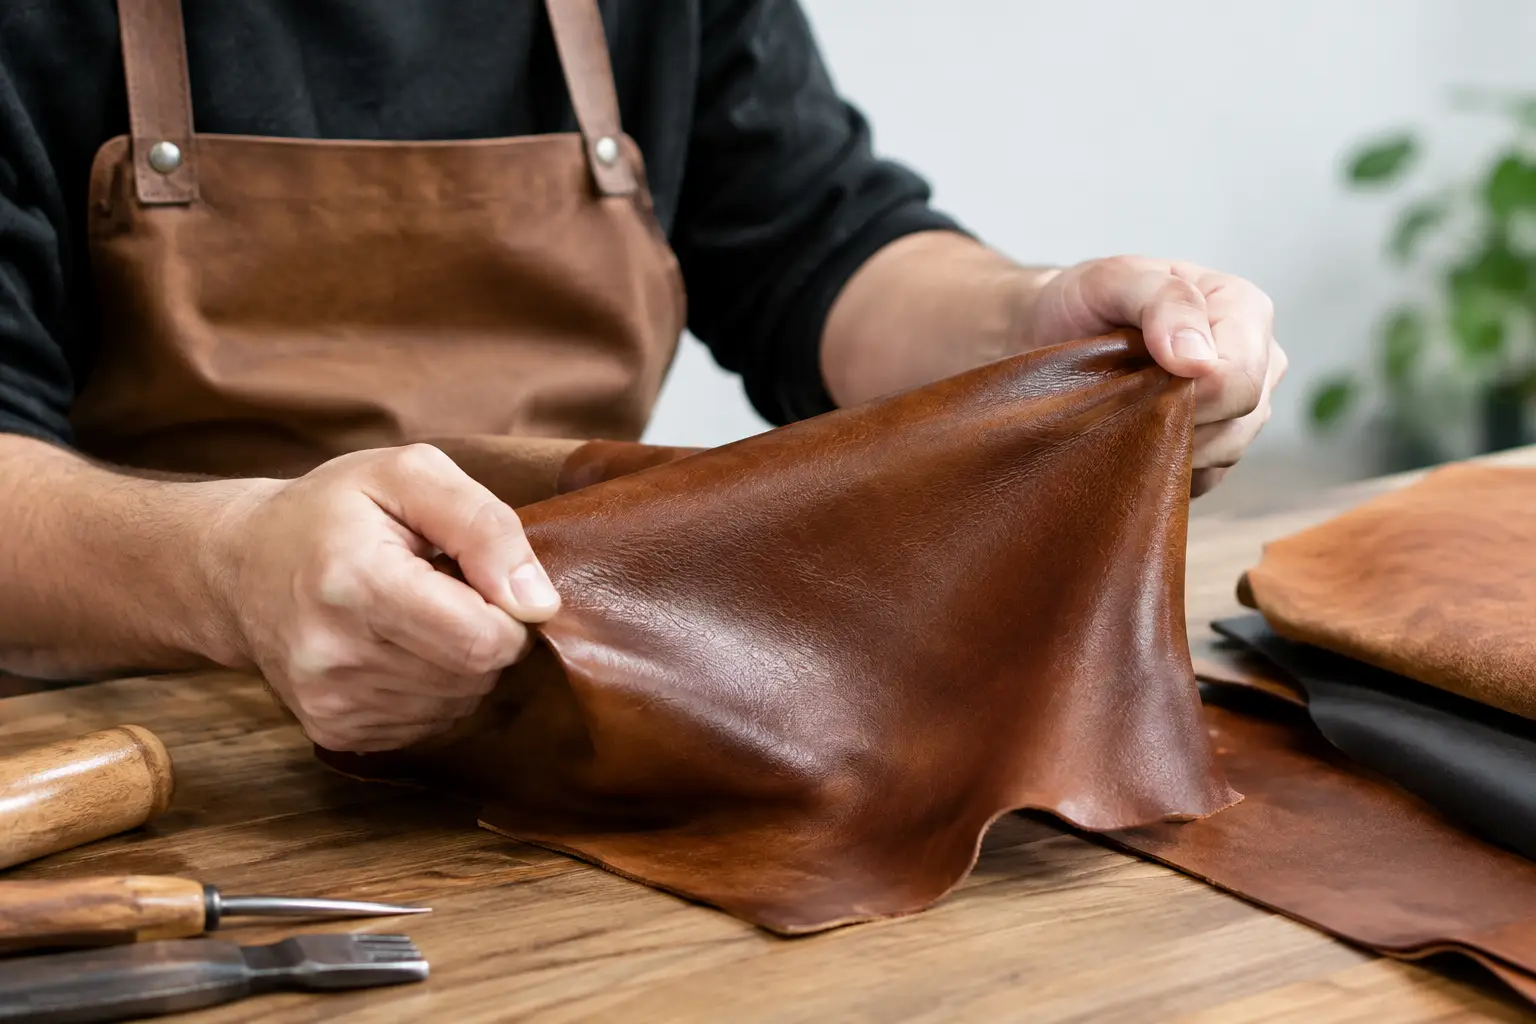
Inspect the hide before arranging your pieces. Look for scars, wrinkles, loose grain, deep stretch, and color variation. These are not always defects. A mark may add character to a rustic pouch, while the same mark could distract on a polished wallet front. Place the most visible pieces in the cleanest areas of the leather, and reserve less uniform sections for gussets, tabs, straps, or interior parts where appropriate.
Pay attention to leather direction. Leather has more stretch in some directions than others, particularly along the belly. Long straps, handles, and structural pieces usually benefit from being cut along the firmer backbone direction. Pattern grain marks are there for a reason. Ignoring them may not ruin the piece immediately, but it can affect how the finished item hangs, folds, and holds its shape.
For pairs of parts, such as left and right panels, plan the layout before tracing. If the finished outside is meant to show matching grain or color, place both pieces nearby on the hide. When a part must be mirrored, turn the template over before tracing the second piece. This small check prevents the familiar surprise of cutting two pieces that face the same direction.
How to Cut Leather Templates Without Losing the Line
Place the template on the flesh side of the leather whenever possible. This keeps trace marks off the finished surface and gives you a clear working side. Use a scratch awl, silver pen, fine pencil, or removable marking tool that shows up on your leather without leaving a permanent visible mark. Test any pen on a scrap first, especially on light-colored vegetable-tanned leather.
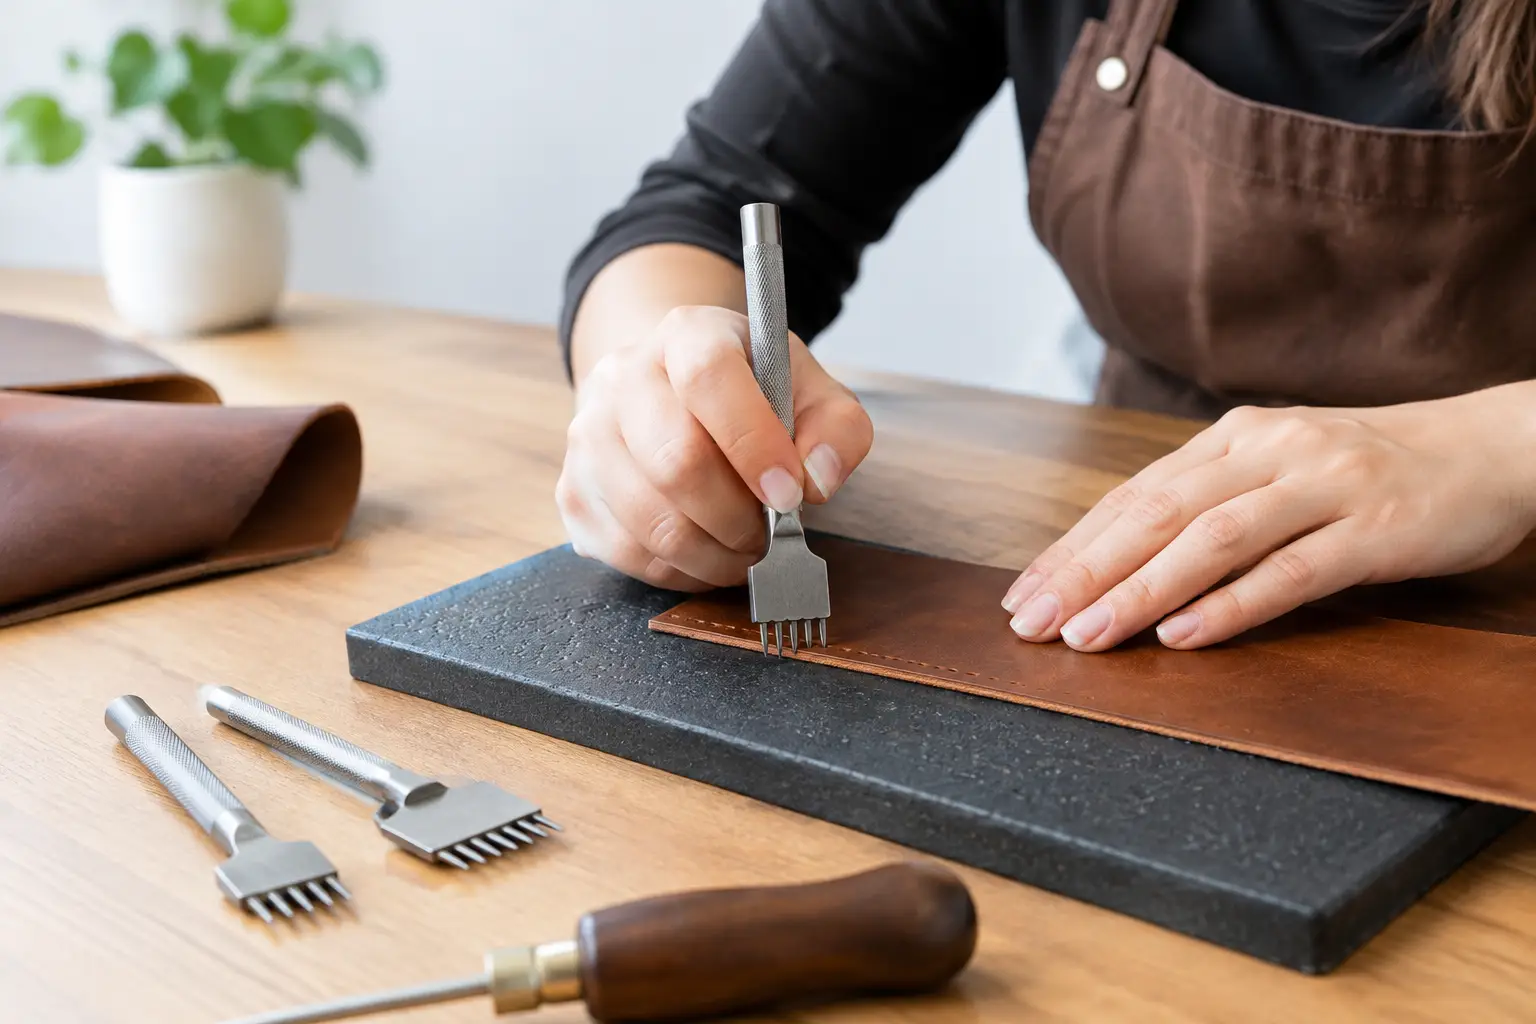
Trace with the tool held upright against the template edge. A tilted awl can push the line outward, creating a piece slightly larger than intended. Mark corners with care, and add any reference points, fold lines, or hardware locations called out by the pattern. Avoid marking every stitch hole unless the design specifically uses marked holes. In most projects, stitching is more accurate when laid out after the pieces are cut and their edges are aligned.
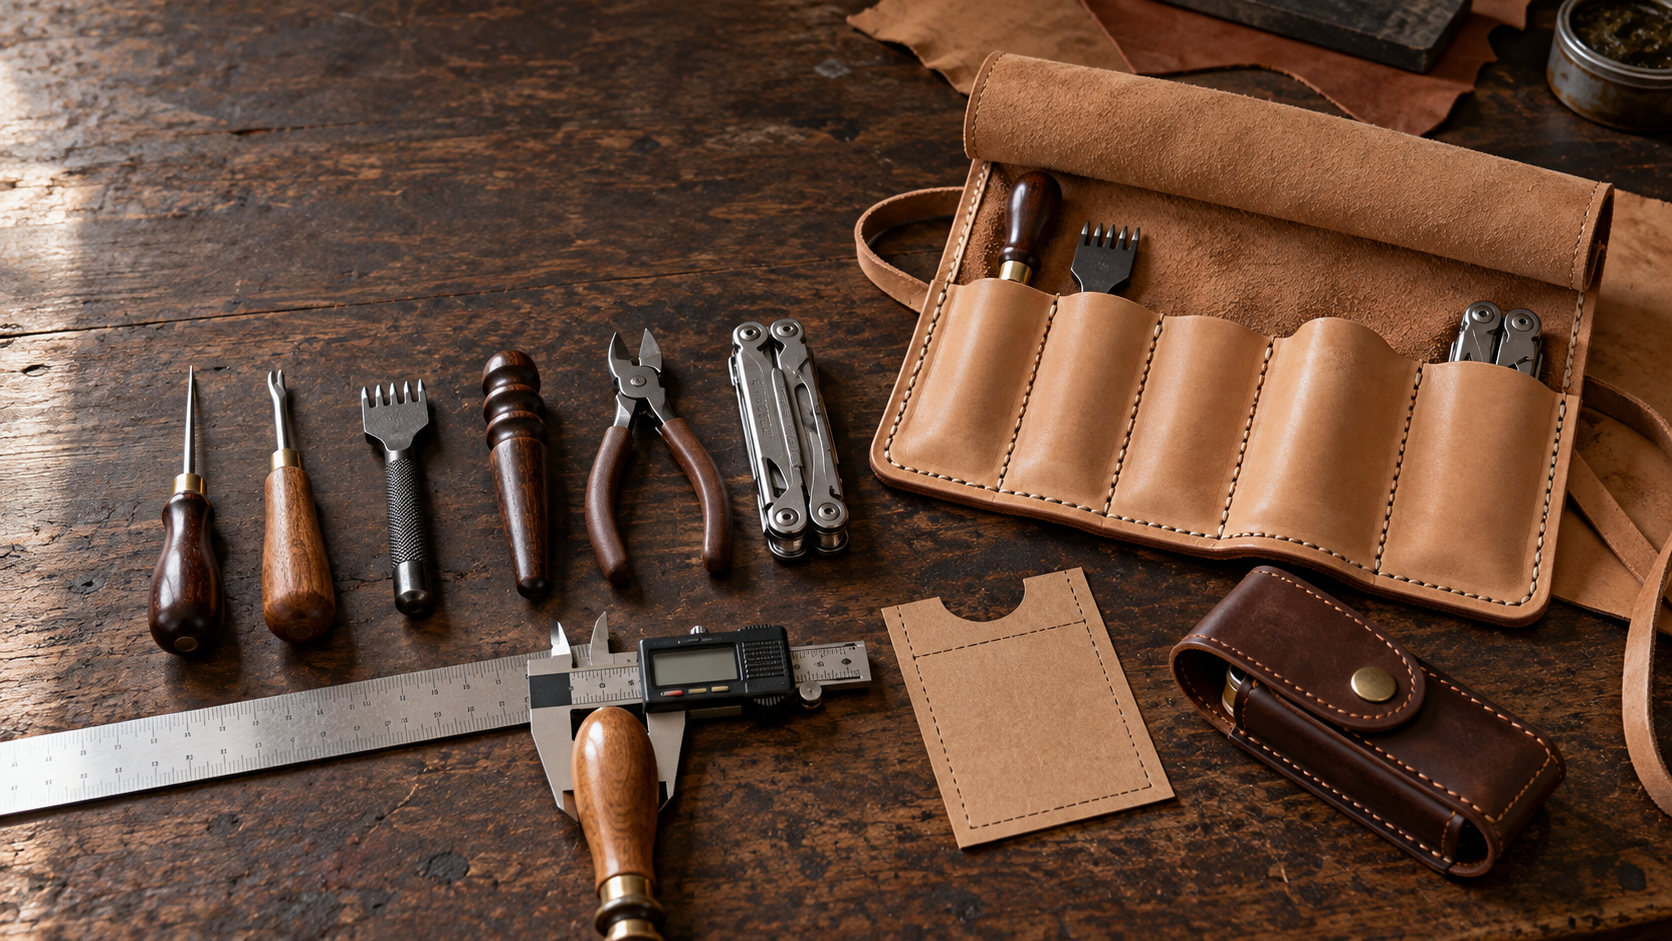
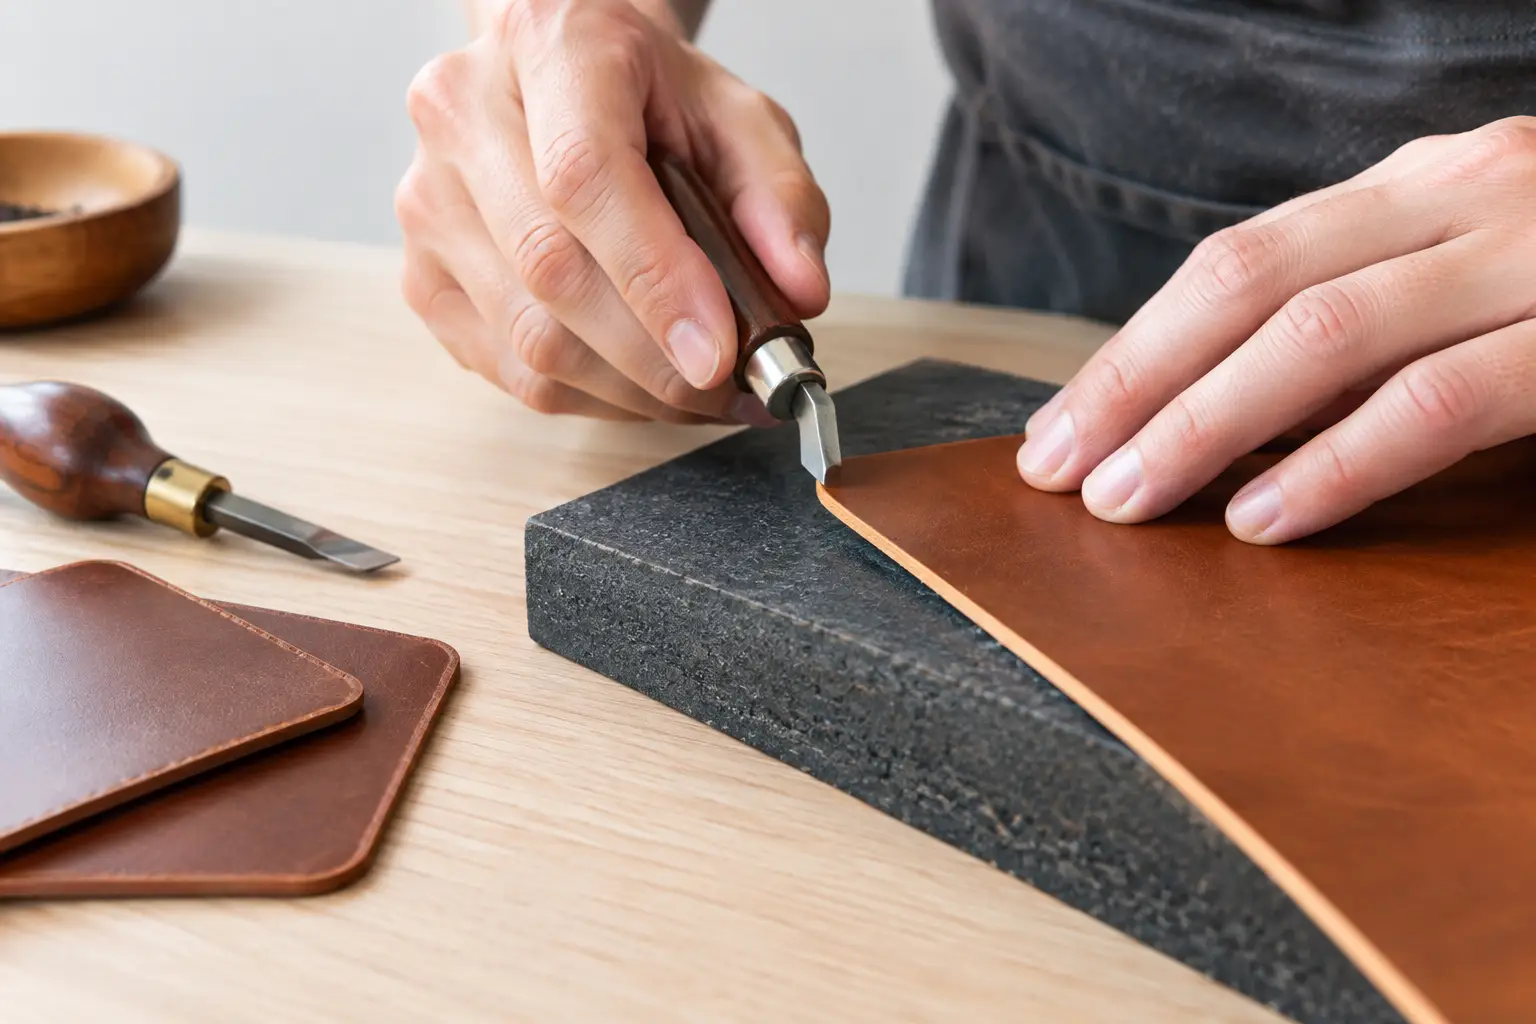
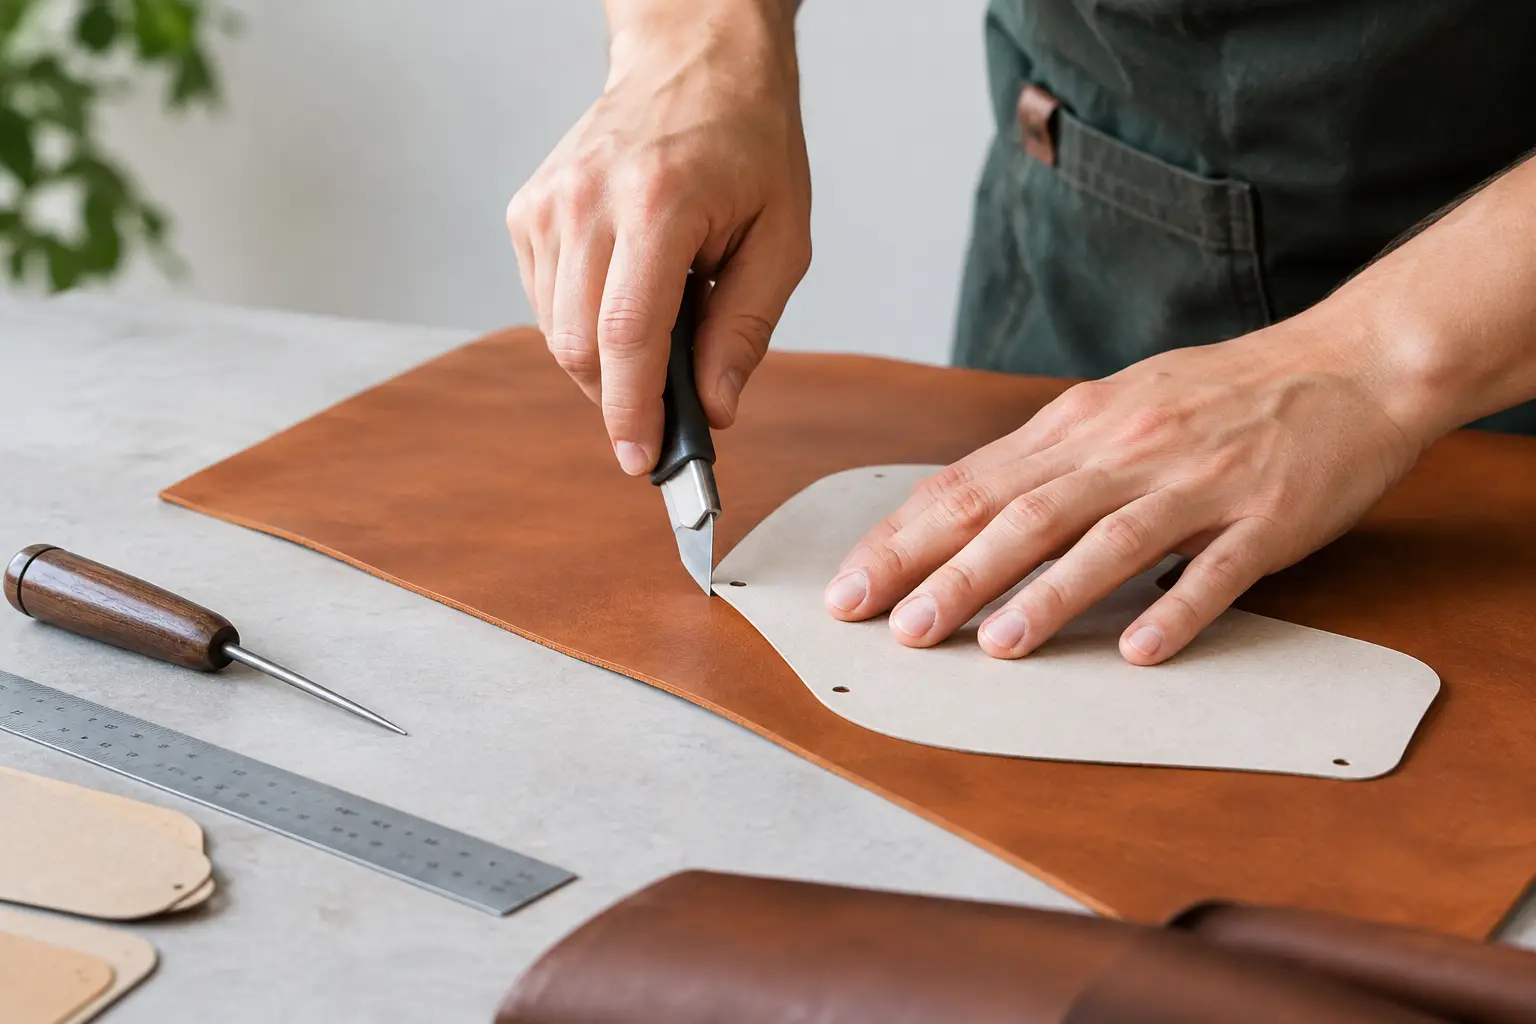
For straight cuts, place a non-slip metal ruler just beside the traced line, not directly over it. Keep your fingers well away from the blade path. Draw the knife toward you in a controlled pass, using light pressure. Trying to cut thick leather in one forceful stroke is a common cause of curved lines, torn grain, and slips.
Instead, make two or three light passes. The first establishes the path. Each following pass travels in that groove with less effort and better control. If the cut does not go all the way through, flex the leather slightly along the line and finish it from the opposite side rather than forcing the blade.
Curves ask for a different approach. Keep the knife hand steady and rotate the leather with your other hand as you cut. This lets the blade maintain a natural angle and reduces the tendency to pivot your wrist. Make short cuts on tight curves, stopping before you feel yourself fighting the line. A fresh blade is especially valuable here.
Use the Right Blade, and Change It Early
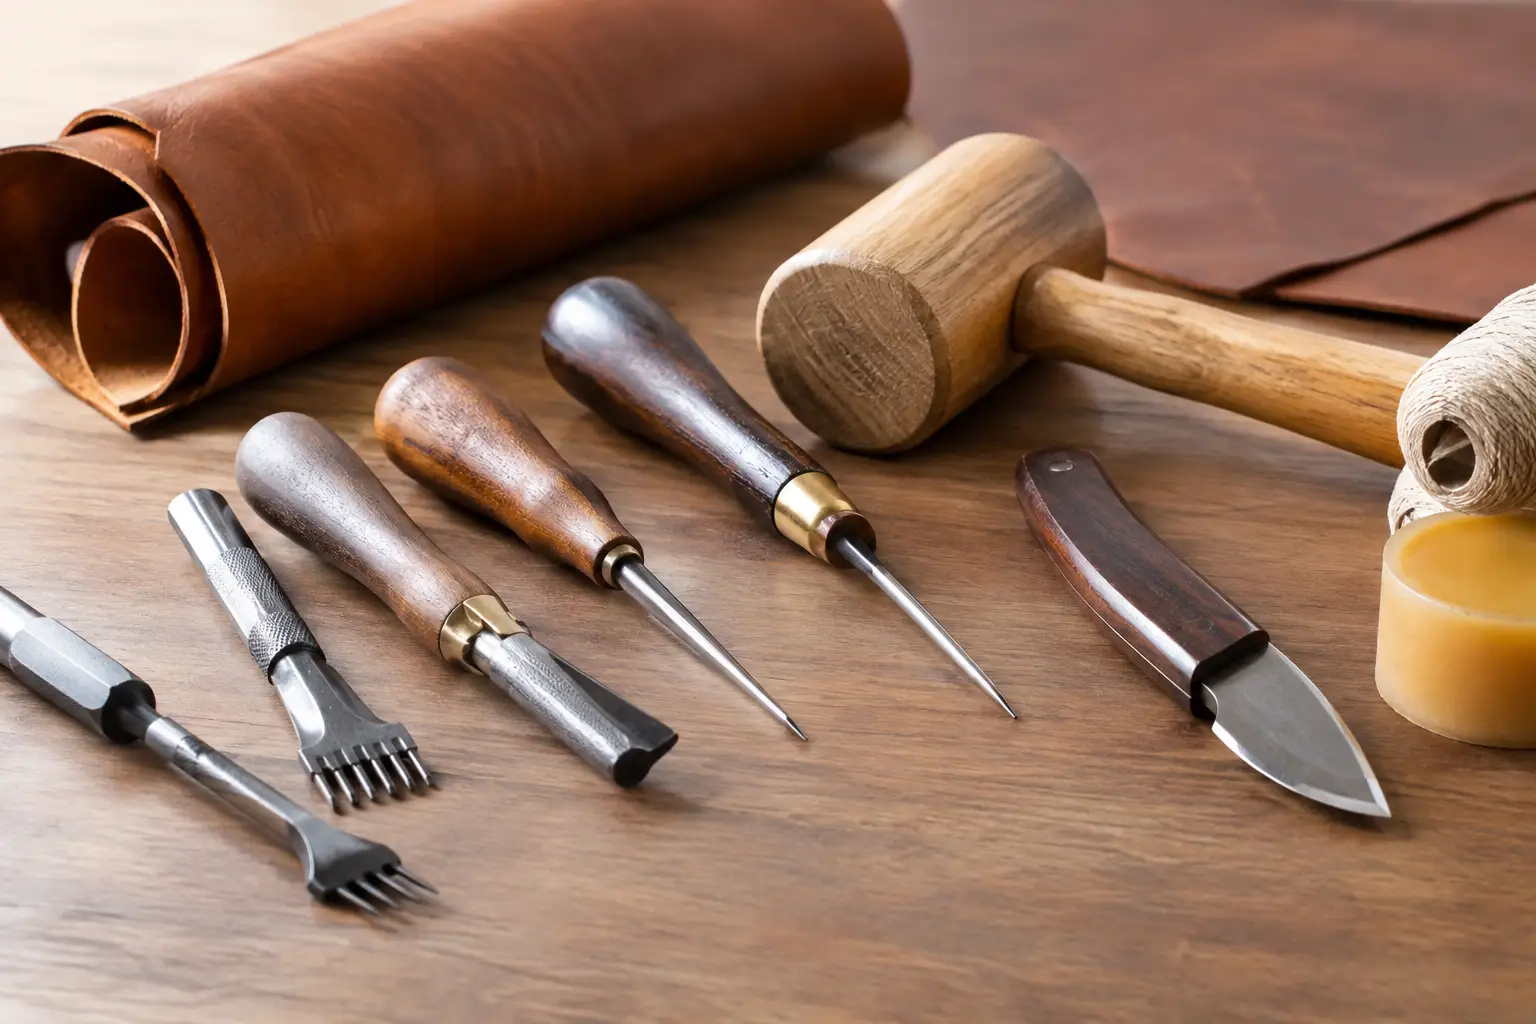
A utility knife, craft knife, or head knife can all cut pattern pieces effectively when sharp and used with control. What matters most is the edge. A dull blade compresses leather before it cuts it, leaving a fuzzy edge and requiring extra pressure. Extra pressure is where accuracy disappears.
Keep spare blades at the bench. Change or strop your blade when you notice it skipping, dragging, or requiring you to press harder than usual. This is not wasted material or over-cautiousness. A sharp blade protects the leather, the pattern line, and your hands.
For very small inside corners, stop the straight cut just short of the corner, then approach it from the adjoining direction. This produces a cleaner intersection than trying to turn a blade sharply while it is buried in the leather. For inside holes or slots, use the punch size specified in the pattern when possible, then connect any straight sections with a knife.
Check Each Piece Before Moving On
After cutting, place the leather piece back against the template. Check the corners, curves, and critical edges before you cut the next matching part. Catching a small issue early may allow you to refine one edge before it becomes a mismatch across several components.
Do not rush to bevel or burnish immediately. First, dry-fit the major pieces and confirm that fold lines, pockets, gussets, and mating edges make sense. Some patterns intentionally include oversized edges that are trimmed flush after gluing. Others require finished edges before assembly. Following the construction order matters as much as cutting accurately, because the right time to refine an edge depends on how the project comes together.
A few habits make a meaningful difference over time:
- Cut the largest and most visible pieces first, then use the remaining leather for smaller components.
- Leave a little space between traced parts so the knife and ruler have room to work cleanly.
- Keep template labels with each piece until the project is assembled, especially when several parts look similar.
- Save usable offcuts. Small pieces are useful for pull tabs, reinforcements, test stitches, and trying a finish.
When a Slightly Imperfect Cut Is Still Usable
Not every cut needs to be discarded because it is not flawless. A light waviness on an edge that will be trimmed, skived, folded, or covered by a gusset may never be visible. A minor error on a standalone finished edge is more significant. The useful question is not simply, “Is this perfect?” It is, “Will this affect fit, strength, symmetry, or the finished appearance?”
If an edge is only slightly proud, you can often true it with a ruler and a fresh blade, or sand it carefully after adhesive joins paired layers. If a piece is too small, though, adding material is rarely a satisfying fix. Recutting a critical part can save hours of trying to force an inaccurate component into the build.
The more patterns you make, the more your cutting process becomes personal: the marking tool you trust, the template material you prefer, the blade that feels right in your hand. Start with clear lines, take light passes, and give each piece a quick check before assembly. That steady attention is what turns a printed pattern into a project that feels good from the first cut to the final edge finish.