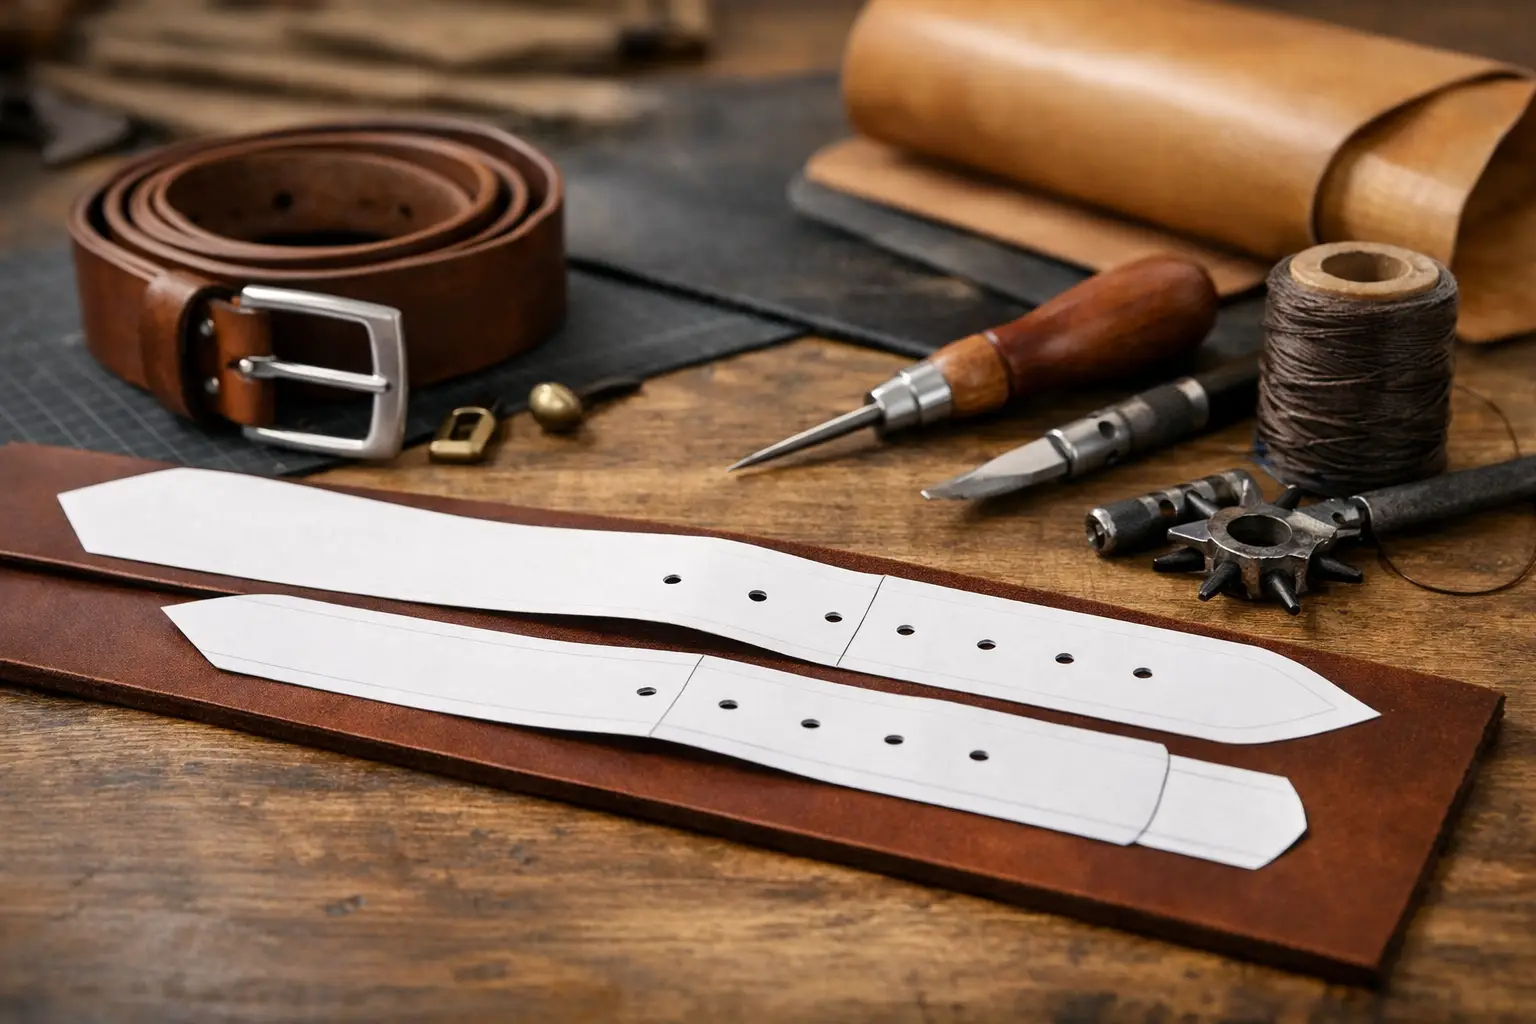
A leather belt is one of the most useful projects on the bench, but it leaves very little room for guesswork. A leather belt pattern printable gives you a dependable starting point for sizing, hardware placement, and clean proportions, so you can spend less time correcting measurements and more time building a belt you will actually wear.
Unlike a small pouch or tray, a belt has to perform across its full length. The strap needs to fit the wearer, the buckle needs to sit comfortably, the holes need to land in the right range, and the leather must be firm enough to hold its shape. A good pattern turns those decisions into a clear build sequence without taking the making out of your hands.
What a Printable Leather Belt Pattern Should Include
A belt pattern does not need to be complicated, but it should be intentional. At minimum, it should show the finished strap width, the buckle-end layout, the tip shape, hole spacing, and the measurement point used to determine belt size. Those details are what separate a useful template from a basic strip of leather with a row of holes.
Look for a pattern with a clearly marked print scale. If the file includes a one-inch test square, measure it before cutting anything. Printers sometimes reduce or enlarge PDFs automatically, and even a small scaling change can shift hole placement enough to affect the final fit. Print at 100 percent or actual size, with any “fit to page” setting turned off.
The clearest printable patterns also explain where the measurement begins. In most cases, belt sizing is measured from the buckle’s fold point or bar to the center adjustment hole. That center hole gives the wearer room to tighten or loosen the belt as needed. If a pattern does not identify its measuring method, pause before you cut. A belt marked as 34 inches can fit very differently depending on where that 34-inch measurement starts.
Start With the Wearer, Not the Pants Tag
Pants size is a useful reference, but it is not a reliable belt measurement. Vanity sizing, rise height, and the way a person wears their pants can all change the number. The best approach is to measure a belt that already fits well.
Lay the existing belt flat and measure from the point where the buckle tongue rests against the buckle bar to the hole most often used. That measurement is your target fit. When building from a leather belt pattern printable, match that target to the pattern’s center hole rather than simply choosing a size based on a jeans label.
If the belt is a gift and you cannot measure an existing belt, build in a sensible adjustment range. Five holes spaced three-quarters of an inch apart works well for many casual belts. The center hole should represent the intended fit, leaving two holes on either side for everyday changes. For a dress belt, closer hole spacing can look more refined, but it also requires more careful layout.
Choose Leather That Matches the Job
Most everyday belts begin with vegetable-tanned strap leather in the 8 to 10 ounce range. That weight offers the firmness needed for a single-layer belt while still allowing a clean fold at the buckle. A heavier strap can make a substantial work belt, while a slightly lighter weight may suit a narrow belt or a lined construction.
Leather selection is not only about thickness. The temper, surface character, and stretch direction matter too. A firm, clean strap will give you crisp edges and a stable finished shape. Softer leather can be comfortable, but it may stretch around the holes or buckle over time if it is not supported with a liner.
Cut the belt along the length of the hide with the grain running straight down the strap. Avoid areas with loose fibers, deep wrinkles, or pronounced belly stretch, especially near the buckle end and adjustment holes. Those sections take the most stress in daily use.
For a first belt, a natural vegetable-tanned strap is a practical choice because it lets you focus on the pattern and construction. You can leave it natural with a protective finish, apply an oil for a warmer tone, or add dye after the edges are prepared. Each option changes the final look, so test color and finish on a scrap from the same leather before committing to the full strap.
Build the Buckle End With Care
The buckle end is where a simple belt becomes a finished piece of leatherwork. Your pattern should show the fold line, slot or holes for the buckle tongue, stitch line, and keeper placement. Transfer these marks carefully with an awl or a light marking tool rather than relying on a broad pen line.
Before gluing or stitching the fold, dry-fit the buckle. Make sure the strap passes cleanly around the buckle bar and that the tongue has room to move through its slot. If you are using a Chicago screw instead of stitching, check that the screw location will not interfere with the buckle or create an uncomfortable pressure point.
A stitched buckle end has a traditional, durable look and gives you a chance to add a detail that suits your skill level. A simple box stitch is clean and dependable. A shaped stitch line or a subtle crease can add character without making the project feel overworked. If you are still developing your stitching rhythm, prioritize even spacing and straight lines over decorative complexity.
The keeper deserves the same attention. A fixed keeper is stitched or secured near the buckle and gives the belt a tidy, consistent look. A floating keeper moves freely and can be useful when the belt tail length varies. Some makers use both, especially on wider work belts, but one well-made keeper is often all a casual belt needs.
Cut, Edge, and Finish in the Right Order
A printable pattern gives you the layout, but clean execution comes from the order of operations. Cut the strap accurately first, then shape the tip and prepare the buckle end. Mark and punch the adjustment holes only after confirming the belt length against your target measurement.
Before assembly, bevel the long edges and burnish them while the strap is still flat. This is easier than trying to work around a folded buckle end or attached hardware. A light pass with a beveler, followed by water, gum tragacanth, or your preferred burnishing method, can make a straightforward belt look far more finished.
If you plan to dye the belt, dye before final edge work in most cases. That helps keep color consistent across the face, flesh side, and edge. Allow the leather to dry fully before adding oil, conditioner, or topcoat. Rushing this stage can lead to uneven color transfer, streaks, or a finish that feels tacky rather than polished.
For hole placement, use a punch sized for the buckle tongue. Holes that are too small can make the belt difficult to fasten and cause unnecessary stress at the edges. Holes that are too large can look loose and wear out sooner. Test the buckle tongue in a scrap before punching the finished strap.
Common Belt Pattern Mistakes to Avoid
The most common mistake is printing a pattern without checking scale. It takes less than a minute to measure a test square, and it can save an entire strap. The next is treating the pattern size as a finished belt length without confirming where that size is measured.
Another frequent issue is choosing hardware after cutting the strap. Buckle inside width determines strap width, and buckle-bar style affects the fold and tongue slot. Select the buckle first, then use the pattern variation that fits it. A 1 1/2-inch casual roller buckle calls for different proportions than a slim 1-inch dress buckle.
It is also tempting to add every possible detail to a first belt: heavy tooling, contrast stitching, a lined interior, decorative conchos, and an elaborate tip. Those features can be rewarding, but they introduce more chances for an otherwise sound build to lose its clean lines. A well-cut strap, appropriate hardware, tidy edges, and a properly placed buckle are enough to make a belt worth wearing.
Make the Pattern Your Starting Point
Once you have built one belt from a clear pattern, you can begin making thoughtful changes. Try a different tip profile, move from five adjustment holes to seven, change the buckle finish, or add a stamped border. Make one change at a time so you can see how it affects the fit and the overall look.
That is the real value of a well-organized pattern. It does not limit your creativity. It handles the repeatable measurements and construction decisions that can slow a project down, leaving you free to focus on the leather, finish, and details that make the belt yours. Build carefully, check the fit before the final punch, and let the finished belt earn its character through use.