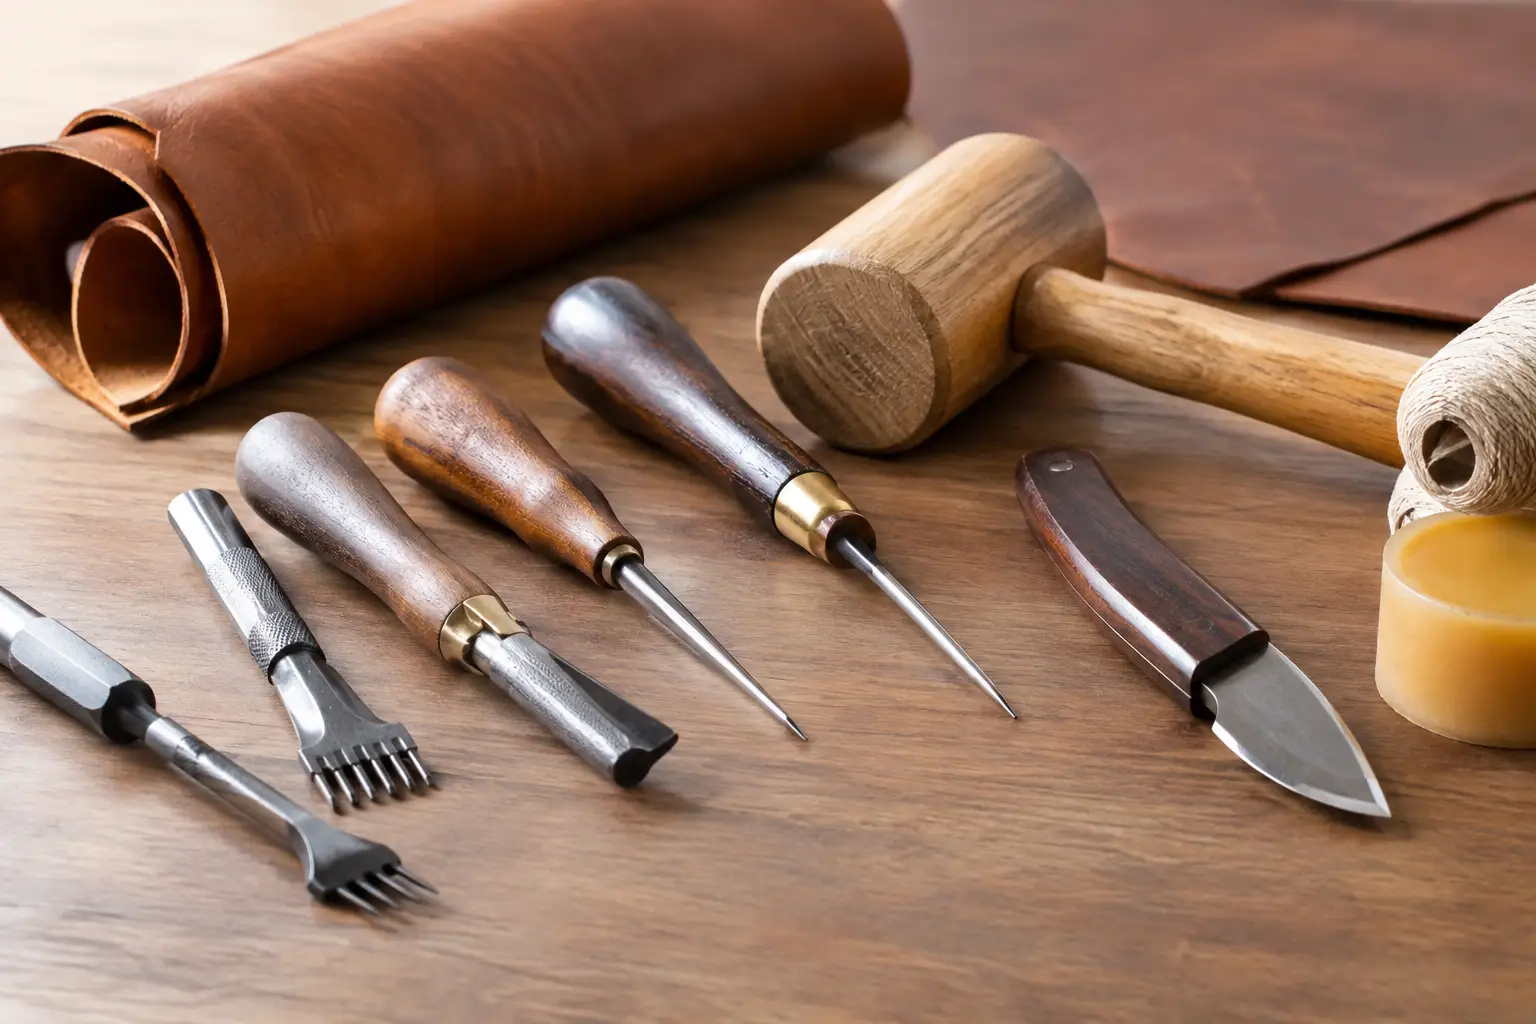
A good set of leatherworking tools should make the next step clearer, not make your bench feel crowded. Whether you are cutting your first small tray or building wallets, belts, and cases, the right tools help you work accurately, repeat a process, and enjoy the time spent at the bench.
The useful question is not, “What tools do I need to own?” It is, “What does this project ask me to do?” A well-organized pattern answers part of that question by showing the cuts, holes, and assembly order. Your tools should support that plan without adding unnecessary complexity.
Start with leatherworking tools for the work you do
Leathercraft has a way of encouraging tool collecting. There is always another stamp, edge attachment, specialty knife, or finishing aid that looks useful. Some tools will eventually earn their place. But when you are building foundational skills, a smaller kit is usually the better choice.
Start by considering the operations that appear in most projects: measuring and marking, cutting, preparing stitch holes, stitching, shaping edges, and finishing. If a tool helps you perform one of those jobs cleanly and safely, it is likely a practical purchase. If it only supports a project style you have not tried yet, it can wait.
A simple card holder and a lined bag do not need the same setup. Thin leather goods often reward precise cutting and tidy edge work. Heavier belts and holsters may call for more force, heavier punches, and different stitching irons. Buy for the projects you want to make over the next few months, not every project you might make someday.
The core bench setup
Measure, mark, and cut with accuracy
A steel ruler, scratch awl, cutting mat, and sharp knife form the working center of many benches. The ruler gives you a dependable straightedge for both pattern work and trimming. A scratch awl is useful for transferring marks and locating holes without leaving oversized marks in the leather.
For cutting, a utility knife with fresh blades is a sensible starting point. It is affordable, easy to control, and suitable for many pattern pieces. A round knife or head knife can be an excellent long-term tool, particularly for makers who enjoy skiving and curved cuts, but it comes with a learning curve and requires thoughtful sharpening. There is no need to begin there.
Sharpness matters more than prestige. A dull blade pulls at fibers, wanders from the line, and turns a straightforward cut into a frustrating correction. Replace disposable blades early, and keep any sharpened blade properly maintained. Clean cuts make every later step easier.
Prepare stitch holes consistently
Hand stitching is one of the details that gives leather goods their lasting character. For many makers, stitching irons are the clearest route to evenly spaced holes. Choose a spacing that suits the scale of your work, then stay consistent while you learn. A medium spacing is often approachable for wallets, trays, and small goods because it balances a refined look with manageable stitching time.
You will also want a sturdy mallet or maul and a firm punching surface. A non-metal striking tool protects your irons better than a steel hammer, while a dense cutting board or punch pad absorbs the impact underneath. A stitching pony or clamp is not essential on day one, but it quickly becomes useful once you are regularly saddle stitching. Holding the work at a comfortable height frees both hands and makes tension easier to control.
Pricking irons and stitching irons are sometimes used interchangeably in casual conversation, but they can behave differently. Some mark or pierce partway through the leather, while others punch through more completely. Follow the method recommended by your pattern or instruction set, and test the tool on scrap leather before committing to the project pieces.
Make edge work part of the build
A clean edge can make a modest project feel considered. The basic tools are an edge beveler, sandpaper, burnisher, and a small amount of burnishing compound or water, depending on the leather. Beveling removes the sharp corner. Sanding levels uneven layers. Burnishing compresses and smooths the fibers.
This process takes patience. Thin vegetable-tanned leather can burnish beautifully, while chrome-tanned leather often responds better to edge paint or a different finishing approach. Stacked edges, especially on lined projects, may need glue, trimming, sanding, and several passes before they look even. The right tool helps, but the sequence matters just as much.
If your edges look rough, resist the urge to solve everything with more product. First check whether the pieces were cut evenly, glued securely, and sanded flat. Edge finishing usually reveals the quality of the preparation beneath it.
Use adhesives and hardware tools with purpose
Leather glue keeps layers from shifting while you stitch, but it is not a substitute for careful alignment. Apply a thin, even coat within the intended seam area, allow it to become tacky if the product calls for it, then press and position the pieces deliberately. A roller or smooth bone folder helps create a consistent bond without marking the grain.
For hardware, a small selection of hole punches, a drive punch, and the correct setter for your snaps, rivets, or eyelets can cover a lot of ground. Hardware is not universal. A setter must match the hardware style and size, so confirm the pairing before striking it into a finished piece. Test on scraps cut to the same thickness as your project.
What not to buy yet
Some leatherworking tools are genuinely valuable, but they are best added when your work gives them a clear job. A splitter, skiving machine, clicker press, elaborate stamping set, or large collection of specialty punches can be worthwhile for a committed direction in the craft. They are not a requirement for making handsome, useful goods.
It is also wise to avoid buying the cheapest version of every tool. A poor-quality stitching iron that bends or a beveler that tears the leather can make practice feel harder than it needs to be. At the same time, expensive does not automatically mean right for your bench. Aim for dependable tools in the categories you use most, then improve individual pieces as your preferences become clear.
Build your kit around a project
A project pattern is a practical way to choose tools because it turns a broad hobby into a specific sequence of work. Before starting, read through the entire pattern and set out what it calls for. Notice the leather weight, hardware, thread, adhesive, and tools before you cut anything.
This small preparation step prevents common bench interruptions. You may discover that your punch is the wrong size for a snap, your thread is too heavy for the stitch holes, or your chosen leather will not produce the edge finish you expected. Finding that out before assembly saves material and keeps the build enjoyable.
For a first project, choose something with a limited number of pieces and a clear construction order. A valet tray, card holder, key fob, or simple notebook cover gives you repeated practice with essential techniques without asking you to solve too many design problems at once. You can focus on straight cuts, aligned holes, even stitches, and finished edges.
As your skills grow, let completed projects guide the next purchase. If you repeatedly wish you could thin fold lines more cleanly, a skiving tool may be next. If hand punching becomes the slowest part of your process, a press may make sense. Your bench should develop in response to your work, not ahead of it.
Care for the tools you already have
Tool care is part of leatherworking, not an extra chore. Wipe metal tools dry after use, especially if water, dye, or burnishing products are on the bench. Keep cutting tools covered or stored safely. Clear leather dust from stitching irons and punches, and inspect their points before each project.
Give yourself a small, consistent reset at the end of a build. Put blades away, collect hardware, return adhesives to their lids, and brush scraps off the cutting surface. A clear bench makes it easier to start the next session with confidence.
The best leatherworking tools are the ones you understand well enough to reach for without hesitation. Choose a project that fits your current skills, prepare the few tools it truly requires, and let each finished piece show you what belongs on your bench next.