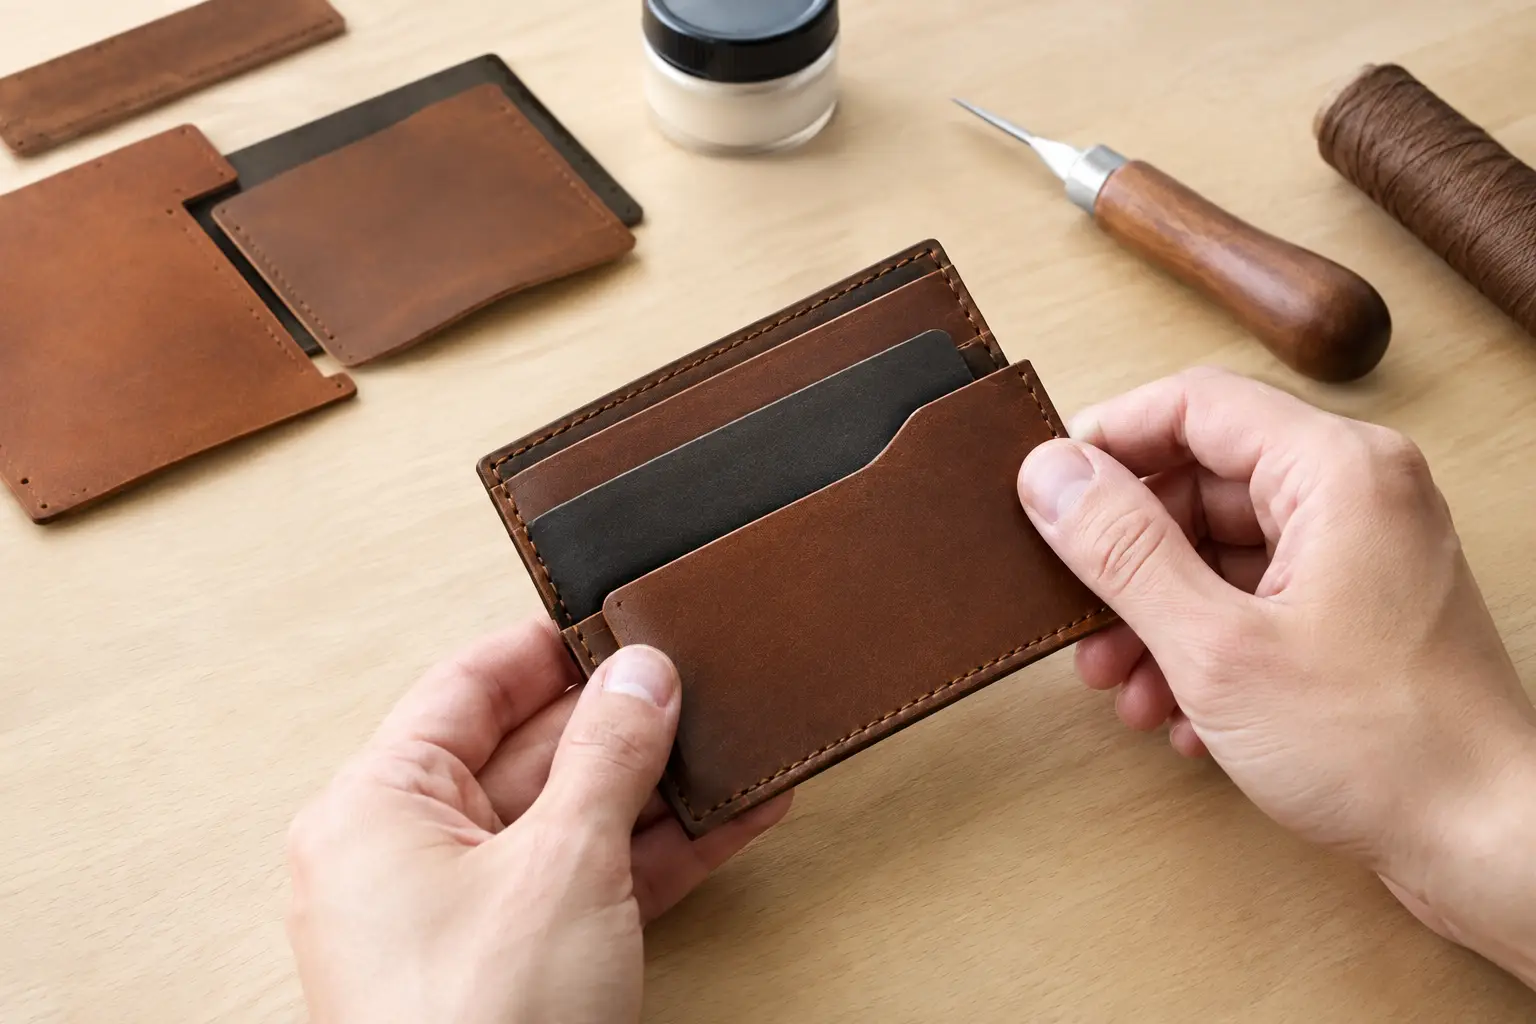
A cardholder is a small project, but it leaves very little room for hidden mistakes. A pocket set just slightly out of square can show at every edge. A stitch line that drifts near a card slot can make an otherwise good piece feel unfinished. Learning how to assemble a leather cardholder is less about rushing through a short build and more about handling each layer with intention.
The good news is that cardholders are excellent practice. You can build one in an afternoon, learn how leather behaves under glue and pressure, and end up with something useful enough to carry every day. The key is to establish your alignment before adhesive touches the leather, then let the construction order do the work for you.
Start With a Dry Assembly
Before applying glue, place every cut piece on the bench in its finished position. This is the moment to confirm which side faces out, which edges will be exposed, and how the pockets overlap. It sounds basic, but reversing one pocket or burnishing an edge that will later be trapped in a seam creates unnecessary work.
Most leather cardholders use a back panel, one or more pocket panels, and sometimes a center divider. Start from the back panel and stack the pockets in the order they will sit when complete. Check that the card openings are level and that the side edges line up. If your pattern includes registration marks, use them. They are there to remove guesswork, not add another step.
Put a sample card into each pocket position during this dry fit. The leather will gain a little thickness at the seams, particularly with folded or layered pockets. A card should slide in with light resistance, not require force. If the pocket opening seems tight now, it will not become roomier after stitching.
Prepare the edges before they disappear
Any edge that will remain visible after assembly should be finished before it is enclosed by another layer. This commonly includes the top edge of each card pocket and the top edge of a center slot. Sand these edges lightly, bevel if your leather weight supports it, then burnish or apply your preferred edge finish.
Do not finish the outside perimeter yet. That edge is easier to sand and refine once the full cardholder is stitched and trimmed. Pre-finishing only the exposed pocket openings keeps your work clean while giving you room to correct the final shape later.
Mark, Glue, and Build From the Inside Out
The most reliable answer to how to assemble a leather cardholder is to work from the innermost layers outward. Attach the pocket or divider that will be covered by the next piece first. This keeps stitch lines accessible and prevents you from trying to sew through more layers than the design requires.
Use a scratch awl or silver pen to transfer alignment points if needed. A light mark is enough. Avoid deep scratches on grain leather, especially on light colors, because they can remain visible after finishing.
Apply adhesive only where the pieces need to hold before stitching. For a simple cardholder, that usually means narrow glue lines along the sides and bottom of each pocket. Keep adhesive away from the pocket opening and away from areas where a later stitch line needs to remain flexible.
A thin, even coat is better than a heavy one. Too much glue can soak into the edge, interfere with burnishing, or squeeze onto the grain side when you press the layers together. Let contact cement reach the proper tack before joining the pieces. With water-based adhesives, follow the working time recommended for the product and press the layers firmly once aligned.
When you set a pocket in place, begin at a registration point or one corner rather than dropping the entire piece down at once. Press from the center toward the edges to push out trapped air and keep the leather flat. Then use a roller, bone folder, or smooth hammer face to seat the bond without marking the grain.
If your cardholder has two stacked pockets on each side, attach the lower pocket first. Stitch its exposed bottom or side seam before adding the pocket above it when the pattern calls for separate stitching. Once the top layer is attached, that line may no longer be accessible.
Stitch With the Layers Fully Controlled
After the glued pieces are secure, check the assembly again before punching stitching holes. Look closely at the pocket openings. They should be parallel, and the margins on the left and right should feel balanced. Small adjustments are still possible before the adhesive fully sets and before holes make the position permanent.
For makers using a pre-punched pattern or template, confirm that the hole rows meet cleanly where panels overlap. If you are marking your own stitch line, set it far enough from the edge to support the leather without crowding it. On many cardholders, a consistent narrow margin looks refined, but the right distance depends on leather thickness, thread size, and the design itself.
Punch or prick through the layers on a firm surface, keeping your tool upright. Angled holes may not seem serious from the front, but they often show as uneven spacing on the back. If you are stitching with chisels, work in short sections and keep the project flat. Thick stacks near pocket corners can shift if you try to punch the entire perimeter in one pass.
Saddle stitching is a dependable choice for a cardholder because it creates a strong, balanced seam and is easy to repair if needed. Keep even tension rather than pulling every stitch as tight as possible. Excessive tension can pinch the leather along the seam, distort the pocket opening, and make a small wallet feel stiff.
Backstitch neatly at the beginning and end of a run, then trim thread close to the leather. If you melt synthetic thread ends, use a controlled touch and press the softened end gently into the stitch channel. Heat should never touch the leather directly.
Trim and Finish the Outside Perimeter
Once the final perimeter seam is complete, the cardholder starts to feel like one piece. It may still have small layer differences along the edge, which is normal. This is where careful trimming and sanding bring the project together.
Use a sharp knife to remove only obvious overhang. Trying to cut the whole edge perfectly flush in one aggressive pass can create waves or take too much material from a corner. Instead, trim conservatively, then sand the layers level with a sanding block or firm backing.
Work through grits gradually. A coarser grit corrects uneven layers, while finer grits remove the scratches left behind. Keep the block square to the edge so you do not round over one panel more than the other. Pay particular attention to the corners, which can quickly become misshapen if sanded too heavily.
After sanding, bevel the exterior edge if the leather thickness and style call for it. A very thin cardholder may look better with only a light edge break, while a heavier vegetable-tanned build often benefits from a more defined bevel and burnish. Apply water, gum tragacanth, wax, paint, or your preferred finish according to the leather and the look you want.
Let the finished edge dry before flexing the pockets repeatedly. Then insert cards and test the fit. The pockets should hold cards securely while still allowing a clean draw. Leather relaxes with use, so avoid building a cardholder that begins too loose.
Common Assembly Problems and Simple Fixes
If the layers creep out of alignment while gluing, do not try to solve it by stretching the leather into place. Lift the piece carefully while the adhesive still allows it, reset from your alignment marks, and press again. If the bond has already set, trim and sand only after stitching, provided the shift is minor.
If a pocket feels tight, first make sure the stitch line has not crossed too close to the opening. A bone folder can help shape and open the pocket slightly, but it cannot compensate for a design that lacks enough room. Testing with real cards during the dry assembly prevents this issue more effectively than forcing the leather later.
If the finished edge looks uneven, resist adding more edge finish to hide it. Go back to sanding. Clean edge work comes from a level, well-prepared surface, not from a thick coat of product.
A thoughtful pattern gives you the construction order and reference points, but your hands set the final standard. Take an extra minute at each glue-up, check the fit before stitching, and let the edges earn their finish. That steady approach is what turns a small stack of leather into a cardholder you will be glad to carry.
Leave a Reply