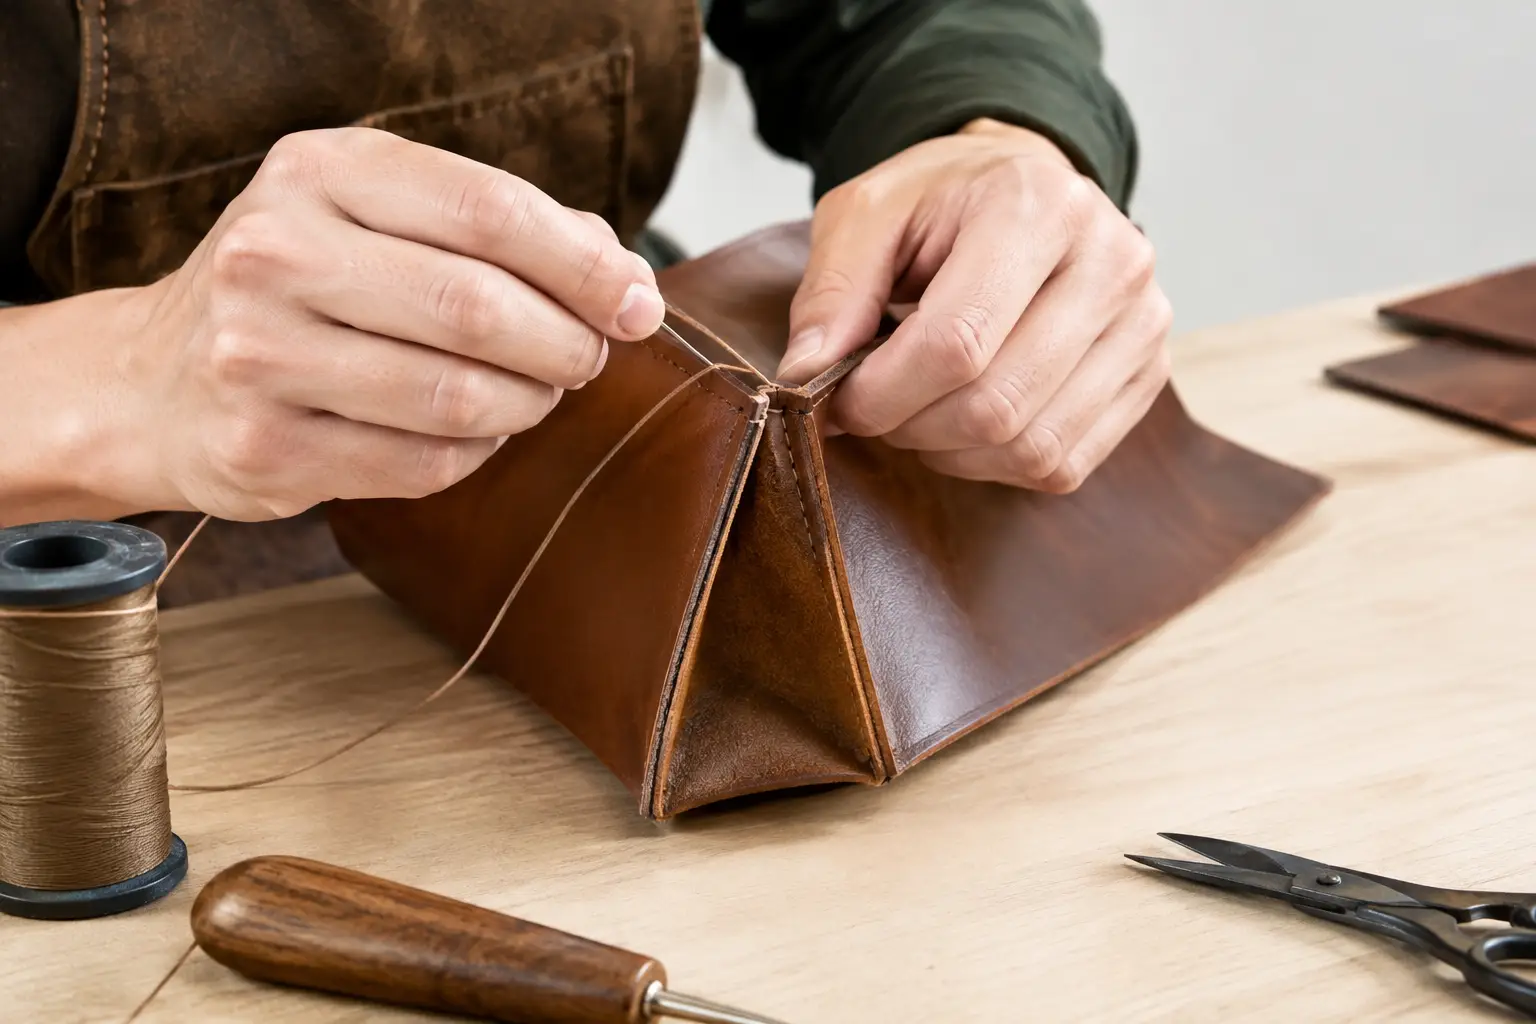
A gusset is what gives a flat leather project its usable depth. It turns two panels into a pouch, gives a bag room to carry more than a few cards, and helps a case hold its intended shape. The challenge is that learning how to stitch leather gussets asks you to manage a curved or folded piece of leather while keeping both stitch lines aligned. A little preparation makes that work far more predictable.
The goal is not to force the gusset into place. It is to let the pattern, leather thickness, stitch spacing, and assembly order work together. When those details are right, the seam closes cleanly and the finished piece looks intentional from every angle.
Start With a Gusset That Fits the Pattern
Before reaching for needles, confirm that the gusset is the correct length and has been prepared for the construction style your project uses. A gusset can be a single continuous strip around the sides and bottom of a pouch, separate side pieces, or a folded piece that creates a boxed bottom. Each style is stitched differently, but they all depend on accurate matching points.
If you are working from a pattern, transfer every alignment mark before cutting or punching. Center marks, corner marks, and start and stop points are not decoration. They tell you where the gusset needs to meet the body panels so excess leather does not slowly migrate to one end of the seam.
For a continuous gusset, find and mark the center of the bottom edge on the gusset and on the main panel. Then mark the points where the gusset transitions into each side. On a symmetrical project, these marks provide a simple way to check your progress as you stitch.
Dry-fit the pieces before punching stitch holes. Lay the gusset against the panel and confirm that the edges meet without stretching, bunching, or coming up short. If the gusset is slightly long, do not trim it immediately. First check whether the pattern calls for final trimming after assembly. If it is short, stop and identify the cause. Stretching leather to make up a length difference often creates distorted corners and uneven tension later.
Prepare Edges Before Assembly
Many gusset projects are easier to finish when you complete some edge work before stitching. This depends on the design. A lined bag may hide the seam allowance, while an unlined pouch with exposed edges may need careful burnishing after the seam is closed.
At minimum, make sure the flesh side is clean and the grain side is free of marks where adhesive will be applied. If the design includes turned edges, skived areas, or a fold line, complete that work before glue enters the process. Trying to skive or crease a gusset after it is sewn to a panel is possible, but it is rarely the cleanest route.
For most hand-stitched projects, you will want the following at the bench:
- A sharp knife or shears for final trimming
- Contact cement or a leather-safe adhesive
- Stitching chisels or pricking irons
- Harness needles and appropriately sized thread
- Clips, a mallet, and a flat stitching surface
Choose thread and hole spacing that suit the leather. Fine thread in widely spaced holes can make a gusset seam look loose. Heavy thread in tight holes can crowd the edge and make corners difficult to control. For many small goods, a balanced pairing of moderate-weight thread and consistent spacing produces a neat, durable result.
How to Stitch Leather Gussets Step by Step
Glue in short, controlled sections
Apply adhesive to the seam allowance rather than coating the entire gusset at once. Start at a center mark or at the bottom of the project, depending on the pattern instructions. Bring the matching marks together first, then press outward a few inches at a time.
This approach gives you room to correct alignment before the adhesive grabs. Clips can hold the assembly while the glue sets, but use them carefully on softer leather because they may leave impressions. A small roller or bone folder helps press the seam consistently without overhandling the leather.
For a gusset that follows rounded corners, work slowly around the curve. The inside edge of the gusset needs to compress slightly as it turns, while the outside edge travels farther. Do not pull the leather tight to make the curve happen. Instead, guide it into position in small increments.
Punch the holes through both layers
If your pattern has pre-marked stitch holes, align those marks before punching. If it provides only a stitch line, glue first and then use your pricking irons through both layers. Punching through the assembled seam is one of the most reliable ways to keep holes aligned on a simple unlined gusset project.
Keep the iron vertical, especially near corners. A tilted chisel can exit too close to the edge on the back side, which weakens the seam and makes the finished stitching look uneven. On a tight curve, use a smaller iron or punch fewer holes at a time so the spacing can follow the shape naturally.
When a gusset meets a sharp corner, do not assume a full iron will land perfectly. It is often better to place the corner hole deliberately, then fill the remaining distance with a smaller pricking iron or an individual awl. A clean corner is worth more than forcing the same tool into every section.
Stitch with steady, even tension
Begin where the pattern recommends, usually at the center bottom, a concealed point, or one side of an opening. Use a saddle stitch and maintain the same thread tension on every hole. Pull each stitch firmly enough to seat the thread, but not so tightly that the seam pinches or the gusset edge begins to ripple.
The gusset can make the work feel awkward because the project will not always lie flat. Support the piece with your non-stitching hand and rotate it as needed. It is easier to move the project than to twist your wrists or pull the thread at an angle.
Pause at each alignment mark. If the marks still meet, continue. If the gusset has started to drift, correct it while the difference is small. Continuing several inches in the hope that it will work itself out usually leaves too much material at the final corner.
Backstitch two or three holes at the end, depending on thread size and project use. Trim the thread close, then melt synthetic thread ends carefully or tuck and hammer linen thread ends according to your preferred finishing method. Keep heat away from the leather surface.
Handle Curves and Corners With Patience
Most gusset trouble appears at the corners. A rounded pouch corner may need the gusset eased gradually around the turn. A squared bag corner may require a miter, a folded construction, or a separate side gusset designed to meet the bottom panel. The pattern should tell you which construction is intended, so avoid substituting one method for another unless you have adjusted the measurements.
If a curve bunches before stitching, remove the affected section from the adhesive and reset it. Forcing wrinkles into the seam will not make them disappear under thread. On thicker leather, a light skive along the flesh side of the gusset near a tight bend can reduce bulk, but only if the pattern allows enough material for it. Over-skiving leaves a weak, floppy edge.
At a folded bottom gusset, crease the fold accurately before joining it to the body. The fold should be crisp, but not crushed. A poorly located fold changes the depth of the finished piece and can make both side seams look mismatched.
Common Gusset Problems and What They Mean
If the gusset is too long at the end of the seam, the issue may be uneven glue-up, skipped alignment marks, or holes that were punched independently on each piece. Small differences accumulate quickly. Starting from the center and working outward helps prevent this on future builds.
If the gusset comes up short, verify that the main panel was cut to the correct size and that the leather was not stretched during assembly. Some leathers, especially soft chrome-tanned leather, can grow under tension. Firmer vegetable-tanned leather holds its dimensions better but may need more careful shaping around curves.
Wavy stitching often points to inconsistent pulling tension or a gusset that was stretched as it was glued. Uneven stitch spacing usually comes from trying to force a standard iron around a corner. Neither problem means the project is ruined, but both are useful signals for the next build.
Finish the Seam After Stitching
Once the seam is complete, inspect the edge before applying finish. Trim any minor unevenness with a sharp knife, taking light passes rather than trying to remove everything at once. Sand the layers flush if the leather and construction call for it, then bevel and burnish exposed edges as desired.
A gusset seam does not need to be perfectly invisible. It should be even, secure, and appropriate to the style of the piece. On a handmade pouch or bag, a well-spaced line of stitching and a clean edge often show the care behind the build better than an overly polished surface.
Give yourself permission to practice on a small card pouch, tray corner, or scrap assembly before committing to a larger bag. Each gusset teaches your hands how the leather wants to bend, and that bench experience carries into every project that follows.
Leave a Reply