A wallet is a small project with nowhere to hide. Every cut sits close to the next, every stitch line is visible, and a fraction of an inch can decide whether cards slide in smoothly or the finished piece feels bulky. That is why looking at wallet pattern examples before choosing a build can save real bench time. The right pattern gives you a project that matches your current skills, your preferred leather, and the way someone will actually use it.
A good wallet pattern does more than provide a shape to cut. It establishes pocket depth, fold placement, stitching order, and the relationship between layers. For a first wallet, that structure removes much of the guesswork. For an experienced maker, it leaves more room to focus on leather selection, edge work, lining choices, and personal details.
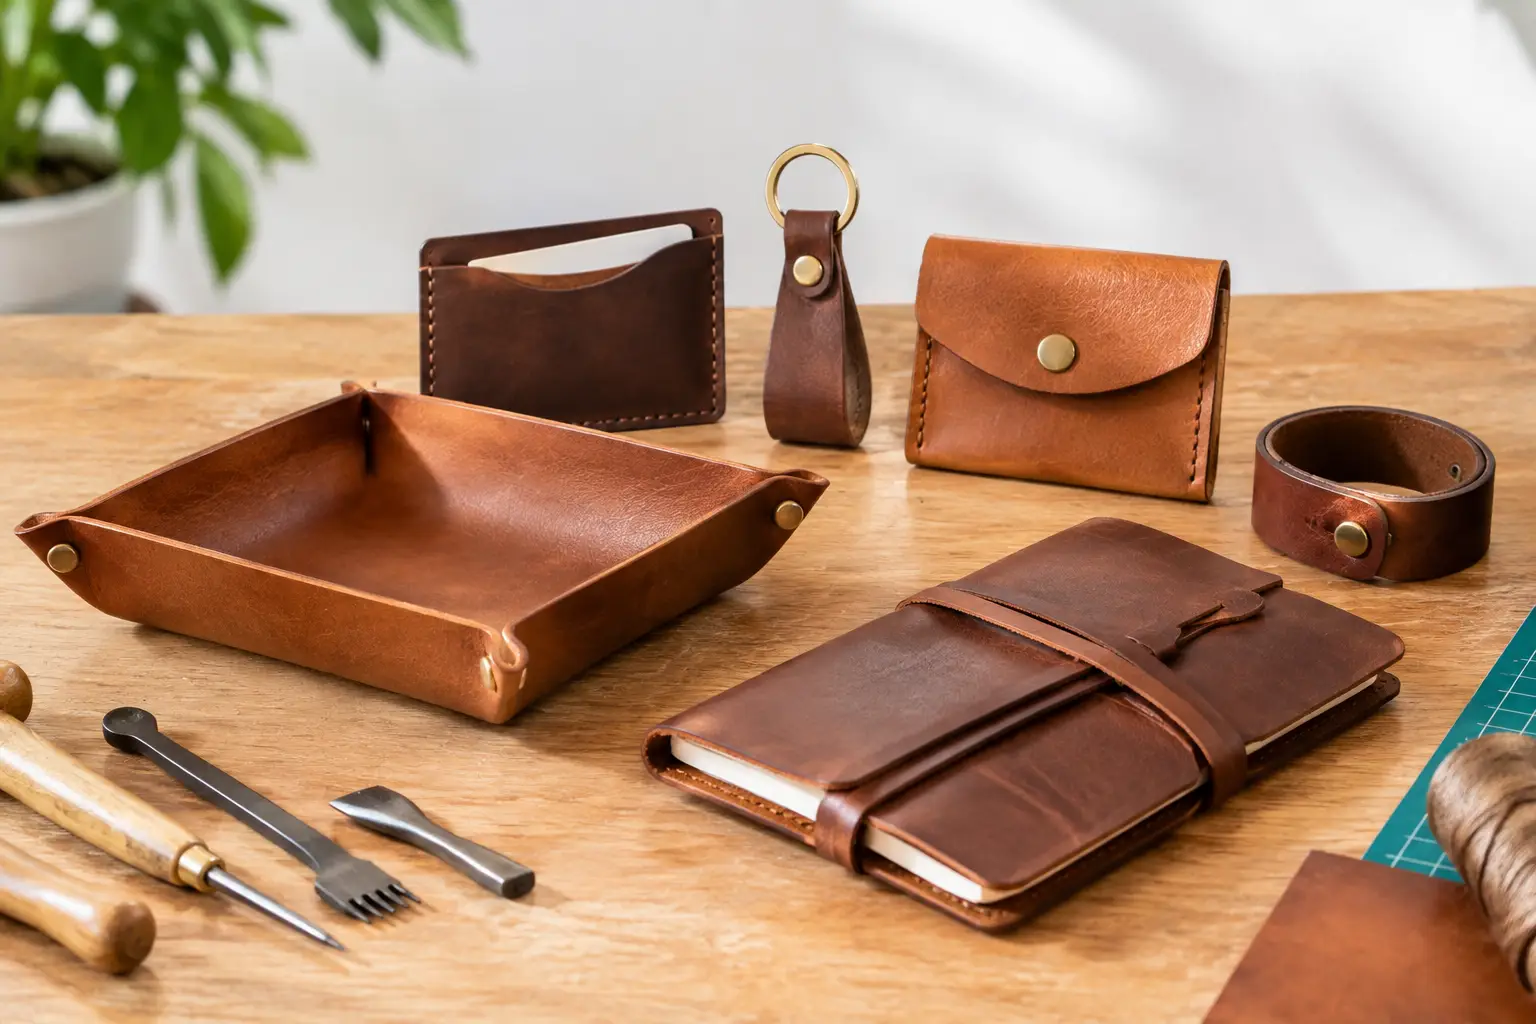
Wallet pattern examples by style
The best starting point is to choose a wallet format with a clear purpose. A handsome design that does not suit the intended carry will spend more time in a drawer than in a pocket.
Simple card holder
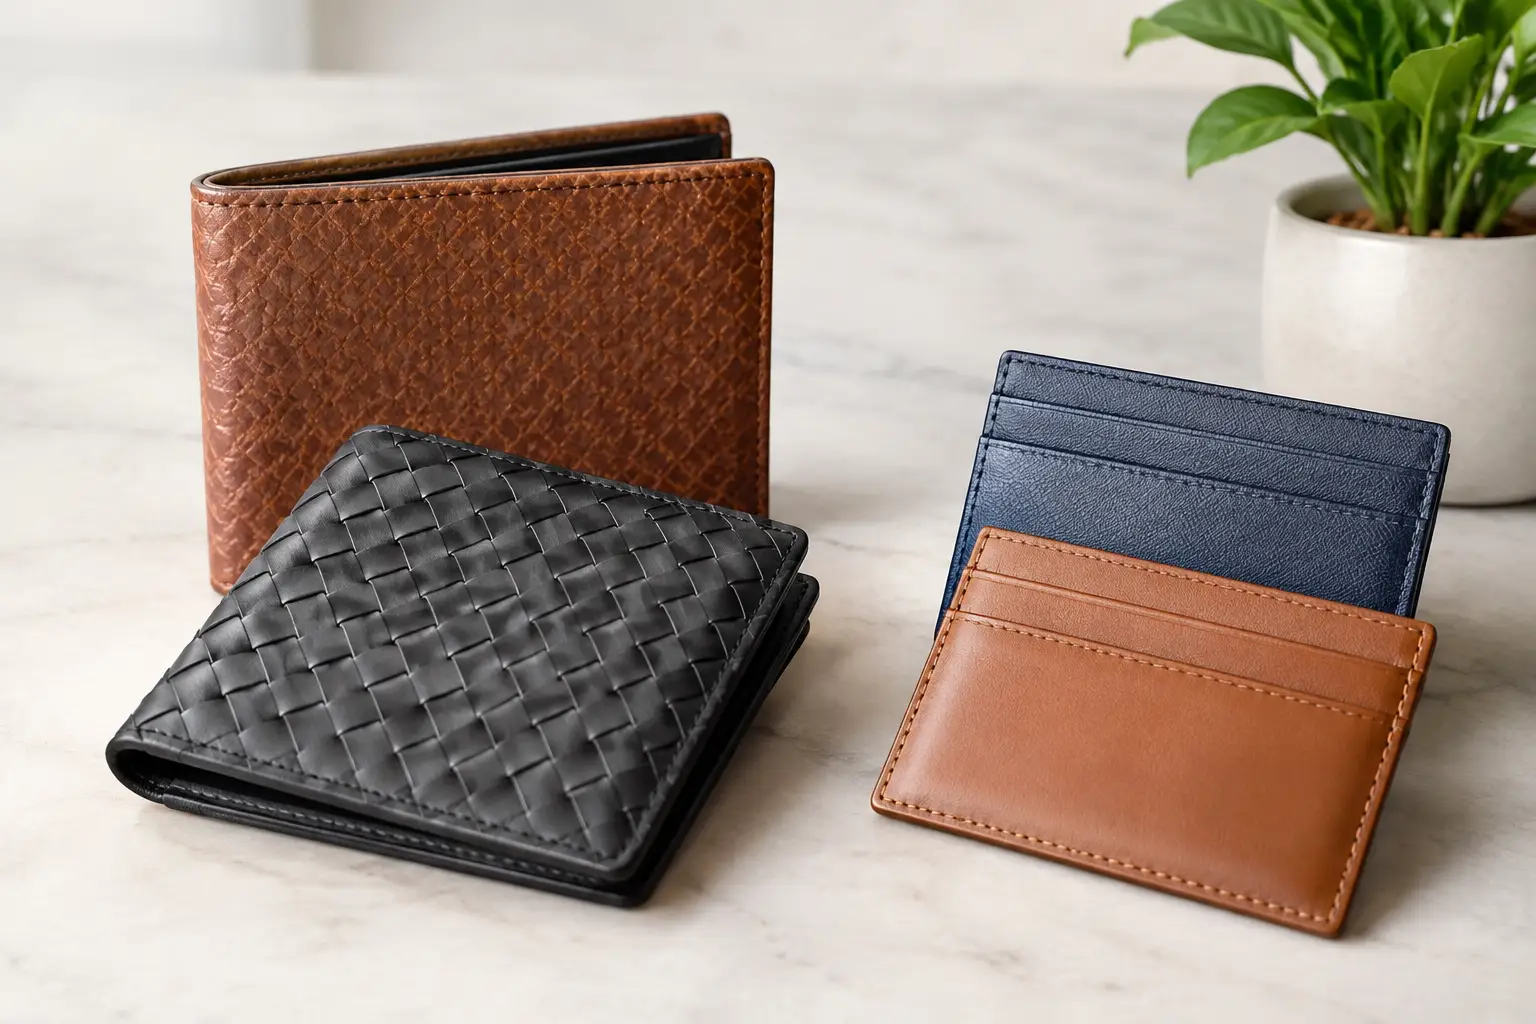
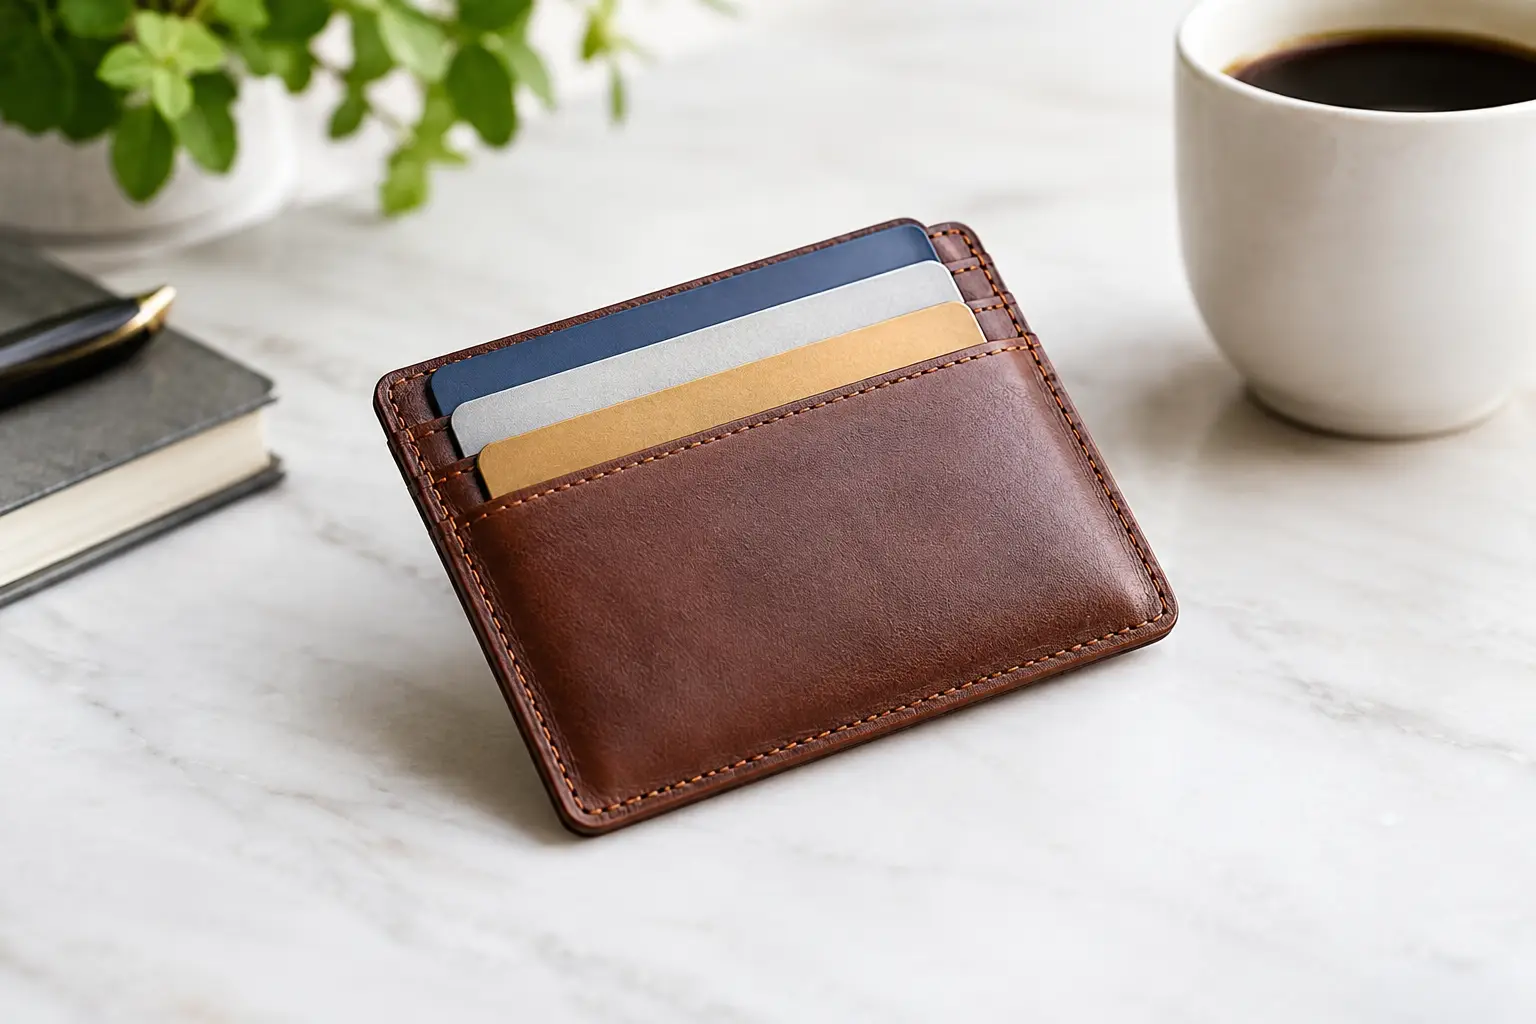
A card holder is often the most approachable wallet build. It may have one central pocket with one or two exterior card slots, or a layered front pocket arrangement for a few frequently used cards. Its compact footprint makes it a useful way to practice accurate cutting, clean glue-up, and consistent saddle stitching without managing a large number of pieces.
The trade-off is that small projects demand precision. A card slot cut too shallow can make cards difficult to retrieve. A stitch line set too close to the edge can weaken the leather, while one set too far inward reduces pocket capacity. Look for a pattern that clearly marks stitch placement and identifies which edges should be finished before assembly.
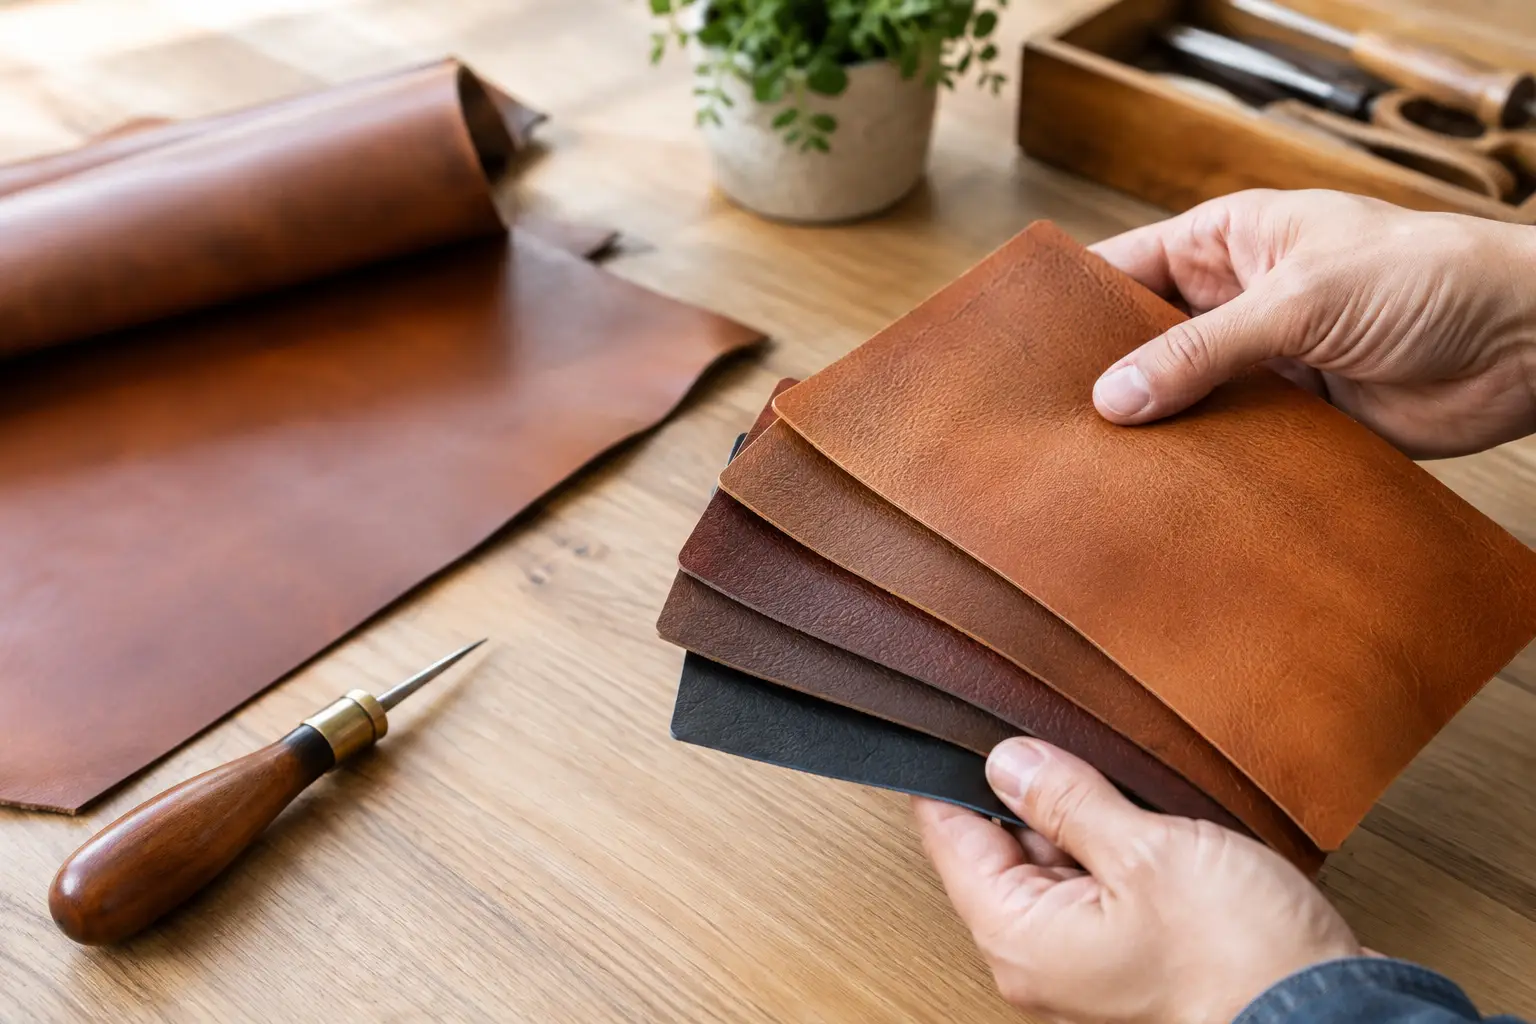
Card holders suit lighter leathers, commonly in the 2 to 4 ounce range depending on the construction. Firmer vegetable-tanned leather can create a structured, crisp result, while chrome-tanned leather may offer a softer break-in. If you are building your first one, avoid leather that is extremely stretchy or heavily textured. It can make cutting and keeping layers aligned harder than necessary.
Minimalist front-pocket wallet
A minimalist wallet is designed for a few cards and folded cash, often with a center compartment and angled access pockets. It is a practical next step after a basic card holder because it introduces more layers and pocket geometry without the full complexity of a traditional bifold.
These wallet pattern examples are especially useful for makers who want a finished piece that feels current and easy to carry. The angled pockets give the project visual movement, but they also require careful attention to the order of construction. Once a pocket is stitched closed, some edges are no longer reachable for burnishing or painting.
Before cutting, read the assembly sequence all the way through. Identify the edges that need beveling, burnishing, creasing, or edge paint while they are still open. This habit applies to every wallet, but it becomes essential as layers overlap.
Classic bifold wallet
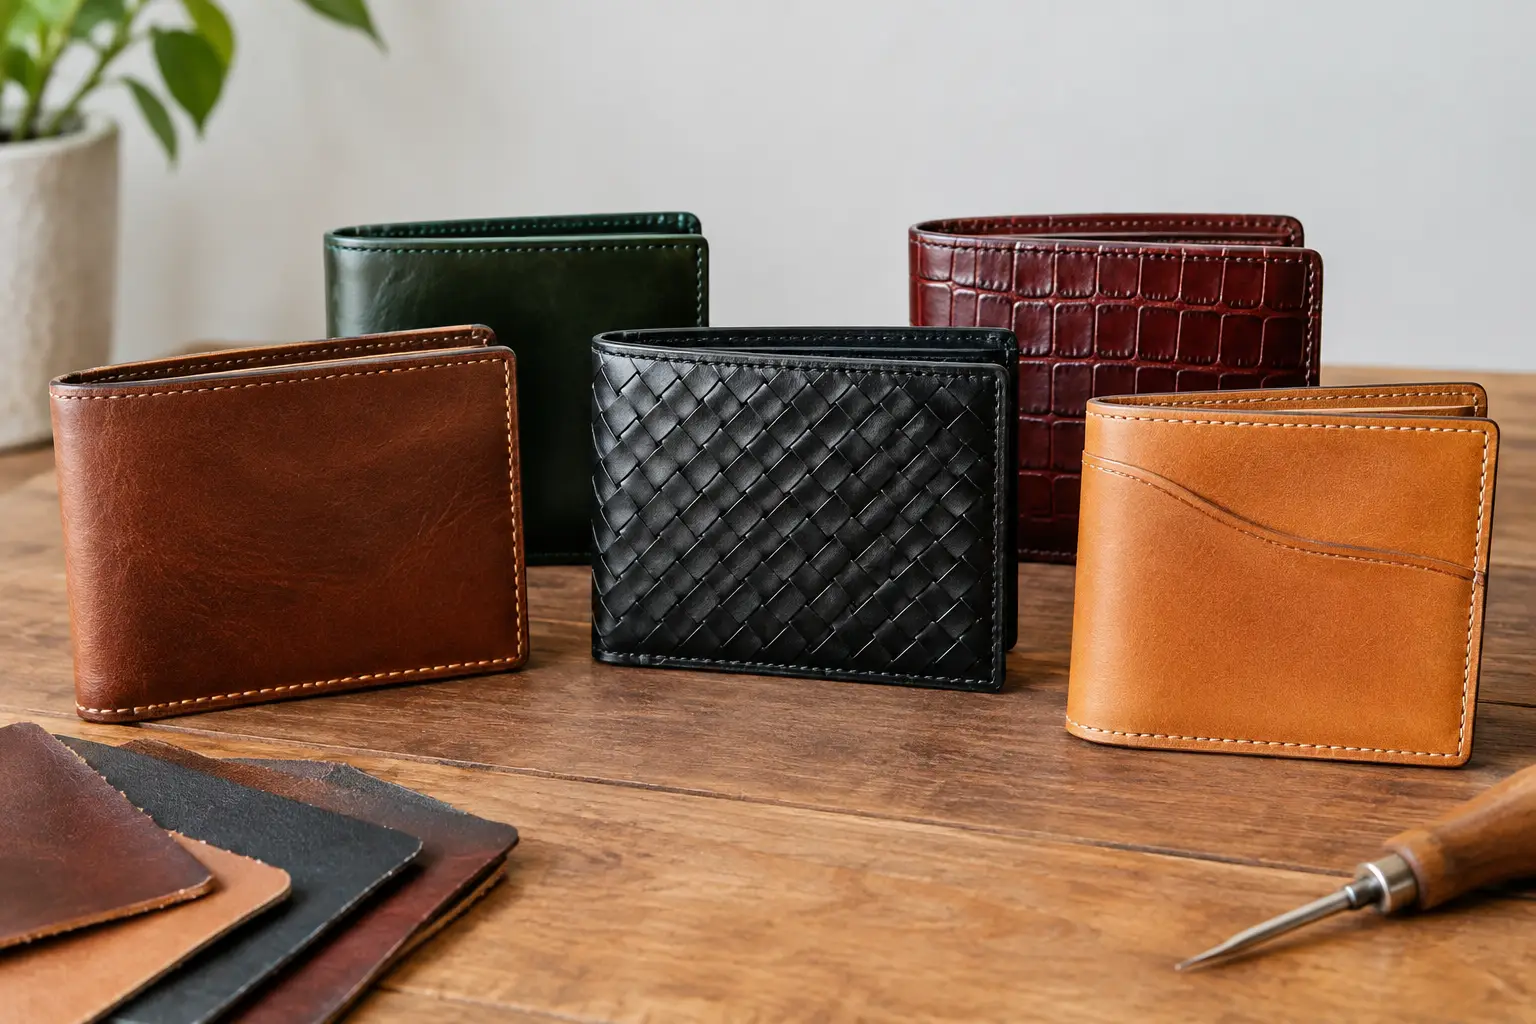
The bifold is a satisfying project because it asks you to solve several leatherworking problems in one useful object. It typically includes a bill compartment, multiple card pockets, a lining, and a fold that must work comfortably from the first use through years of opening and closing.
A well-designed bifold pattern accounts for more than the finished width and height. It allows for leather thickness at the fold, room for cards in stacked pockets, and a bill compartment sized for US currency. Those details separate a wallet that looks good flat on the bench from one that closes naturally when loaded.
Bifolds are best approached when you are comfortable cutting straight lines, skiving, gluing thin layers, and stitching around corners. That does not mean they are reserved for advanced makers. It means a clear, workshop-ready pattern matters more. Choose one with labeled pieces, a material recommendation, and a construction order that does not leave you trying to stitch through a pocket you should have assembled earlier.
Leather thickness is the main decision here. A wallet made entirely from heavy leather can become stiff and bulky quickly. Many makers use a slightly firmer exterior and thinner interior pocket pieces. Skiving pocket edges and fold areas can help, but it depends on your tools and comfort level. If you do not yet skive confidently, start with thinner leather rather than forcing a thick build to behave.
Long wallet or checkbook-style wallet
Long wallets provide more room for cards, cash, receipts, and sometimes a checkbook or passport-sized document. They offer a larger canvas for tooling, decorative stitching, overlays, or a contrasting interior. They also make thoughtful gifts for someone who prefers a more organized everyday carry.
The larger format creates different concerns. Long stitch runs make spacing consistency more noticeable, and a broad panel can stretch if the leather is too soft. The wallet also needs enough structure to remain tidy without becoming rigid. A pattern with clear reinforcement and lining guidance is useful here.
This is a good project for a maker who enjoys detail work and wants more design room. It may not be the fastest first project, especially if it includes many card pockets. Still, a straightforward long-wallet layout can be less intimidating than a dense bifold because there is more space between features.
How to choose the right wallet pattern
Start with the person carrying it. If the goal is a slim everyday wallet, a card holder or minimalist layout is usually the better choice. If they carry several cards and cash, a bifold may earn its extra construction time. If they want storage and a stronger visual presence, a long wallet may fit the job.
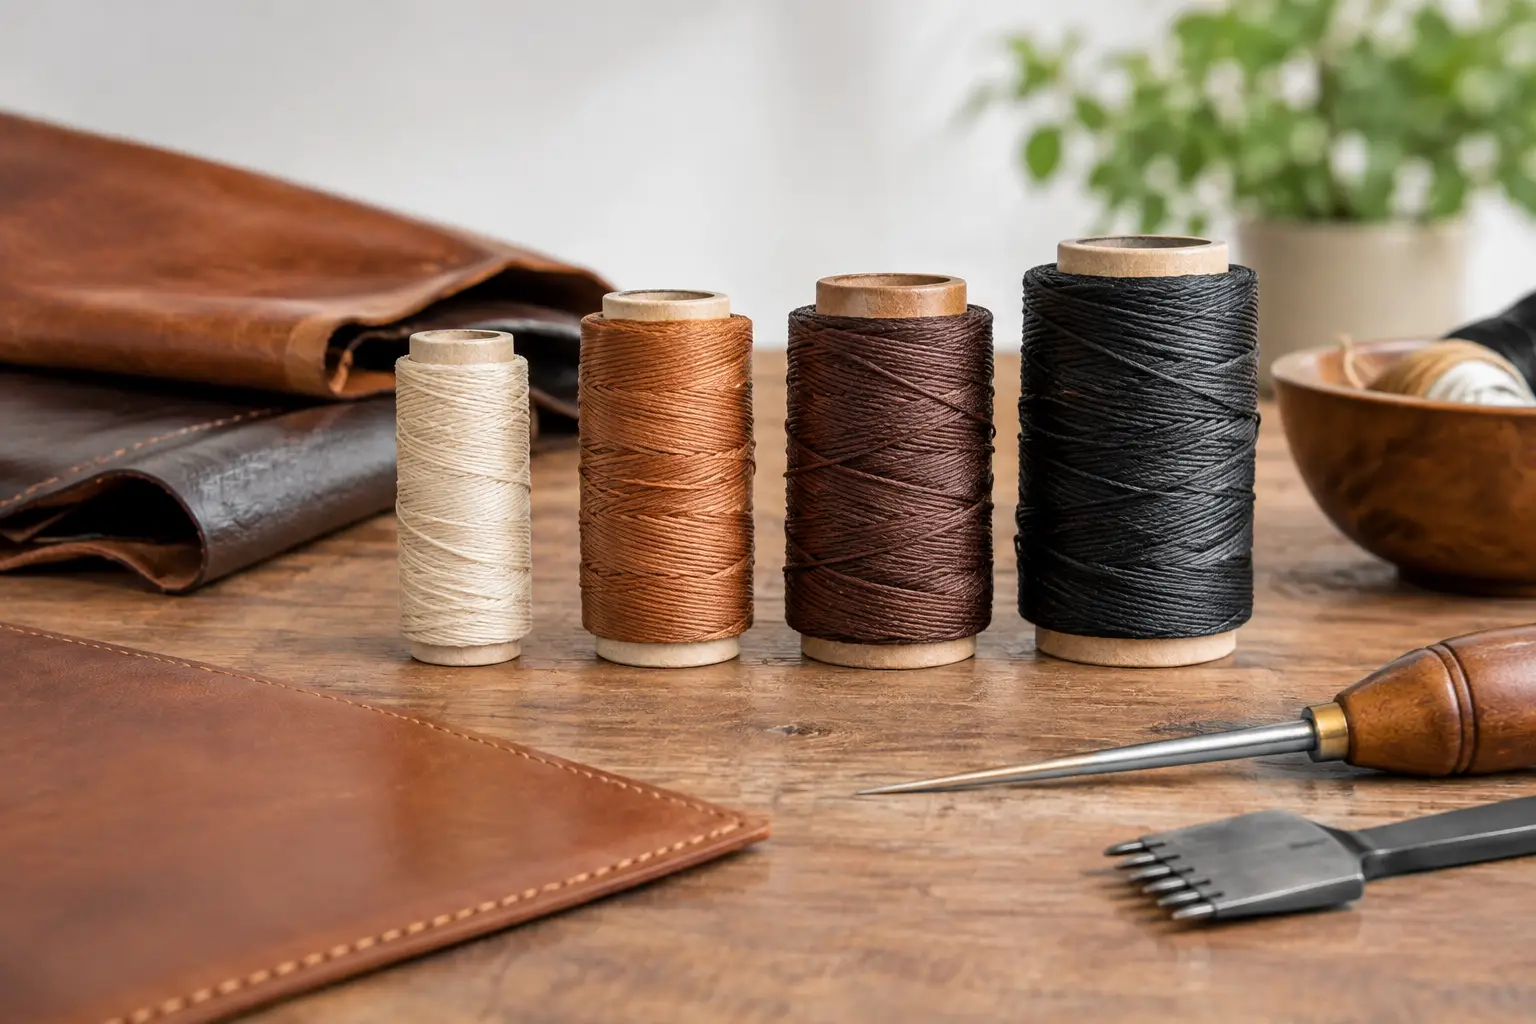
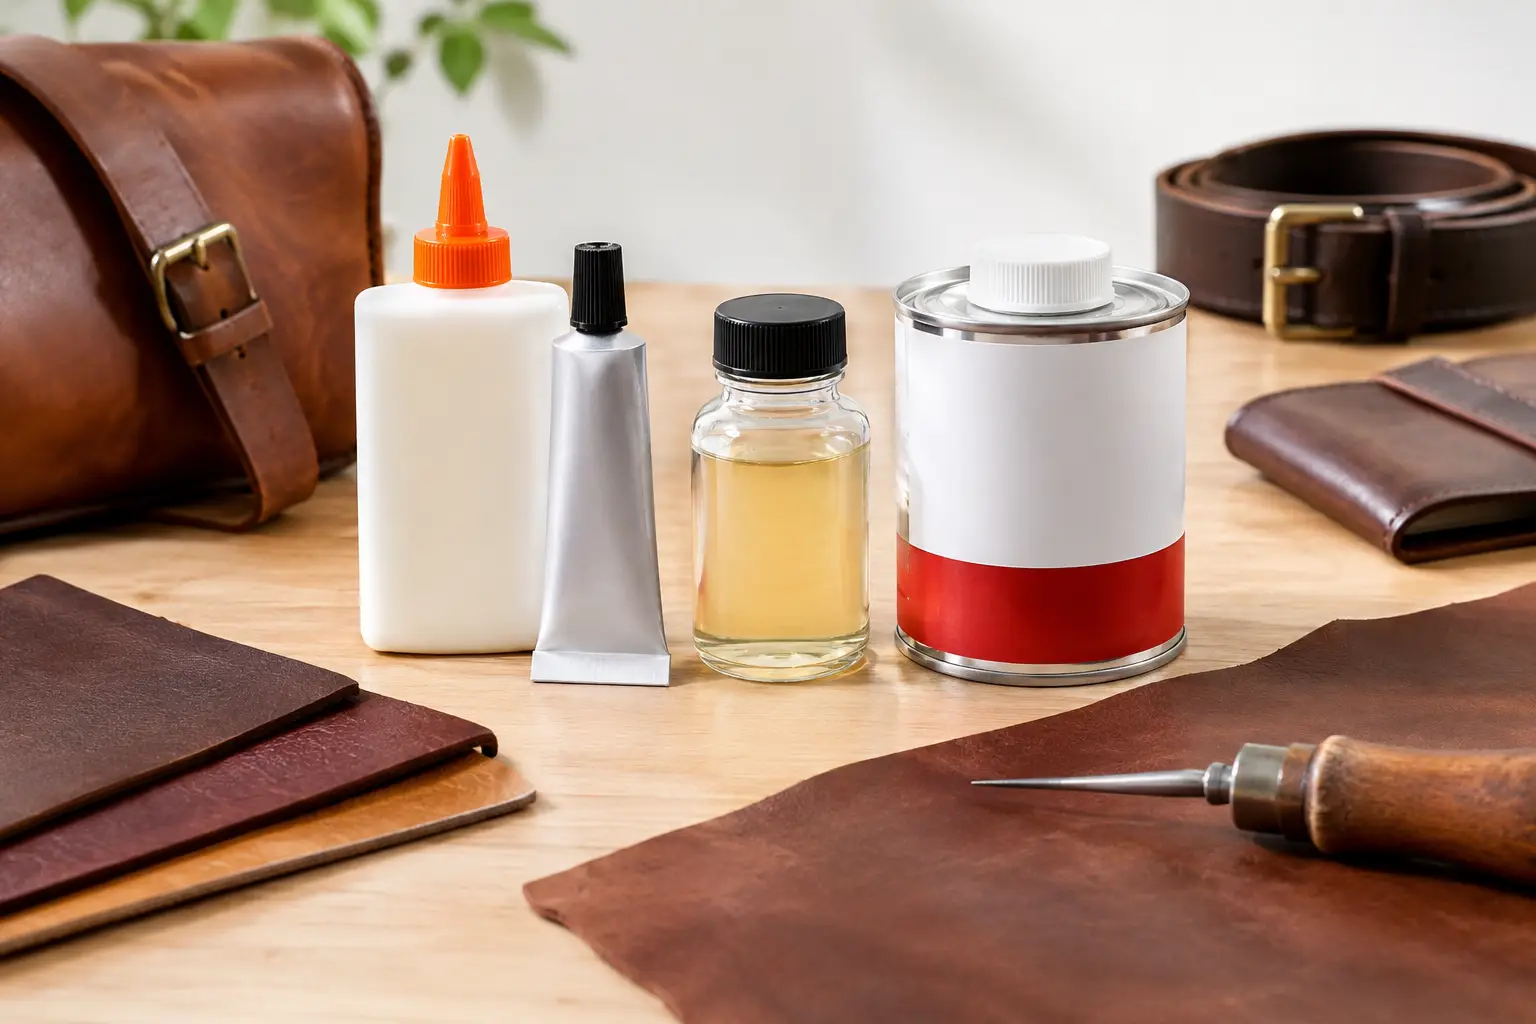
Then consider your bench setup. A card holder can be completed with a modest tool kit: a knife or rotary cutter, straightedge, adhesive, edge tools, pricking irons or stitching chisels, needles, and thread. A multilayer bifold benefits from a skiving method, reliable glue control, and a way to keep pieces square during assembly. You do not need every specialty tool, but you do need a pattern that works with the methods you use.
Also consider how much of the design you want to make your own. A disciplined pattern provides the dimensions and construction logic, while leaving room to choose leather color, thread contrast, hardware, stamping, and finish. That balance is part of the appeal of a well-planned digital pattern: less time drafting and more time building.
What clear wallet patterns should show
Not all templates provide the same level of guidance. A page of outlines may be enough for a maker who plans to alter the design, but it can create unnecessary uncertainty for someone building the project as shown.
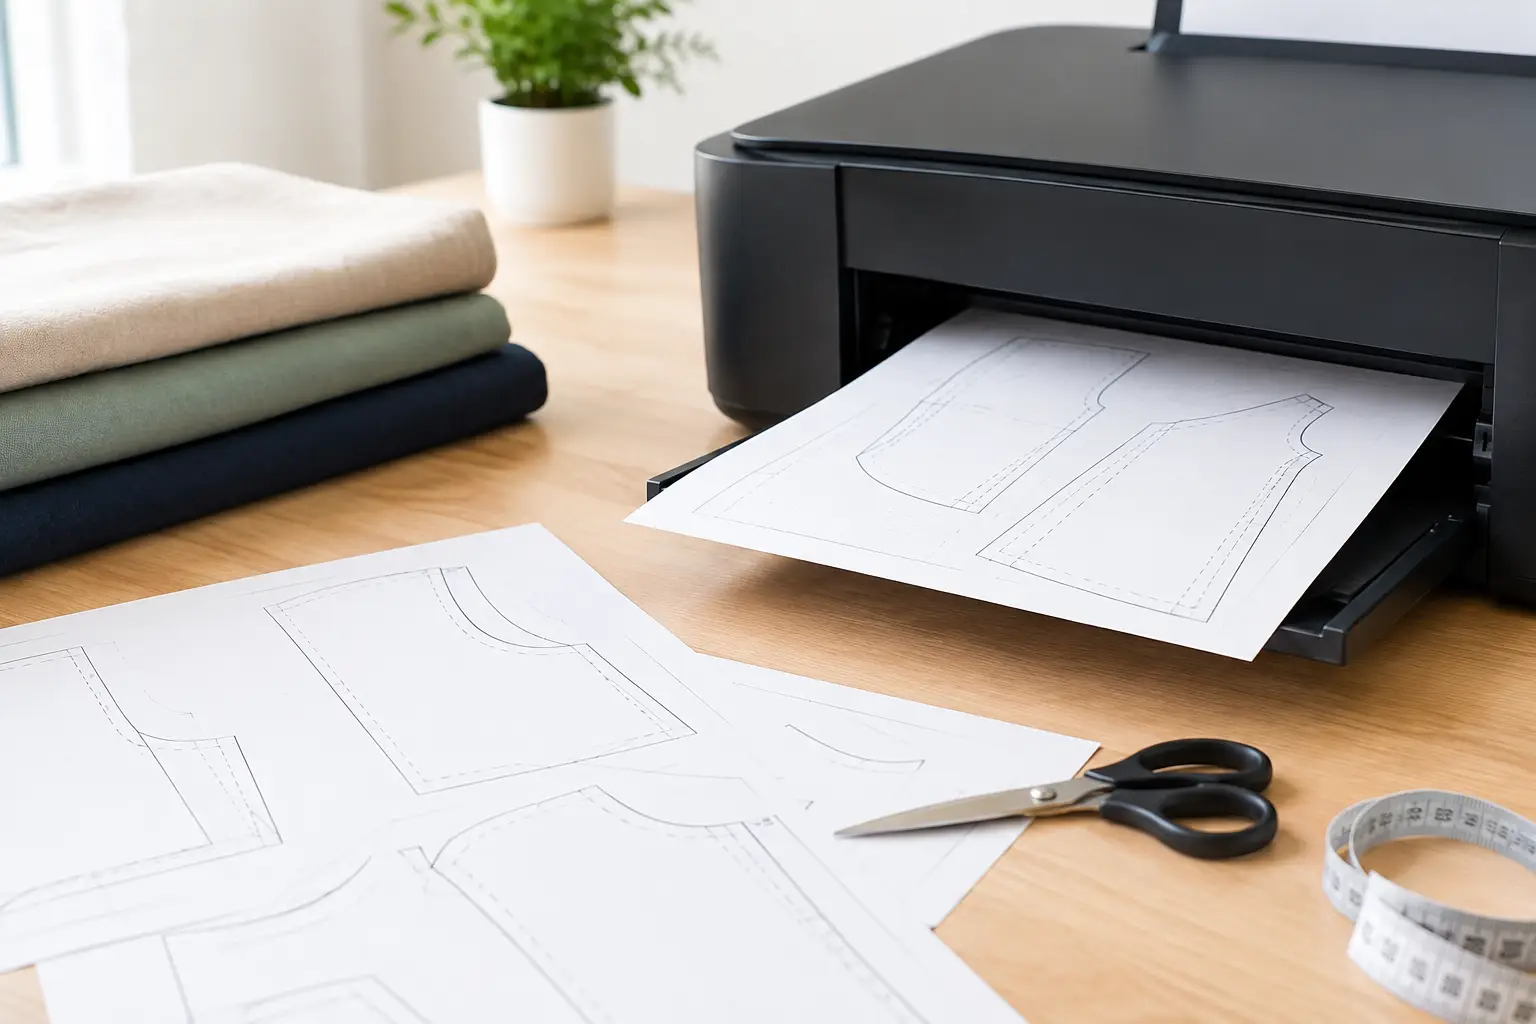
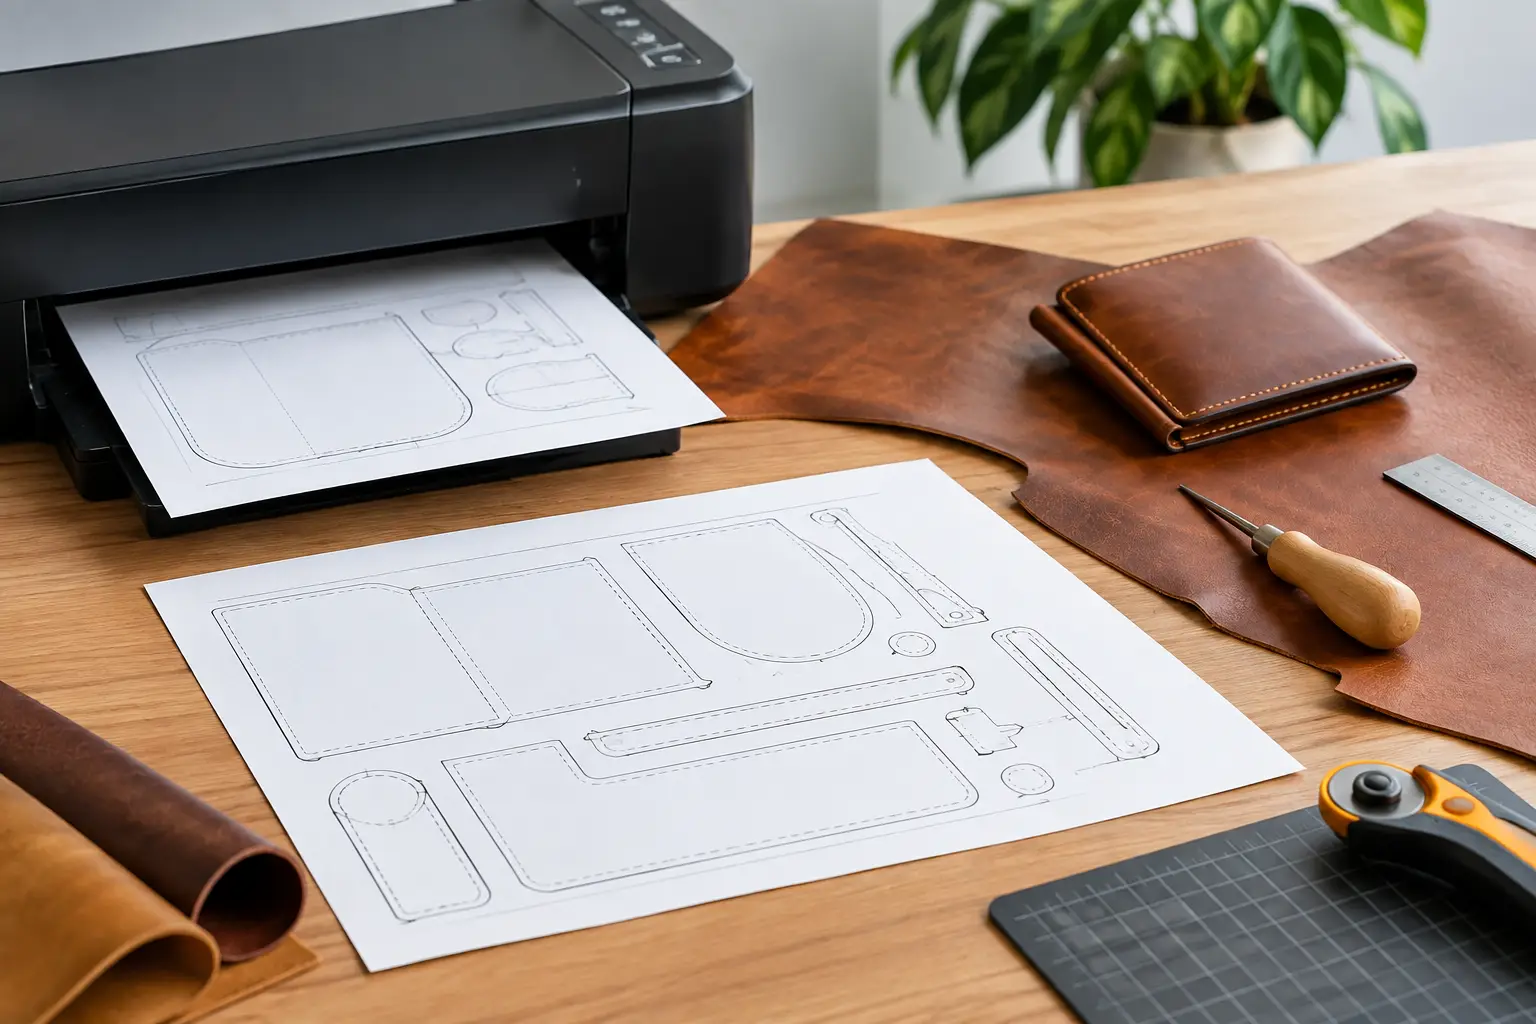
A useful wallet pattern should identify each piece and indicate cut quantities. It should make clear whether the outline is a finished cut line, a fold line, or a stitching reference. It should also state whether the template prints at actual size and include a scale check. One incorrect printer setting can turn a carefully designed card slot into a frustrating fit.
Construction notes matter just as much. Look for guidance on leather weight, thread size, stitch spacing, edge preparation, and assembly order. Photos or diagrams can be particularly helpful where pocket layers stack or the bill compartment closes. Clear instructions do not remove craftsmanship from the project. They let you spend your attention where it belongs: making clean decisions with your hands.
Build a better result from the first cut
Print the pattern and verify its scale before touching leather. Then cut the paper pieces and arrange them as if you were planning the finished wallet. This simple dry run reveals how pockets overlap and helps you visualize grain direction, leather marks, and the best use of your hide.
Cut slightly outside long curved lines if you need room to refine them, but follow pocket dimensions closely. Test card pockets with actual cards before final stitching whenever the construction allows. A temporary fit check is easier than trying to stretch a finished pocket that was cut too tight.
Keep the work clean as you go. Burnish or paint edges that will become inaccessible, use a light and even adhesive coat, and let glue reach the proper tack before joining layers. When stitching, prioritize a consistent rhythm over speed. Wallets reward patient work.
Old Line Crafts & Designs creates patterns with that bench experience in mind: clear layouts that help makers move from cut pieces to a polished, useful carry without spending the project untangling vague instructions.
Choose a wallet design that gives you one or two new skills to practice, not six at once. A clean card holder built with care is more satisfying than an overcomplicated wallet rushed through at the last stitch. As your hands become familiar with pocket spacing, layer control, and fold behavior, the next pattern will feel less like a puzzle and more like your own work taking shape.