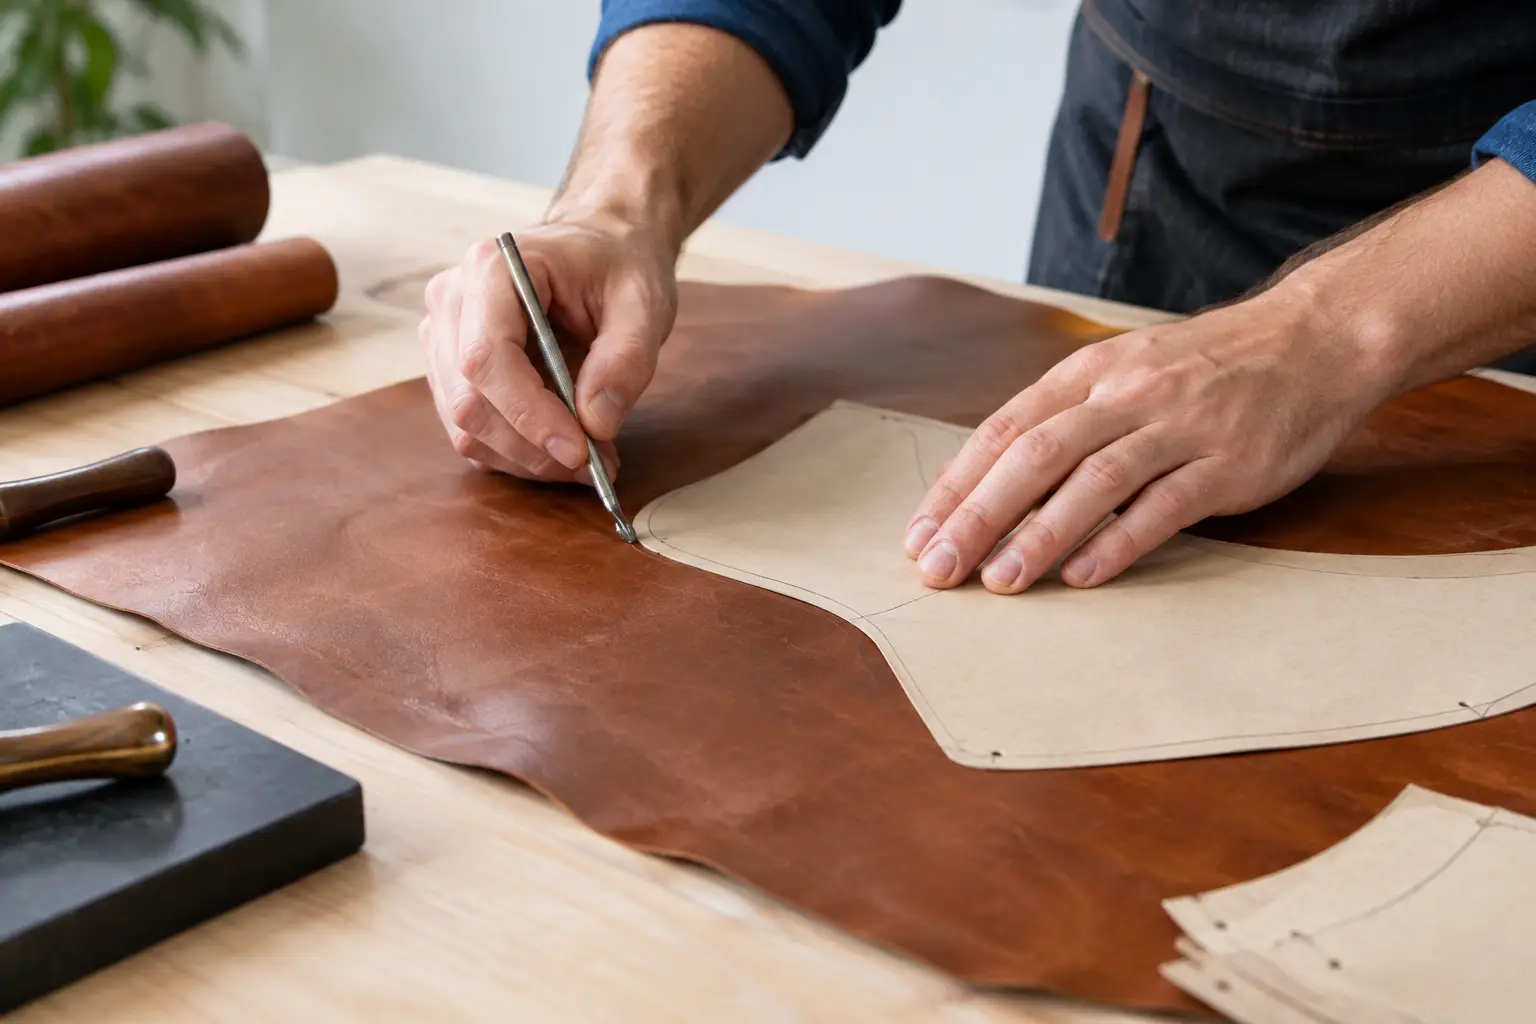
A clean project starts before the knife touches leather. Learning how to transfer leather patterns accurately keeps your parts aligned, your stitch lines consistent, and your finished piece closer to the design you set out to build. It also saves a material that is too good to lose to a misplaced mark or an overlooked fold line.
The goal is not to put every line from a PDF onto the leather. The goal is to transfer the information you need, in the right place, with marks that remain useful through cutting and assembly without showing on the finished side.
Start with a correctly printed pattern
Before making a template or marking leather, print the pattern at 100% scale. Do not select “fit to page,” “shrink oversized pages,” or a similar printer setting unless the pattern specifically instructs you to do so. Those settings can alter a piece just enough to affect a pocket fit, strap length, or alignment between layers.
Most well-organized leather patterns include a test square or measurement reference. Measure it with a ruler after printing. If a 1-inch square does not measure 1 inch, correct the printer scaling before moving ahead. This small check is especially valuable on projects with multiple layers, curved gussets, or closely placed stitch holes.
Read the pattern notes before cutting out the paper pieces. Look for leather weight recommendations, cut quantities, fold lines, hardware placement, and whether a piece should be flipped to create a left and right side. A few minutes of preparation means less time guessing at the bench.
Choose a transfer method that suits the project
There is no single best way to transfer a leather pattern. The right method depends on whether you are making a one-time build or expect to return to the design, how thick the leather is, and whether marks will sit on a visible surface.
For many makers, cardstock or manila folder templates offer the simplest starting point. They are easy to cut, stiff enough to trace around, and inexpensive to replace. For patterns you plan to use repeatedly, heavier chipboard, acrylic, or flexible template plastic will hold its shape longer and provide a more reliable edge.
Tracing directly from paper can work for simple pieces, particularly on vegetable-tanned leather. Place the pattern over the leather and use a stylus or empty ballpoint pen to press lightly along key lines. This method is quick, but the paper can shift, and deep pressure can leave a visible impression. It is better for transferring fold lines, decorative details, or a few placement marks than for repeatedly tracing every cut edge.
For a cleaner and more repeatable process, cut out each paper pattern piece first, then trace around it with a suitable marking tool. Keep the tool upright against the template edge so the outline does not gradually grow larger than the original piece.
Prepare the leather before marking
Lay the leather on a clean, flat surface with the grain side facing the direction specified by the pattern. Check the hide for scars, loose grain, wrinkles, stretch marks, or areas that may not suit a highly visible panel. A natural mark may be a welcome part of a rustic project, but it can be distracting on a wallet front or a clean-lined case.
Pay attention to stretch direction as well. Straps, handles, and long narrow parts are generally stronger when cut with their length running along the firmer direction of the hide. If the pattern includes a grain-direction arrow, follow it. If it does not, take a moment to gently flex the leather in both directions and note where it gives more easily.
Arrange all template pieces before tracing. This helps you use the leather efficiently and confirms that mirrored pieces, interior panels, and reinforcements are accounted for. Leave enough space between parts for your cutting method. A knife needs less clearance than a round knife or shears, but crowded outlines still make clean cuts harder.
Mark cut lines, stitch lines, and reference points differently
A pattern can contain several kinds of information, and treating every line the same creates confusion. Transfer only what each stage of the build requires.
Start with the outer cut line. On the flesh side, a scratch awl makes a fine, durable mark that will not bleed or rub off. Use light pressure. You want a visible guide, not a deep groove that changes the edge of the finished piece. A silver leather marking pen, white pencil, or removable fabric marker can also work well on darker leather, especially when the flesh side is rough or difficult to read.
For marks on the grain side, be more selective. Use a very light pencil mark in an area that will be covered, folded, or trimmed away. On natural vegetable-tanned leather, a stylus can leave a subtle crease, but test it on a scrap first. Deep impressions and permanent ink are difficult to hide once finishing begins.
Transfer notches, center marks, hardware locations, and fold lines next. These small references do a great deal of work during assembly. A center mark can keep a pocket straight. A notch can identify where a gusset begins. A hardware mark can prevent an otherwise finished panel from receiving a snap in the wrong place.
If the pattern shows a stitch line rather than individual stitch holes, mark the line lightly and use a wing divider after cutting and edge preparation to establish the final distance from the edge. This often produces a more consistent result because the stitch line follows the actual cut edge, not an outline that may have shifted slightly during trimming.
Transfer stitch holes with care
Some patterns include marked stitch holes. These can be helpful for small projects, tight curves, and beginner-friendly builds where alignment matters. Still, it is worth deciding whether to transfer every hole or use the hole marks as a reference.
When you want to follow individual holes, secure the paper pattern so it cannot move. Low-tack tape placed outside the piece, small pattern weights, or a few carefully positioned clips can help. Then use an awl to make tiny starter points through the paper. Avoid pushing hard enough to create large holes or heavy impressions in the leather.
For longer seams, many makers get better results by transferring just the start and end points, then laying out the stitching with dividers and pricking irons. This gives you control over the spacing and lets you adjust slightly so the final holes land cleanly around corners. It also accounts for the reality that hand-cut leather edges may vary by a fraction of an inch.
The trade-off is simple: pre-marked holes offer direction, while laying out your own stitch line offers flexibility. Neither approach is wrong. Choose the one that supports your current skill level and the level of precision the project calls for.
Cut one piece first and check the fit
When a project uses matching parts, resist the urge to cut every piece immediately. Transfer and cut one critical component first, then compare it with its mating piece or dry-fit it against the pattern. This is especially useful for flap shapes, card pockets, gussets, and panels that must align around hardware.
If the first piece looks right, use it as a check while transferring the rest. If something seems off, you have caught the issue before it affects the full project. A pattern may be accurate, but printer scale, template thickness, leather stretch, and cutting technique all influence the final fit.
For mirrored pieces, flip the template over rather than assuming the same orientation will work twice. Mark the flesh side of each part with a small note such as “left,” “right,” “inside,” or “glue side.” These notes disappear during construction but can prevent a frustrating mistake when several similar pieces are on the bench.
Keep templates organized for the next build
After cutting your leather, do not throw away the templates right away. Label each piece with the project name, size if applicable, and any helpful notes you learned during the build. You may discover that a certain leather weight works especially well, that a fold benefits from a slightly lighter crease, or that a hardware mark needs extra attention.
Store paper templates flat in a folder or envelope. For reusable plastic or acrylic templates, keep the pieces together with a ring, pouch, or labeled sleeve. Good organization turns a successful project into a repeatable one.
Old Line Crafts & Designs patterns are designed to give makers a clear starting structure, but your transfer process is where the design becomes your build. Work slowly on the first set of marks, use scrap leather to test unfamiliar tools, and let accuracy at this stage make every later step feel more straightforward.
Leave a Reply