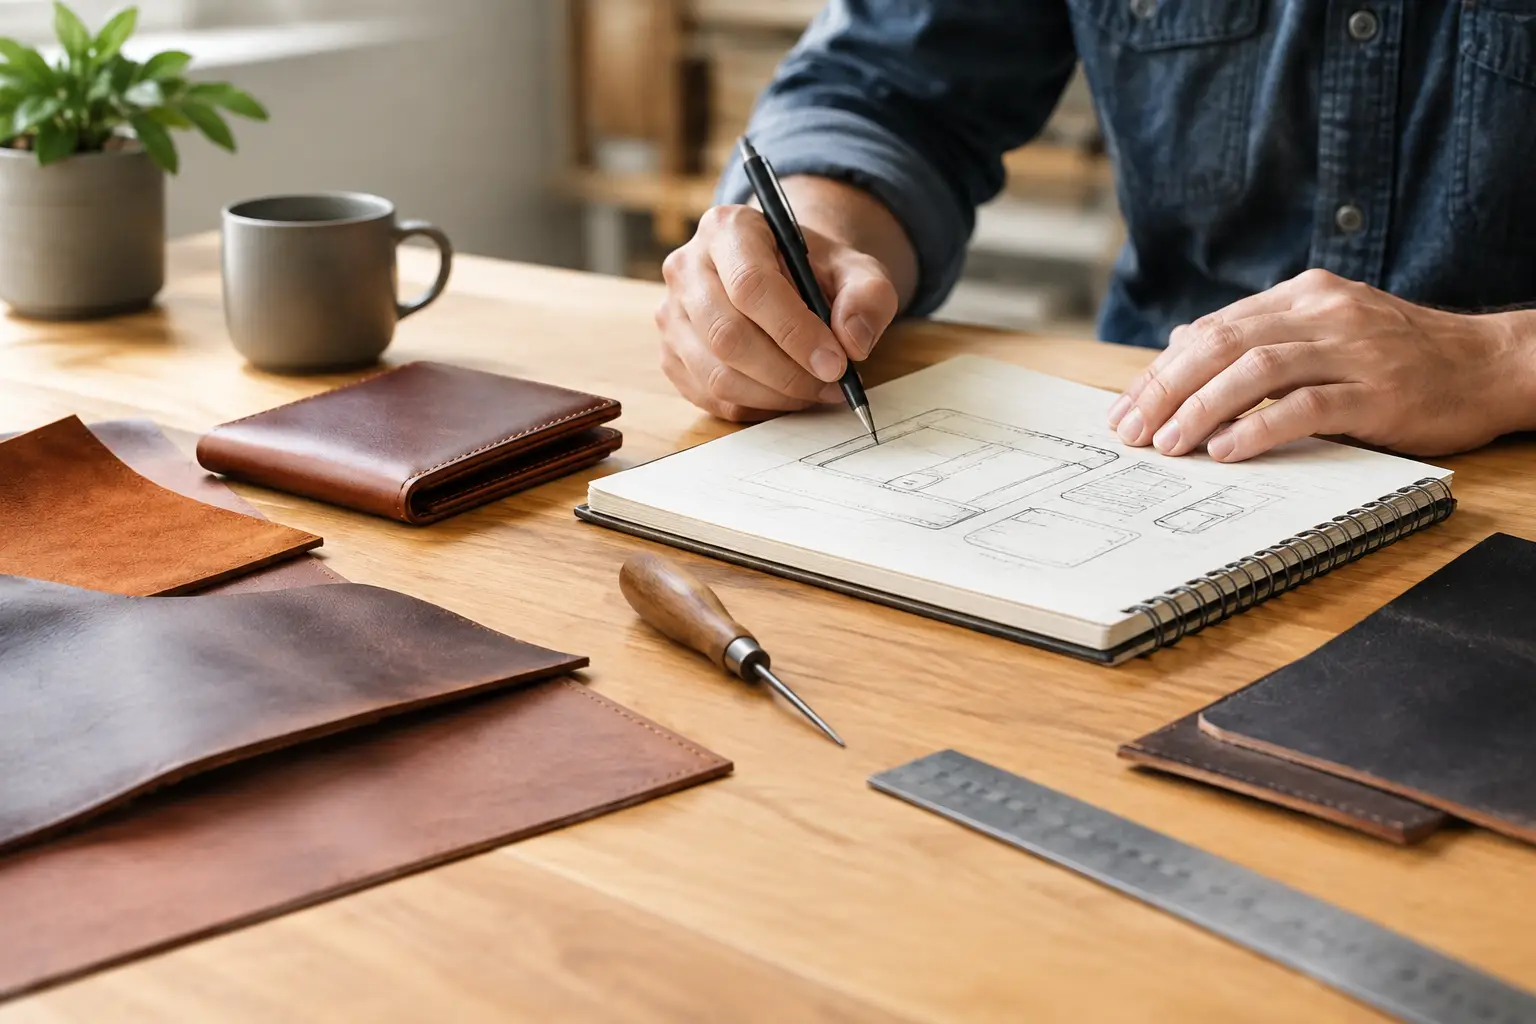
A clean finished edge starts long before edge paint, burnishing, or a final coat of wax. It starts when you decide what the project needs to do, what leather will support that job, and how the pieces will come together. Good leather project planning is not about taking the spontaneity out of the craft. It is what gives your time at the bench a clear direction.
A project can look simple on paper and still create trouble halfway through. A wallet that becomes too thick to fold comfortably, a tray with corners that will not form cleanly, or a bag panel cut from leather that is too soft for its structure can turn a promising build into a frustrating one. A few practical decisions before cutting help you avoid those problems and leave more room to enjoy the work.
Start With the Job Your Project Must Do
Before choosing a pattern or pulling leather from the shelf, define the purpose of the finished piece. A key tray, card holder, belt pouch, journal cover, and everyday tote may all use familiar techniques, but they ask different things of the material and construction.
Think about how the item will be handled. Will it flex often? Carry weight? Sit on a desk? Need to fit a specific object? A slim card holder needs controlled bulk and a clean fold. A valet tray benefits from leather that will shape at the corners without fighting you. A tool roll needs enough body to protect its contents, but it also needs to roll without becoming stiff and awkward.
This step also helps you choose an appropriate first project. If you are building confidence, select a project with a limited number of parts, straightforward stitch lines, and forgiving construction. That does not mean the result has to look basic. A well-planned tray or case can be a useful, refined piece while giving you room to practice cutting, gluing, stitching, and finishing.
Choose a Pattern That Fits Your Bench
A pattern should answer questions before they become problems. It should make clear what gets cut, where holes or stitch lines belong, which edges are prepared before assembly, and the order in which components come together. When those details are left open to interpretation, makers often lose time solving preventable issues at the most inconvenient moment.
Review the full pattern before printing or cutting. Check the finished dimensions, the suggested leather weight, required hardware, and any specialty tools. If the build uses multiple layers, look at the cross-sections and assembly notes closely. This is where you can catch a mismatch between the project and what you have available.
A good pattern is a structure, not a restriction. You may choose a different color, thread, lining, or hardware finish, but make those changes with the construction in mind. Changing from thin chrome-tanned leather to heavier vegetable-tanned leather, for example, can affect folding, skiving, stitch length, and overall fit. Personal details work best when the foundation is sound.
For makers who would rather build than draft from scratch, a workshop-ready pattern can remove a great deal of uncertainty. Old Line Crafts & Designs creates patterns with that bench experience in mind: clear layouts, practical build order, and enough guidance to help you focus on the making.
Check Print Scale Before You Commit
Digital patterns depend on accurate printing. Print the test square or scale guide first, then measure it with a ruler. Printer settings such as “fit to page” can quietly change every dimension in the pattern.
Once the scale is confirmed, decide whether you will cut out the paper pieces, trace them onto template material, or transfer the outlines directly to leather. Reusable templates take a little more preparation, but they are especially helpful for projects you expect to make again.
Match Leather to Construction, Not Just Appearance
Leather is often chosen for color first. Color matters, but temper, thickness, finish, and fiber structure have a larger effect on how a project behaves.
Vegetable-tanned leather is a natural choice for many structured goods. It cuts cleanly, accepts tooling and dye, burnishes well, and can be molded or formed. It is often a strong fit for trays, sheaths, cases, and projects that benefit from crisp edges. But it can be less forgiving when folded thick, and it may require skiving to keep layered areas manageable.
Chrome-tanned leather is commonly softer and more flexible. It can be excellent for pouches, soft bags, and linings, especially when a supple hand is part of the design. Its softer temper may not hold the sharp shape required for a structured tray or firm case without reinforcement.
Leather weight needs the same attention. Heavier leather can make a project feel substantial, but too much thickness creates bulky seams and difficult turns. Lighter leather may fold easily, yet it can feel weak or collapse where the design needs support. If a pattern suggests a weight range, treat it as a useful starting point rather than a random detail.
Before cutting your best hide, make a small test. Fold two layers, glue a scrap seam, punch sample stitch holes, and finish an edge. Ten minutes with offcuts can tell you whether your thread, stitch spacing, adhesive, and edge treatment will work together.
Plan the Build Order Before the First Cut
The most expensive mistake in leatherwork is often cutting a good piece of leather before you have thought through the sequence. Read the instructions from beginning to end and identify the moments that must happen before assembly.
Some edges are much easier to bevel, dye, stamp, paint, or burnish while the piece is flat. Stitch holes may need to be punched before a gusset or pocket blocks access. Hardware sometimes has to be installed before two layers are glued together. Planning the order prevents the familiar realization that the next necessary step is now physically impossible.
Lay out the parts on the hide with grain direction and visible marks in mind. Put the cleanest areas where they will be most visible. Avoid deep scars, loose grain, and thin spots on straps, tabs, or high-stress areas. If the project includes matching panels, consider how the leather’s pull-up, texture, and color variation will look side by side.
Keep a little extra material around curved pieces and long straps until you are sure of placement. Leather does not always present its best face in the first open space you find.
Build in Dry Fits and Checkpoints
Dry fitting is one of the simplest habits a maker can develop. Place components together without glue to confirm orientation, fit, and hardware placement. On projects with pockets or layered panels, stack every piece in order before adhesive enters the picture.
Set checkpoints during the build. After cutting, compare the parts to the pattern. After skiving, check that folds and layered areas lie as expected. After gluing, inspect alignment before stitching. These pauses are brief, but they are far easier than correcting a crooked pocket after the thread is locked in place.
Prepare Tools and Materials in Reach
A well-organized bench makes careful work easier. You do not need a large workshop, but you do need a clear working surface and the tools required for the next stage close at hand. Stopping mid-glue-up to search for thread or a setter creates rushed decisions.
Gather the pattern, leather, thread, needles, adhesive, cutting tools, edge tools, hardware, and a ruler before you begin. Then check the small supplies that are easy to overlook: extra blades, sandpaper, scrap leather for testing, clean cloths, and something to protect the work surface.
It also helps to plan around the materials that need time. Adhesive has an open time, dye needs to dry, and some finishes benefit from curing before handling. A project does not need to be completed in one sitting. Splitting the work across a few focused sessions often produces cleaner results than forcing every step into a single afternoon.
Let the Plan Support Your Own Style
Planning should make a project feel more personal, not less. Once you understand the demands of the pattern, you can make thoughtful choices: contrast thread for a sharper graphic look, a neutral edge finish for a quieter result, or a stamped initial placed where it will not interfere with construction.
The key is to change one or two variables at a time, particularly on a new build. If you are testing unfamiliar leather, unusual hardware, and a new finishing method all at once, it becomes difficult to know what caused a problem. Repeating a successful pattern with one deliberate variation is one of the best ways to build skill.
Your next project does not need to be more complicated. It only needs to be chosen with care, prepared with intention, and built at a pace that lets you notice the details. Put a sound plan beside your cutting mat, make the first cut with confidence, and give yourself the satisfying kind of bench time that ends with a piece you will want to use.