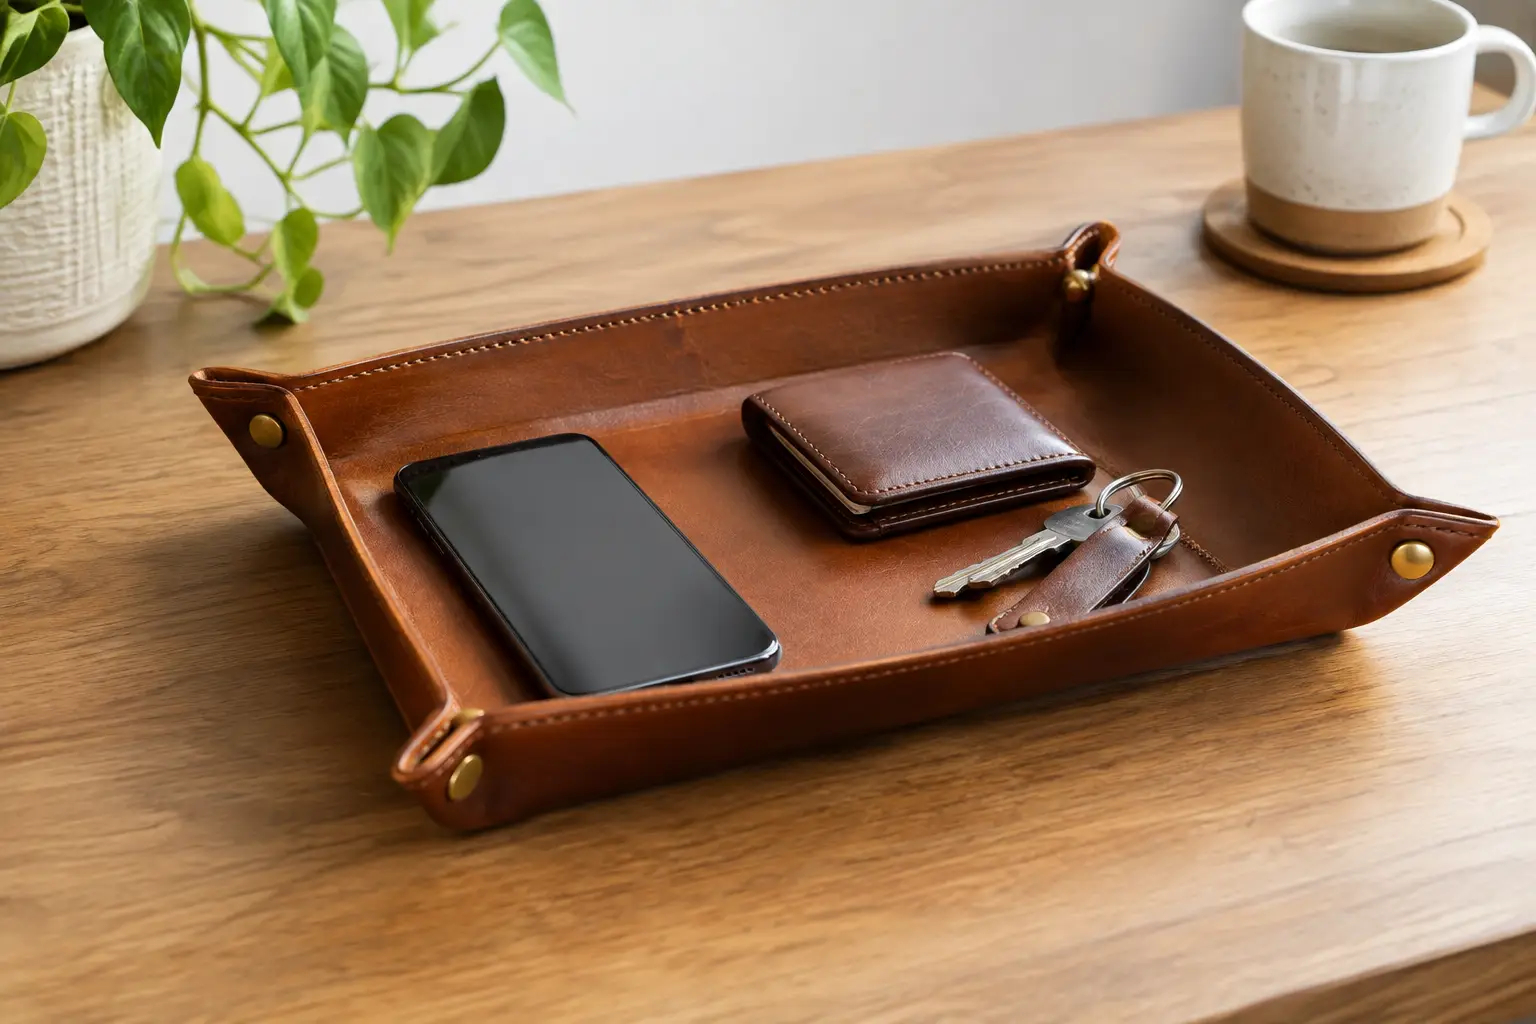
A good leather tray project earns its place on the bench long after the last stitch is finished. It can hold keys by the door, keep hardware from rolling away during a build, or give a watch, wallet, and pocketknife a proper landing spot. It is a small project, but it asks you to make the same thoughtful decisions that shape larger leather goods: material selection, clean layout, dependable hardware, and careful finishing.
That makes the leather tray a strong choice for a newer maker building confidence and for an experienced maker who wants a useful weekend project. The goal is not simply to turn a flat piece of leather into a container. The goal is to make something that sits squarely, folds cleanly, and looks considered every time you reach for it.
Start Your Leather Tray Project With Its Job
Before choosing a hide or cutting a pattern, decide where the tray will live and what it needs to hold. A small valet tray for a nightstand has different requirements than a larger catchall for a workbench. The first can be light and refined. The second may need firmer leather, wider corners, and enough depth to contain rivets, snaps, or edge tools.
Size affects more than capacity. A larger tray creates longer folds, which can make soft leather feel loose at the corners. A shallow tray keeps a clean profile but may not hold bulkier everyday items. For many makers, a finished footprint around 6 to 8 inches square is a comfortable starting point. It is large enough to be useful without requiring a large piece of leather or becoming awkward to form.
Think about the tray’s visual role, too. Natural vegetable-tanned leather can develop character with use and works well in a workshop or warm home setting. Black, brown, or richly dyed leather offers a more tailored look for a desk or entry table. Neither approach is better. The right choice depends on whether you want a tray that records its use or one that stays visually uniform.
Choose Leather That Will Hold Its Shape
For a structured snap-corner tray, vegetable-tanned leather in the 4 to 6 ounce range is often a practical choice. It has enough body to stand up at the sides while still bending neatly at the corners. A firmer temper will give you a crisp, architectural tray. A medium temper creates a slightly more relaxed shape that can feel equally intentional when the pattern and hardware suit it.
Chrome-tanned leather can work well, especially if you want a softer hand or a specific color. The trade-off is that very soft chrome tan may collapse at the edges or stretch around hardware over time. If you use it, consider a smaller tray, a lined construction, or reinforcement at the snap locations.
Pay attention to the flesh side as well as the grain. A clean, finished flesh side can make an unlined tray feel polished from every angle. If the underside is loose or fuzzy, you can burnish it, apply a suitable finish, or line the tray. Lining adds material and construction time, but it can elevate a simple project into a more formal piece.
Hardware should match both the leather weight and the tray’s purpose. Line 20 snaps are common for medium-weight leather trays, while rivets can create a more permanent corner construction. Snaps make the tray easy to flatten for travel or storage. Rivets are quick, secure, and well suited to a tray that will remain assembled. If you are still refining your process, snaps also give you a little more flexibility to test the fold before setting the final hardware.
Build the Shape Before You Commit to Hardware
A precise pattern removes much of the guesswork from this project. The corner cutouts, fold lines, and hardware locations need to work together. A tray can look simple on paper, but even a small error in spacing can leave one corner twisting higher than the others.
After cutting the body, inspect the edges before moving on. This is the best time to correct a rough curve or uneven corner. A sharp knife and steady cuts matter more than speed. If your pattern includes rounded corners, take a moment to make each curve consistent. Matching curves will make the folded tray look balanced from above.
Mark fold lines lightly and accurately. On firmer vegetable-tanned leather, a gentle crease on the flesh side can encourage a clean fold without cutting deeply into the material. Avoid heavy scoring. The fold line is there to guide the leather, not weaken it.
Then dry-fit the corners. Bring each pair together and check that the hardware marks align naturally. The sides should rise without pulling the base out of square. If a corner feels strained, stop before punching holes. Check whether the fold is landing where it should and whether the leather thickness calls for a slightly different hardware setting.
This short pause saves material. It is much easier to adjust a crease or recheck a mark than to remove a poorly set snap.
Keep Hardware Placement Consistent
When you are ready to punch holes, use the same orientation at every corner. Measure from the edge rather than relying only on a visual estimate. If one snap sits closer to the edge than the others, the difference will be noticeable once the tray is assembled.
Test the hardware on a scrap from the same leather first. This confirms that your hole size is right and lets you check how firmly the snap closes. A snap that is too loose can open when the tray is picked up. One that is excessively tight can make the corners difficult to fasten and may stress the leather with repeated use.
For a clean presentation, make sure the visible snap caps or rivet heads face the same direction on every corner. Small consistency choices are what make a straightforward leather project feel finished rather than improvised.
Give the Edges the Attention They Deserve
On a leather tray, the edges are always in view. They frame the base, define the corners, and often become the first detail someone notices when they pick it up. That is why edge work should happen before final assembly whenever possible.
Start by beveling the grain-side edges if the leather weight supports it. A light bevel softens the profile and makes burnishing easier. Sand gradually, using a progression that removes cut marks without rounding the edge too aggressively. Then burnish with your preferred method, whether that is water, gum tragacanth, wax, or another finish suited to the leather.
There is no single correct edge treatment. Natural burnished edges fit vegetable-tanned leather and show the material honestly. Edge paint can create a more modern, uniform look, especially on lined trays or chrome-tanned leather. Paint requires patience and multiple thin coats, so it may not be the best choice when you want a quick, casual build. Choose the finish that supports the project rather than adding steps for their own sake.
If you plan to dye the leather, test your color and topcoat on scrap first. Dye can darken around folds and hardware holes, particularly on absorbent veg tan. That variation may be part of the appeal, but it should be a choice you make rather than a surprise after the tray is assembled.
Make the Tray Your Own Without Overcomplicating It
A leather tray offers room for personal detail, but restraint usually serves the design. A maker’s mark in the center of the base, a subtle border line, or contrasting snaps can add character without competing with the tray’s function. If you add tooling or stamping, do it while the leather is flat. Trying to decorate after the corners are assembled makes placement harder and can distort the shape.
You can also use this project to practice a construction detail you want to carry into future work. Add a stitched reinforcement tab at each corner, line the base with a thin contrasting leather, or use a hand-applied antique finish to bring out a stamped design. Just remember that each addition changes the behavior of the leather. A lined tray may need longer hardware posts. A tooled tray may become firmer at the folds. Build with those changes in mind.
For makers who would rather spend their bench time cutting and building than drafting corner geometry from scratch, a clearly organized leather tray pattern can be a worthwhile starting point. It lets you focus on material choices and craftsmanship while giving the project a dependable foundation.
Set your finished tray where it will be used, then let it do its work. The best handmade pieces are not saved for display. They become part of the daily rhythm of the shop or home, gathering the small essentials that would otherwise drift out of reach.