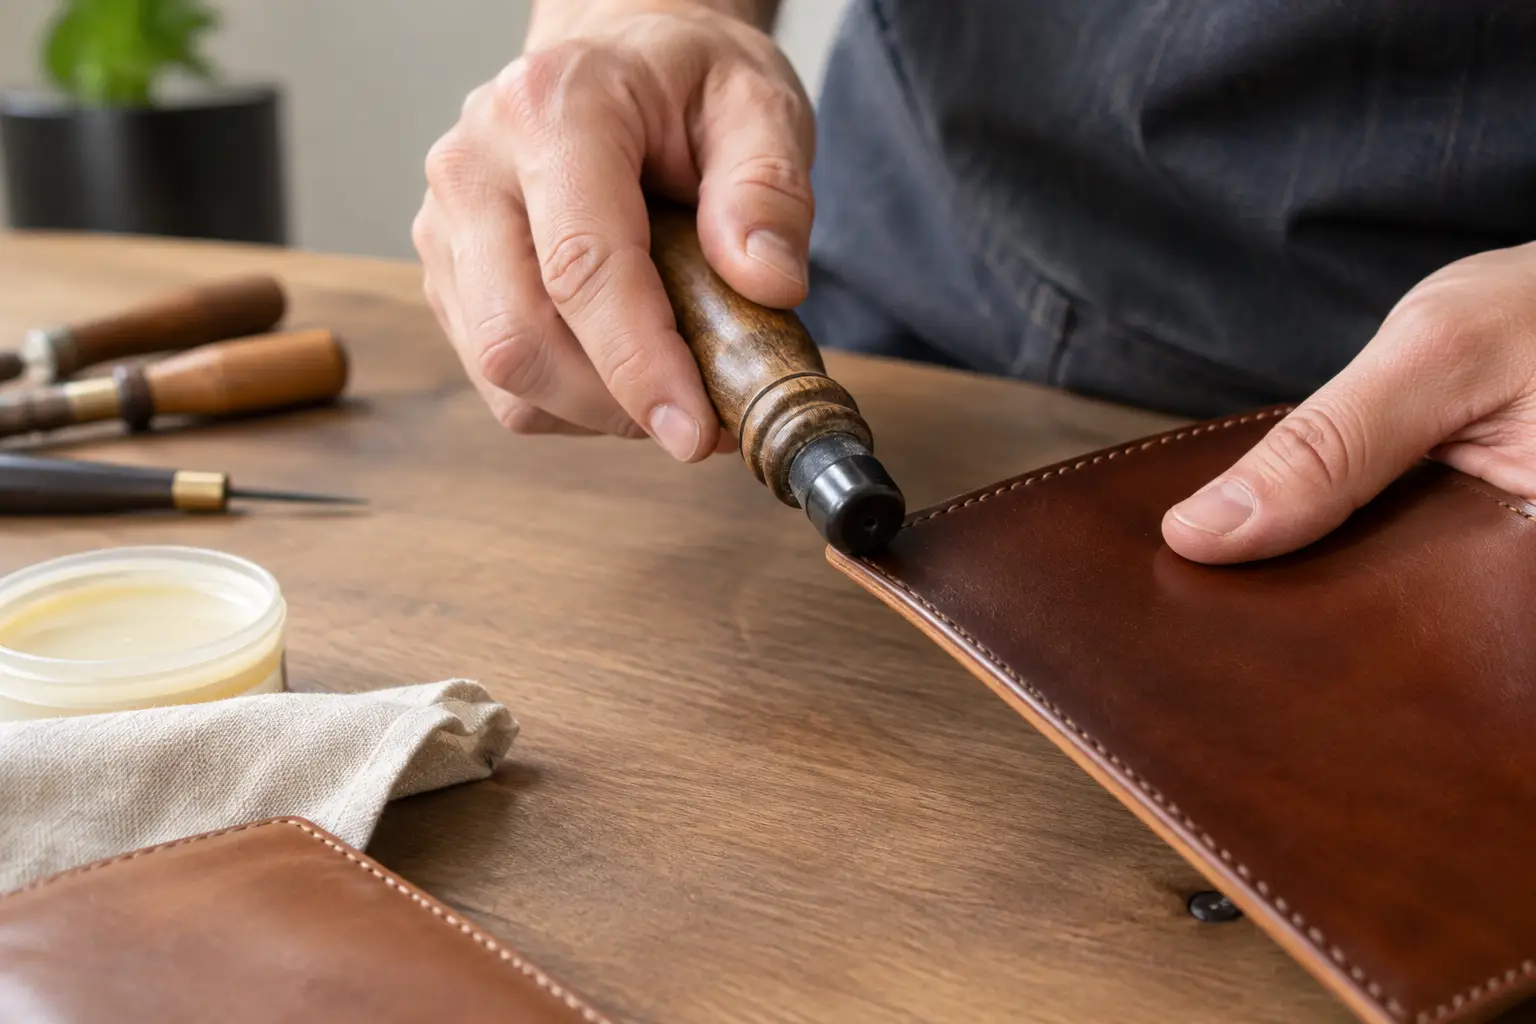
A crisp stitch line can make a project look carefully built, but leather edge burnishing is often what makes it feel finished in the hand. A rough, fuzzy edge catches light, collects wear, and can make an otherwise solid wallet, tray, or sheath look unfinished. A smooth edge does the opposite: it gives the piece a clean outline and a more durable surface where the leather will be handled most.
Burnishing is not difficult, but it rewards patience and preparation. The goal is not to rub an edge until it shines. The goal is to compress and bond the leather fibers into a firm, even surface without darkening, scorching, or rounding the edge more than the project calls for.
What Leather Edge Burnishing Actually Does
Leather edge burnishing uses friction, light moisture, and sometimes a finishing compound to compact the exposed fibers along a cut edge. As those fibers lay down and tighten together, the edge becomes smoother and more resistant to everyday abrasion.
Vegetable-tanned leather is the usual choice for this process because its fibers respond well to water and friction. Firm, natural veg tan tends to produce the cleanest result. Chrome-tanned leather, soft garment leather, and heavily coated leather can be harder to burnish because their fibers may stay loose or the surface finish may resist the moisture needed for compression.
That does not mean every leather edge must be burnished. Some projects call for painted edges, folded edges, raw edges, or a more rugged look. The right finish depends on the leather, the item’s use, and the design you want to build. A structured card holder may benefit from a tight burnished edge, while a soft tote may look better with a carefully painted or turned edge.
Start With an Edge Worth Burnishing
Most burnishing problems begin before the burnisher touches the leather. An uneven cut, visible glue line, or misaligned stack cannot be hidden by extra friction. Burnishing will emphasize the shape already there.
Trim the assembled edge cleanly with a sharp knife or a well-set edge trimmer. If you have layered leather, make sure the pieces are fully bonded before trimming. Any gaps between layers will show up as dark lines or weak spots after finishing.
Sand the edge to level it. Start with a grit that corrects the problem without leaving deep scratches, then move finer. For many projects, 220 grit followed by 400 grit is enough. A heavier edge with several layers may need a coarser first pass, while a thin wallet pocket might only need a light sanding. Sand with a flat backing block when possible. Fingers follow dips and contours, which can leave a wavy profile.
Once the edge is smooth, bevel it lightly. A small edge beveler removes the sharp corners that tend to fray first. The bevel should fit the leather weight. On thin leather, a large bevel can make the edge look overly rounded. On thicker leather, too small a bevel can leave the finished edge feeling square and abrupt.
The Tools That Make the Work Easier
You can burnish with a simple piece of canvas, but a few basic tools make the process more consistent. A wooden hand burnisher with grooves sized for your leather thickness is a dependable starting point. A cocobolo, hardwood, or plastic burnisher all work well when used with control.
For straight runs, a canvas cloth, denim scrap, or firm piece of leather can create a clean finish. A powered burnisher can save time on larger batches, but it is not required for quality work. In fact, hand burnishing helps newer makers feel how the leather changes as it tightens and warms.
You will also want a small applicator for water or burnishing agent, fine sandpaper, and a clean cloth. Gum tragacanth, saddle soap, beeswax, and commercial edge compounds can all have a place at the bench. They do not produce identical results, so choose based on the effect you want rather than assuming one product is best for every project.
Water is the simplest option and often all firm vegetable-tanned leather needs. Gum tragacanth can help control loose fibers and create a polished surface. Beeswax adds a smooth feel and some moisture resistance, but it works best as a final treatment after the edge is already compacted. Too much wax too early can make an edge slick without truly tightening the fibers underneath.
A Reliable Leather Edge Burnishing Process
After sanding and beveling, lightly dampen the edge. The key word is lightly. The leather should feel slightly cool and darkened, not wet enough to leave moisture on your fingers. Excess water softens the fibers too much and can lead to a muddy, uneven edge.
Run the burnisher along the edge with steady pressure and a brisk, controlled motion. On a wood burnisher, keep the edge seated in the groove rather than allowing it to ride against one side. The friction will begin to warm the leather. After several passes, stop and inspect the surface instead of continuing automatically.
If the edge is smoothing but still has a few raised fibers, let it dry briefly, sand it lightly with fine grit, and repeat with a small amount of moisture or compound. Two or three restrained passes usually look better than one aggressive attempt. A well-finished edge is built in thin stages.
For a final polish, apply a very small amount of wax or finishing compound if it suits the project. Rub with canvas until the edge feels firm and smooth. On natural leather, this may create a gentle darkening that adds character. Test on a scrap first if color consistency matters, especially on light-colored leather.
Watch the Corners and Curves
Corners are easy to overwork. Friction builds quickly in a small area, and a rounded corner can become noticeably darker than the rest of the edge. Use lighter pressure and shorter strokes there.
Curves need the same attention. A burnisher groove may not fit a tight inside curve, so switch to canvas, a bone folder, or a smaller hand tool. Keep your motion aligned with the edge rather than rubbing across it. That helps prevent fuzzy fibers from lifting back up.
Common Problems and What They Usually Mean
A fuzzy edge usually needs better preparation, not more product. Check for a rough cut, insufficient sanding, or leather that is too dry to compress. Add a small amount of water or gum tragacanth, burnish briefly, then reassess.
An edge that turns very dark may have been burnished too hard, too fast, or with too much friction in one spot. Darkening is not always a flaw, particularly on natural veg tan, but uneven color can distract from clean construction. Slow down, use less pressure, and keep the burnisher moving.
If the edge remains soft and spongy, the leather may be too wet or too soft for a traditional burnish. Let it dry fully before trying again. If it still will not compact, consider an edge paint or another finishing approach that better matches that leather.
Visible layer lines on a wallet or multi-piece project often point to glue-up rather than finishing. Make sure the layers are pressed together firmly, trimmed flush after bonding, and sanded as one edge. A good pattern gives you clean construction order and accurate piece alignment, but careful assembly at the bench still matters.
Match the Finish to the Project
For items handled every day, such as card holders, key fobs, and notebook covers, a firm burnished edge offers a pleasing feel and holds up well when properly maintained. For trays, a slightly softer satin finish can look more natural and is often quicker to achieve across long perimeter edges.
A highly polished edge is not automatically the best edge. It can look right on a refined small good, but a field notebook cover or work belt may benefit from a more understated finish. Let the leather weight, color, hardware, stitch spacing, and intended use guide the decision.
This is especially useful when building from a new project pattern. Before committing to the full build, use the same leather and finishing process on a small offcut. It takes only a few minutes and can prevent surprises after the final stitches are in place.
Give the Edge Time
Good leatherwork often looks simple because the preparation is quiet and deliberate. Leather edge burnishing follows that same rule: square the edge, sand it level, add only enough moisture, and build the finish in controlled passes. The result does not need to be glossy to look professional. It only needs to feel intentional, smooth, and suited to the piece you made.