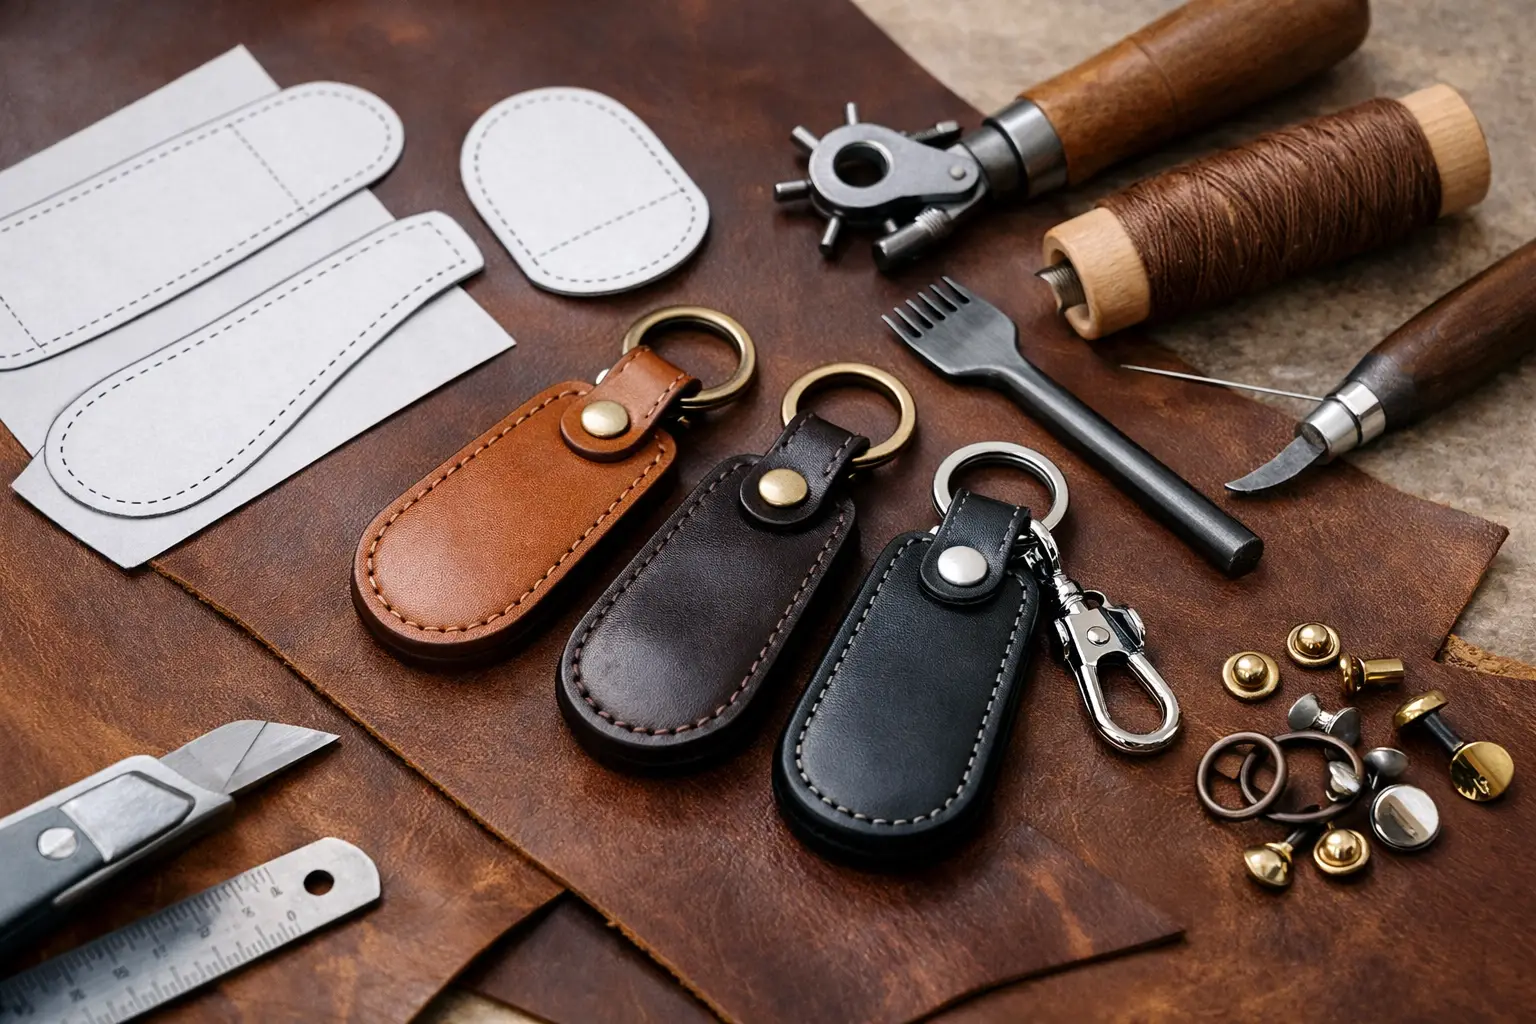
A key fob is small enough to finish in an afternoon, but it reveals nearly every part of your leatherworking process. Uneven cuts, crowded hardware, loose stitching, and rough edges all show up quickly on a project that spends its life in someone’s hand. The right leather key fob pattern PDF gives that small project the structure it deserves, so you can spend less time correcting proportions and more time building a piece you will be glad to carry or give away.
For a newer maker, a key fob is a practical way to practice the basics without committing a full hide or an entire weekend. For an experienced leatherworker, it is a useful shop project for testing a new leather, hardware finish, edge treatment, or stamp. The pattern matters in both cases because good proportions are not accidental. A fob has to feel substantial without becoming bulky, fit the selected ring or clasp cleanly, and leave enough room for stitching and finishing.
What a Leather Key Fob Pattern PDF Should Solve
A downloadable pattern should remove the drafting work, not create another round of questions at the bench. The most useful layouts show a clear cut line, identify fold or stitch locations when needed, and account for the space required by the hardware. On a compact item, even a small measurement error can make a snap sit too close to the edge or leave a key ring pinched in place.
Look for a design that has a purpose beyond being a strip of leather with a ring attached. A well-considered fob may use a tapered end, a shaped body, a layered strap, or a practical closure that creates a more finished silhouette. Those details can be simple, but they should support the way the item is used.
Clarity matters just as much as the outline. Before printing, you should be able to understand what each piece does and how the project comes together. If a PDF leaves you guessing about orientation, stitch placement, or hardware size, it may save no time at all.
Full-size printing is worth checking
Most leather patterns are intended to print at full scale. Open the file settings and select actual size or 100 percent scale rather than fit to page. If the pattern includes a test square, measure it before cutting leather. This takes less than a minute and can prevent a frustrating build, especially when a pattern is designed around a specific key ring, swivel clasp, or snap.
Paper assembly is another consideration. A small key fob pattern often fits on one page, which makes it especially convenient for a quick build. If a design spans multiple pages, clear registration marks and simple assembly instructions are helpful. The pattern should make your bench easier to organize, not bury a small project under unnecessary prep.
Choose a Design That Fits Your Bench
The best first project is not always the most decorative one. A straightforward folded key fob can teach clean cutting, crease work, edge beveling, adhesive control, and saddle stitching in a compact format. It is also forgiving in the right places: if your first edge coat is not perfect, you have a manageable surface to refine and try again.
A layered or stitched fob adds visual weight and can be a better fit if you already have basic stitching tools. These designs allow for contrasting leather, a lining layer, or a stamped panel. The trade-off is thickness. Once leather is folded or stacked around hardware, the project can become stiff quickly. Choose a pattern that considers the finished stack, not just the flat pieces on the page.
Hardware-driven designs, such as wristlet keychains or fobs with swivel clips, are useful when function is the priority. They provide a larger grip and can be easier to find at the bottom of a bag. They also demand more attention to hardware measurements. A 1-inch ring, for example, needs a different strap opening and fold allowance than a 3/4-inch ring.
Before selecting a pattern, think about the tools you enjoy using. If you prefer hand stitching, choose a design with enough stitch length to make the work satisfying. If you want a fast build with rivets or snaps, look for a pattern that places those components safely away from stressed edges. There is no single best construction method. The right one is the method that matches your materials, tools, and intended use.
Materials That Keep a Small Project Looking Refined
Leather key fobs do not require much material, which is one reason they are excellent for using quality remnants. Vegetable-tanned leather in the 4 to 6 ounce range is a dependable choice for many designs. It cuts crisply, accepts stamping and dye well, and develops character with use. For a simple single-layer fob, this weight usually provides enough body without feeling overly rigid.
Chrome-tanned leather can work beautifully when you want a softer hand or a particular color, but it depends on the temper. Very soft leather may stretch near the hardware or make a folded strap feel floppy. If you use it, consider a pattern with a lining or reinforcement layer. Firmer bridle, harness, or latigo-style leather can make a durable fob, though thick leather may need skiving where it folds around a ring.
Match your thread, hardware, and finishing choices to the project rather than treating them as separate decisions. Brass hardware and warm brown leather make a classic combination, while nickel hardware can suit black, navy, or natural leather. A contrasting thread adds a deliberate handmade detail, but only if your stitch spacing and tension are consistent. When you are practicing, a thread close to the leather color can be more forgiving.
For hardware, use components made for repeated pulling and movement. A lightweight split ring may be fine for a simple fob, while a heavier ring or solid clasp better suits a wristlet-style piece. Test the fit with a scrap before committing to the finished leather. The fold should close comfortably around the hardware without forcing the leather to buckle.
Build Cleanly From Cut Line to Edge
Start by cutting carefully. A sharp blade, a stable cutting surface, and a straightedge where appropriate will do more for the final result than rushing into decoration. If the pattern calls for rounded ends or a shaped outline, take your time and make controlled cuts. Small curves look cleaner when cut in a few deliberate passes than when chased with a blade.
Dry-fit the pieces and hardware before glue, stitching, or setting rivets. This is the moment to confirm that the ring sits where it should, the finished length feels right in the hand, and any stamped or personalized area remains visible after assembly. A key fob may look balanced flat on the bench but feel awkward once folded, so handle it before making the construction permanent.
If you are stitching, mark or punch the holes consistently and keep the stitch line far enough from the edge to protect it from wear. A groove or crease line can help guide the layout, but it should support the design rather than become a heavy visual border. On such a small project, restraint usually looks more polished.
Edge finishing deserves extra attention because it is one of the first things people notice. Bevel the edges if the leather weight allows, sand through a few grits, then burnish or apply your preferred edge finish in light, controlled layers. Let each step do its job. Trying to force a glossy edge too quickly often leaves residue, dark spots, or an uneven finish.
Make the Pattern Your Own Without Losing Its Balance
A leather key fob pattern PDF gives you a proven foundation, but it does not have to produce identical results every time. Initials, a short name, a maker’s mark, or a small geometric stamp can turn a useful item into a personal gift. Keep personalization scaled to the project. Large lettering can overpower the fob and become distorted near a fold.
Color is another easy way to create variety. Natural vegetable-tanned leather can be left to develop a patina, dyed for a more dramatic result, or paired with colored thread. You can also make a small batch from coordinated scraps. This works well for gifts, market preparation, or simply building repetition into your practice.
If you change the leather thickness or hardware size, pause before changing the pattern itself. Some adjustments are simple, such as widening a strap opening for a larger ring. Others affect the whole construction, including fold length, stitch placement, and finished bulk. Make a paper or scrap-leather test first. That small trial protects your good material and helps you build with confidence.
A key fob may be a modest project, but a clean one carries the same care as any larger piece of leatherwork. Choose a pattern with clear decisions already built in, bring your own materials and details to the bench, and give the final edges the attention they deserve. The result is a useful daily item and a quiet reminder that good craftsmanship is often found in the details people touch most.
