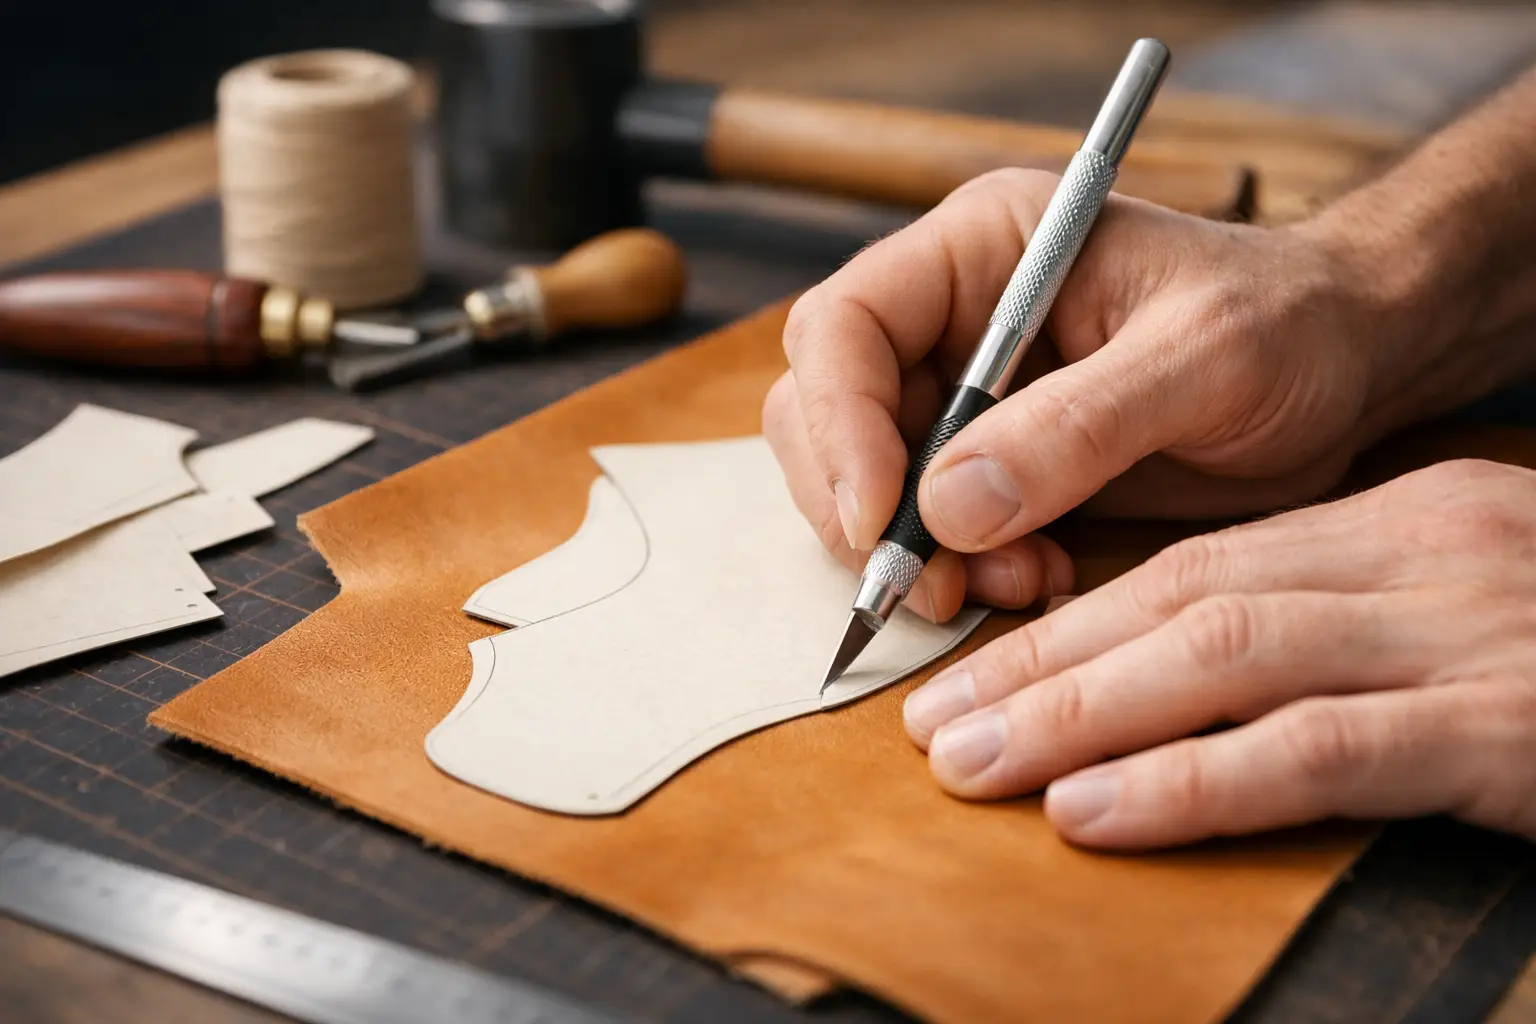
A well-designed leather pattern does more than show you the shape of a project. It gives you a reliable starting point at the bench. Learning how to transfer leather templates accurately is what turns that starting point into clean cuts, aligned stitch lines, and pieces that fit together as intended.
The goal is not to mark every detail as heavily as possible. It is to leave clear, useful information on the leather without creating marks that remain visible on the finished piece. The best method depends on your leather, the type of template, and whether a line will be cut away, covered, burnished, or left exposed.
Start With a Clean, Accurate Template
Print your pattern at 100% scale before you touch the leather. If the pattern includes a test square, measure it with a ruler. A printer set to “fit,” “shrink,” or “scale” can make even a simple project slightly undersized, which often becomes obvious only when pockets, gussets, or layered panels no longer line up.
For reusable templates, transfer the printed pattern to cardstock, chipboard, or a thin template plastic. Cardstock works well for occasional builds and curves that need a little flexibility. Template plastic or heavier board is a better choice when you expect to make the project more than once. Cut the template carefully, staying directly on the printed line, because every small inaccuracy becomes part of every leather piece you trace.
Before marking, inspect the template for details that are easy to miss: fold lines, stitch-hole locations, hardware placement, mirrored pieces, and areas marked “cut two.” Take a moment to identify the flesh side and grain side of each leather piece. Many marking decisions become easier when you know which side will be visible in the finished build.
How to Transfer Leather Templates Without Permanent Marks
For most projects, place the template on the flesh side of the leather and trace around it with a scratch awl, stylus, or a very fine silver pen. The flesh side is usually hidden inside the project, so it gives you more freedom to make practical working marks.
A scratch awl is often the most useful option. Instead of drawing a dark line, it creates a light impression you can follow with a knife. Keep the point close to the template edge and use gentle pressure. You only need a visible guide, not a deep groove. Pressing too hard can distort softer leather, leave a line that telegraphs through to the grain side, or create an unintended weak point near a fold.
A silver pen can be helpful on dark leather when a scribed line is difficult to see. Use it sparingly and test it first on an offcut from the same hide. Some marks will rub away, while others may linger in the grain or become more noticeable after oil, dye, or finish is applied. If a mark must appear on the grain side, place it just inside the waste area or where it will be covered by a seam, lining, hardware, or edge finish.
For light-colored vegetable-tanned leather, a light pencil line may be appropriate on the flesh side. Avoid relying on ordinary pen or marker for cut lines. Ink can bleed into leather fibers, especially when moisture or finish is introduced later.
Keep the Template From Moving
A perfect outline is not much help if the template shifts halfway through tracing. Hold small templates in place with one hand while you work around short sections. For larger pieces, use pattern weights, smooth metal washers, or small bags of shot placed well inside the template perimeter.
Avoid using tape directly on the grain side of leather. Adhesive can pull up surface fibers, leave residue, or change the appearance of finished leather. If you need tape to secure a paper pattern temporarily, use a low-tack option on the flesh side and test it on a scrap first.
When a pattern includes long straight edges, a steel ruler can be more accurate than tracing the template edge. Hold the template in position, mark the corners and key reference points, then remove it and connect those points with the ruler. This approach is especially useful for straps, wallet interiors, and tray panels where clean geometry affects the final fit.
Mark Cut Lines, Stitch Lines, and Holes Differently
Not every line on a pattern should be transferred the same way. Separating your marks by purpose keeps the work cleaner and makes the next step easier to read.
Cut lines need to be clear enough to follow with a knife. A light awl line or pencil mark on the flesh side is usually enough. If your project uses several layers, mark each piece before cutting so you can confirm orientation and avoid accidentally making two pieces in the same direction.
Stitch lines are usually better transferred as reference points rather than a fully drawn line. If the pattern shows a stitch line offset from the edge, use a wing divider after cutting the piece. Set the divider to the specified distance, then run it along the finished edge to create a consistent guide. This produces a cleaner result than tracing a stitch line from a paper template, particularly around curves.
For individual stitch holes, use an awl to make a small starter mark through the printed hole locations. Do not push hard enough to punch through unless the pattern specifically calls for it and you are ready to stitch. Small reference marks let you position your pricking irons or hole punches accurately while preserving flexibility if you need to adjust spacing near a corner.
Hardware locations deserve extra care. Mark the center point first, then confirm it against the pattern and the matching leather piece before cutting a slot or setting a hole. A misplaced snap, rivet, or buckle slot is harder to recover from than a slightly uneven pencil line.
Use a Different Approach for Curves and Symmetrical Pieces
Curves reveal rushed template work quickly. When tracing a rounded edge, keep the awl or stylus upright and move slowly. It is tempting to pull the tool at an angle against the template, but that can shift the marked line inward or outward. Rotate the leather or template as needed instead of forcing your hand into an awkward position.
For symmetrical pieces, such as a flap or a rounded card pocket, consider cutting one half cleanly and using it as a reference after checking the centerline. If the pattern is designed on a fold, align its fold edge with the leather fold or mark the centerline precisely before tracing. A small error at the center can make the two sides look noticeably uneven.
Mirrored parts require another pause. Some pieces, including bag sides, strap tabs, and shaped panels, need a left and right version. Mark one piece, then flip the template over before marking the second. Label the flesh side lightly if there is any chance the pieces could be confused later.
Cut Just Outside the Mark When Needed
Whether you cut directly on the transferred line depends on what the line represents. For a final outside edge, cut carefully on the line or just to its waste side. For parts that will be sanded, trimmed as a stack, or joined to another layer, leaving a small amount of material outside the line can be useful. You can refine the edge once the pieces are glued together.
This is common with layered wallet panels, tray sides, and projects with glued reinforcements. Slightly oversized layers are easier to trim flush than undersized layers are to repair. The trade-off is that you need to plan for trimming and keep your glue-up aligned.
After cutting, compare the leather piece to the template before moving on. Check notches, hole centers, corners, and orientation. Catching a mistake here takes seconds. Catching it after beveling, dyeing, or stitching can cost a whole panel.
Build a Repeatable Bench Routine
The most dependable transfer method is the one you can repeat without guessing. Keep a small set of tools at hand: a sharp knife, scratch awl, ruler, wing dividers, pattern weights, and a few tested marking options for different leather colors. Save template offcuts and leather scraps so you can test a mark before committing to a finished panel.
A clear pattern and a deliberate transfer routine let you spend less time correcting avoidable errors and more time enjoying the build. At Old Line Crafts & Designs, that is the purpose of a well-organized project pattern: give your hands a dependable plan, then leave room for the satisfaction of making it your own.