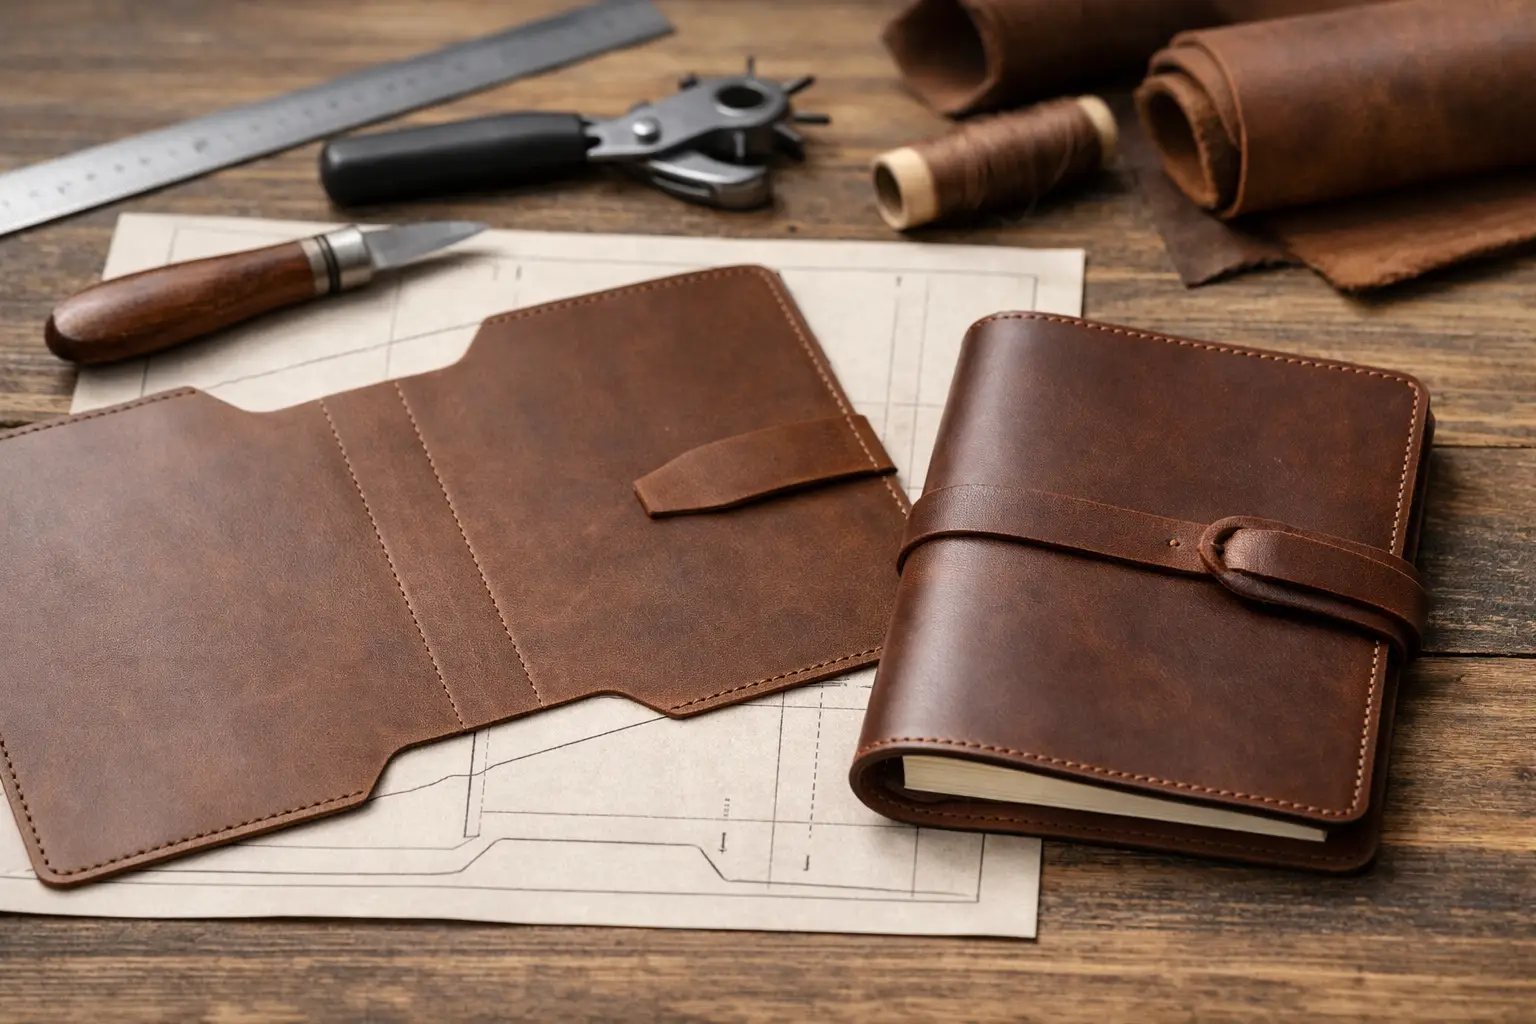
A journal cover can look simple on the finished side of the bench: a clean wrap, a few straight stitch lines, and a notebook tucked neatly inside. The fit is where the real work lives. A well-made leather journal cover template PDF gives you a dependable starting point for that fit, so you can spend less time correcting paper measurements and more time building a cover you will want to carry.
For hobby makers, a journal cover is also a useful project because it asks for several foundational skills without becoming overwhelming. You will cut long, visible edges, form pockets or flaps, mark consistent stitch lines, and make choices about leather weight and closure style. The right template keeps those decisions organized while leaving room for your own material and finishing preferences.
What a Leather Journal Cover Template PDF Should Include
A journal cover pattern is more than an outside rectangle. It needs to account for the notebook itself, the leather thickness, the way the cover bends at the spine, and the amount of material required for interior pockets or sleeves. If one of those measurements is missing, the project can look correct on the cutting mat and still feel too tight once assembled.
Start by checking whether the pattern names the notebook size it is designed to fit. Common formats such as pocket, A6, A5, B5, and standard composition notebooks are not interchangeable. Even notebooks with the same labeled size can vary in thickness, corner shape, and spine construction. A template should tell you the intended insert dimensions and, ideally, the maximum thickness it can accommodate.
Clear cut lines matter just as much. Look for a full-size print layout, a scale check or test square, and labels that distinguish the exterior panel from interior pieces. A pattern that leaves you guessing about which edge folds inward can create an expensive mistake before you ever thread a needle.
Construction guidance should also match the project. You do not need a lengthy manual for every cover, but helpful notes should explain assembly order, pocket placement, stitch-hole spacing when applicable, and where to burnish or finish edges before final stitching. Those details reduce the awkward moments that happen when a part is technically cut correctly but impossible to finish cleanly after it is sewn in place.
Full-size templates versus measurement plans
A full-size template prints at actual dimensions and is cut out or traced directly onto leather. It is often the most comfortable choice for a newer maker because the layout is already resolved. Print at 100% or “actual size,” then measure the test square before tracing anything.
A measurement plan provides dimensions and lets you draw the pattern yourself. This can be a good fit for an experienced maker who wants to adjust the design or work around a particular notebook. It also takes more care. A small drafting error at the spine or pocket can change how the finished cover closes.
Neither format is automatically better. Full-size patterns save setup time, while measurement-based plans can make customization easier. What matters is that the PDF states its format clearly and gives you enough information to verify the scale.
Choose the Right Journal Before You Cut Leather
The easiest way to get a satisfying result is to begin with the exact notebook you plan to use. Set it on the bench, measure its height, width, and thickness, and note whether it has rounded corners, a hard cover, spiral binding, or an elastic closure. These features affect what kind of leather cover will work best.
A slim stitched notebook usually fits comfortably inside a cover with simple slip pockets. A thicker hardcover journal may need deeper pockets, a roomier spine allowance, or a wrap style that does not rely on tight sleeves. Spiral-bound notebooks need special consideration because the coil can prevent the cover from lying flat and may rub against the leather over time.
If a template is made for replaceable inserts, do not assume it will fit a permanently bound journal. Replaceable-cover designs often use flexible flaps, elastic cords, or a notebook sleeve system. They are practical for daily use, but their measurements are built around a particular type of insert.
Before cutting leather, make a paper mockup. Cardstock, poster board, or even a cereal box works well for this step. Tape the pieces together, insert the journal, and open and close it several times. You are checking for a cover that holds the notebook securely without forcing it to bow or making the front flap spring open.
Match Leather Weight to the Construction
Leather selection has a direct effect on fit. A pattern designed around lightweight to medium-weight leather may become stiff and bulky when cut from heavy veg-tan. In particular, interior pockets can stack up quickly at the fold and create a thick ridge along the spine.
For a flexible everyday cover, many makers prefer leather that bends easily and does not fight the journal. Chrome-tanned leather, oil-tanned leather, and lighter veg-tan can all work, depending on the look and finishing process you want. A firmer veg-tan cover gives you a crisp, structured result and provides a good surface for tooling or stamping, but it may need more break-in time.
Think about the project as a whole rather than choosing leather by appearance alone. A soft pull-up exterior paired with thick, stiff interior pockets can make assembly harder than necessary. A lighter lining leather or a pocketless design may be the better choice when you want a slim cover.
If the PDF includes a recommended leather weight, treat it as useful guidance rather than a restriction. You can substitute materials, but adjust your expectations. Heavier leather may require a wider spine allowance, thinner pocket leather, or a simpler construction.
Build With a Clean Order of Operations
Journal covers reward preparation. Long edge work is easier before assembly, and pockets are much easier to finish before they are attached to the exterior. Read the entire pattern once, then lay out your leather pieces in their finished orientation before making any holes.
A dependable order usually looks like this: cut and inspect the pieces, bevel and burnish the accessible edges, mark fold lines, position pockets or closures, then punch and stitch. The exact sequence depends on the design, but the principle stays the same. Complete the work you cannot reach later before you commit the layers together.
Take extra care when marking stitch lines near the journal spine. A stitch line placed too close to a fold can restrict movement and make the cover feel rigid. One placed too far away can leave a loose, untidy pocket. A thoughtfully drafted leather journal cover template PDF should establish that relationship for you, but it is still worth checking with your paper mockup and the actual leather thickness.
For hand stitching, keep your spacing consistent and your tension firm but controlled. Pulling too hard can pucker softer leather or distort a long edge. If you use a pricking iron or stitching chisel, practice on a scrap from the same leather first. The leather’s firmness changes how cleanly holes open and how the finished stitch line sits.
Make the Design Your Own Without Changing the Fit
Once the base pattern is working, small choices can make the cover feel personal. A pen loop, a snap tab, a wrap strap, a card slot, or a stamped initial can add function without requiring a complete redesign. Add these features thoughtfully, especially if the cover is meant to stay slim.
A closure is a good example of a trade-off. An elastic band is simple, forgiving, and practical for notebooks that expand over time. A snap tab creates a more tailored look but needs accurate placement and can add bulk at the edge. A long wrap strap suits a rustic or field-notes style build, though it uses more leather and changes the cutting layout.
Decorative work deserves the same planning as construction. Tooling, carving, dyeing, and stamping are usually best completed on the exterior panel before the cover is assembled. Test dye color and finish on a scrap first. Leather can darken, absorb unevenly, or show more contrast than expected once a finish is applied.
A Pattern Should Leave Room for Good Craft
A reliable template does not remove the maker from the project. It handles the repeatable geometry – panel sizes, pocket depths, stitch placement, and construction order – so you can focus on clean cuts, thoughtful material choices, and the small details that make the cover yours.
If you are building your first cover, choose a design with a straightforward notebook fit and minimal hardware. If you already have a few projects behind you, look for a pattern that gives you a fresh construction detail without asking you to draft every piece from scratch. Old Line Crafts & Designs creates patterns with that bench-ready balance in mind: enough structure to build with confidence, and enough creative space to make a finished piece you will be proud to use.
Print the template, check the scale, mock up the fit, and let the leather tell you what it needs. A journal cover is made to gather marks, notes, and miles over time. Starting with a clear pattern gives it the considered beginning it deserves.