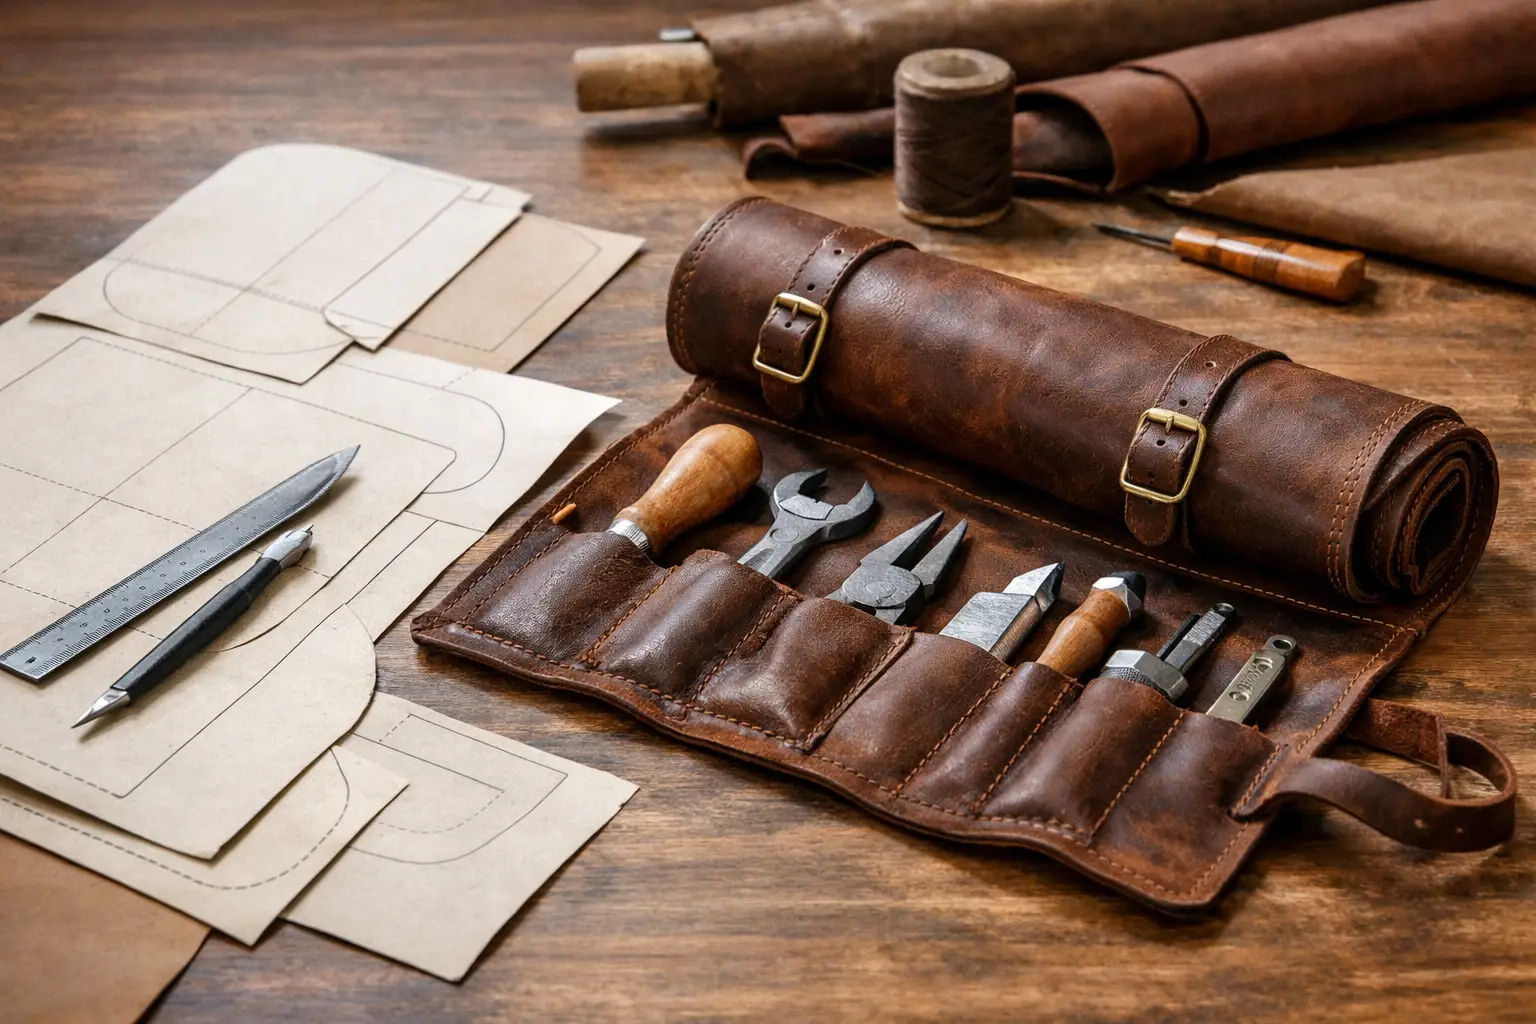
A good leather tool roll earns its place quickly. It keeps your most-used tools together, protects edges from knocking into one another, and makes it easier to move from the bench to a class, market setup, or weekend project. The right leather tool roll pattern PDF gives you more than a cutting outline. It gives you a clear plan for building something you will reach for often.
Tool rolls look simple at first glance, but the details decide whether they feel useful or frustrating. Pocket spacing, leather weight, closure placement, and the order of assembly all affect the finished roll. Starting with a thoughtfully organized pattern means less time guessing and more time building.
What a leather tool roll pattern PDF should show
A workshop-ready pattern begins with accurate full-size pieces or clearly marked dimensions. You should be able to print the pages, confirm the scale using a test square, and understand how the pieces join before cutting into good leather. If a pattern requires tiling across multiple pages, page alignment marks make that process far easier.
Look for a layout that identifies each component: the main body, pocket panel, flap if included, straps, and any reinforcement pieces. Clear labels prevent a surprisingly common mistake: cutting a small strap or pocket from the wrong leather before you have considered stretch, thickness, or grain direction.
Construction notes matter just as much as the template. A useful pattern explains where to glue, when to mark or punch stitch holes, and when to install hardware. It does not need to teach every basic leatherworking skill from the ground up, but it should make the project sequence easy to follow for a maker with basic cutting, stitching, and finishing experience.
Start with the tools you actually use
Before choosing a design, set out the tools you want the roll to carry. Not the full collection in your drawer. Choose the tools you regularly bring to the bench: perhaps a skiving knife, edge beveler, scratch awl, stitching chisels, wing dividers, a small ruler, and a few hand tools.
Measure their width and length, then consider the handle shapes. A row of equal narrow pockets may suit edge tools and slim awls, but it will not comfortably hold a round maul handle or a thicker knife. A roll with varied pocket widths is often more practical than one with many identical slots.
Also consider height. Tool pockets should expose enough handle to grab easily while covering sharp points and working edges. If the pockets are too shallow, tools can shift or fall out when the roll is carried vertically. If they are too tall, you may have to tug at every tool to remove it. There is no single perfect measurement because tool sets vary, but a pattern should give you a sensible starting proportion.
A good test is to place paper strips over your tools before cutting leather. Fold and tape the strips into approximate pocket shapes, then roll them around the tools. This small bench test can reveal whether a pocket needs more width, a flap needs more length, or a closure needs to sit farther from the edge.
Choose leather that supports the design
Most leather tool rolls benefit from vegetable-tanned leather because it cuts cleanly, takes a burnished edge well, and gives the project a structured feel. For a lighter everyday roll, medium-weight leather can keep bulk under control. For a larger roll carrying heavy hand tools, a firmer main body and reinforced strap area may be the better choice.
Thickness is a trade-off. Heavy leather offers protection and presence, but several folded pocket layers can become difficult to stitch and stiff to roll. Lighter leather creates a more flexible result, though it may need support at stress points. The pattern’s recommended leather weight is useful guidance, especially if it accounts for how many layers meet at the pocket base and closure.
Soft chrome-tanned leather can work well as a lining or for a relaxed tool wrap, but it behaves differently from veg tan. It may stretch more, burnish less predictably, and require more care when marking and gluing. If you are building your first tool roll, following the leather type and weight suggested by the pattern usually produces the most predictable result.
Pay attention to pocket construction
The pocket panel is the working center of the project. In many designs, it is stitched along vertical lines to create individual slots, then attached at the bottom to the main body. The order matters. Stitching pocket divisions after the panel is fully attached can leave you fighting excess material under the presser foot or stitching pony.
Mark stitch lines carefully and check the spacing a second time before punching. Small variations become obvious across a row of pockets. If you are hand stitching, use a stitching chisel size that fits the scale of the project. Very large spacing can look coarse on narrow tool pockets, while extremely fine spacing may add unnecessary work and crowd the leather.
Pocket depth should also allow for the curve created when the roll closes. Tools and leather take up more room in a rolled position than they do laid flat. A pattern designed around this reality will leave enough clearance so the pocket panel does not pull, wrinkle, or force the closure out of alignment.
Closures and carry styles change the experience
A simple leather tie is quiet, repairable, and fitting for a traditional shop roll. It also allows some flexibility if the roll carries a different number of tools from one day to the next. A buckle strap gives a more structured look and can feel secure, but it adds hardware work and requires accurate placement. Snaps are quick to use, although they are less forgiving if the packed roll becomes much thicker or thinner than planned.
Some makers prefer a flap that folds over the tool handles before the roll closes. This helps keep tools contained and adds protection, particularly if the roll will travel in a bag. Others prefer an open-top design for faster access at the bench. Neither is automatically better. Choose based on whether the roll is primarily for storage, transport, or daily use beside your work.
Print, check, and prepare before you cut
Print the pattern at 100 percent scale, not “fit to page.” Then measure the included reference square with a ruler. This takes less than a minute and can save an entire project from being slightly undersized. If your printer changes scale, check its settings and print again before proceeding.
Cut out the paper pieces and arrange them on your leather with grain direction in mind. Long straps should generally run along the stronger direction of the hide, and visible pieces deserve a clean area with character that suits the project. Natural marks can add personality, but avoid weak spots, deep scars, or loose grain where the strap bends and pulls.
Mark only what you need. Cut lines, fold lines, stitch lines, and hardware centers are useful. Too many marks can clutter the grain side and create opportunities for error. A disciplined pattern helps here by separating cutting information from construction information rather than placing every instruction on one crowded page.
Build confidence through the small steps
A tool roll is an approachable project, but it rewards patience. Square cuts, even pocket divisions, clean edges, and a closure that lands in the right place create the polished result people notice. Take time to dry-fit the pieces before glue-up, especially around the pocket panel and straps.
Old Line Crafts & Designs approaches project patterns with that bench reality in mind: clear structure should support your decisions without taking the satisfaction out of making. You can still choose the leather, edge treatment, thread color, and hardware that make the project your own.
If you want a more personal fit, adjust with care. Widening one pocket may require shifting every pocket line that follows. Adding a flap changes the amount of leather needed and may affect strap length. Make changes on paper first, then test them with your own tools before committing to the hide.
A well-made tool roll does not need to hold everything you own. It only needs to hold the tools that help you sit down, get to work, and enjoy the next project with a clearer bench.