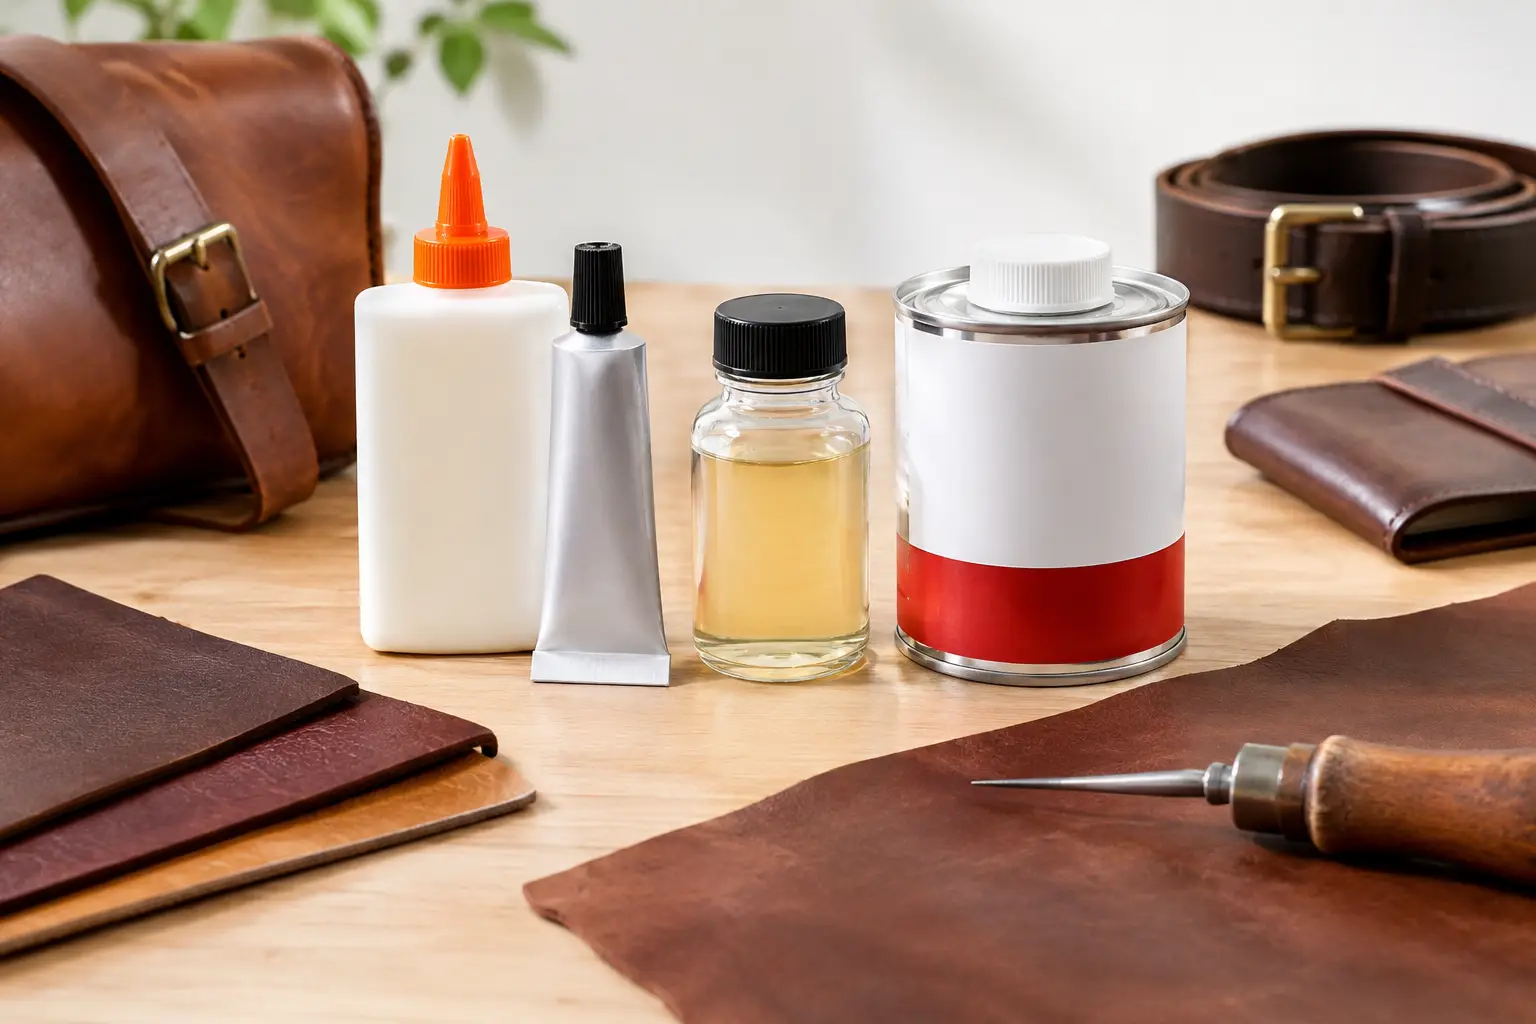
A clean leather build often depends on a step nobody sees in the finished piece: the glue-up. If you have wondered which glue works on leather, the short answer is that contact cement is the workshop standard for most leathercraft construction. But the best choice still depends on whether you are laminating layers, holding an edge for stitching, repairing a flexible item, or working with chrome-tan rather than vegetable-tan leather.
The right adhesive gives you better alignment, cleaner stitch lines, and fewer frustrating shifts while you work. The wrong one can leave a stiff seam, a weak bond, or a messy edge that takes more time to correct than the glue saved.
Which Glue Works on Leather for Leathercraft Projects?
For most handmade wallets, bags, trays, belts, and small goods, solvent-based contact cement is the most dependable option. It creates a strong, flexible bond when applied to both surfaces, allowed to become tacky, and pressed together firmly.
Contact cement is especially useful when you need two pieces of leather to stay exactly where you placed them. That makes it well suited to lining panels, attaching gussets, building layered straps, folding edges, and preparing pieces for stitching. Once the surfaces touch, they bond quickly, so careful placement matters.
Water-based contact adhesive is a practical alternative for makers who prefer lower odor and easier cleanup. It can work very well for many leather projects, though drying time and initial tack may differ from a traditional solvent-based cement. Follow the instructions for the specific adhesive rather than assuming every glue behaves the same way.
For a typical pattern-based project, think of contact cement as a construction aid as much as an adhesive. Stitching may provide much of the long-term strength in a wallet or bag, but glue keeps layers from creeping apart while you punch, stitch, trim, and burnish. That control shows in the finished result.
Match the Glue to the Job
Leather adhesives are not interchangeable. A glue that performs well for a quick repair may not be the right choice for a neatly lined card holder, and a strong contact cement is not always necessary for a temporary hold.
Contact Cement for Permanent, Flexible Bonds
Use contact cement when you need a durable bond across a broad area. It is the first choice for laminating leather layers, attaching leather to firm reinforcements, closing folded edges, and securing parts before stitching.
Apply a thin, even coat to both surfaces. Let it dry until it feels tacky rather than wet, then bring the pieces together. A roller, bone folder, or firm hand pressure helps create even contact across the seam.
The trade-off is that repositioning is limited. Before gluing, dry-fit the parts, mark your alignment points, and make sure the grain direction and finished sides are correct. On a narrow strap or long folded edge, working in short, controlled sections can prevent a crooked bond.
Leather Glue for Light Assembly and Controlled Placement
Many products sold simply as leather glue are water-based adhesives formulated to remain flexible. They can be useful for smaller assemblies, temporary positioning, and projects where you want more open time before the bond sets.
These glues are often more forgiving than contact cement, but they may not hold as aggressively under constant stress. They are a sensible choice for holding a lining in place before stitching or for small decorative leather pieces that will not be heavily flexed.
Give water-based glue enough time to dry. A piece can feel secure at the edges while the center is still curing, particularly when large leather panels are involved. Pressing the work under a flat weight can help keep the bond even.
PVA and White Glue for Limited Uses
Basic white glue and PVA craft glue can stick to leather, but they are rarely the best choice for lasting leathercraft construction. They may dry hard, become brittle with repeated flexing, or release when exposed to moisture.
They can still have a place at the bench for paper patterns, light backing materials, or a small temporary task. For the leather itself, a purpose-made flexible adhesive will usually produce a cleaner and more reliable result.
Super Glue for Small, Specific Repairs
Cyanoacrylate, commonly called super glue, bonds quickly and can be useful for a very small repair or a tiny edge that needs immediate attention. It is not ideal for large leather surfaces, folded seams, or parts that need to flex.
Super glue dries hard. On soft leather, that hardness can create a noticeable spot or cause the repair to crack over time. It can also soak into the grain side and leave a dark, shiny mark that is difficult to disguise. Use it sparingly, with a precise applicator, and keep it away from visible areas whenever possible.
Rubber Cement for Temporary Positioning
Rubber cement can be useful when you need a temporary hold, such as positioning a paper template or lightly securing a component before committing to a final assembly. It is not the adhesive to trust for a structural leather bond.
If a project will be carried, worn, bent, or pulled, choose contact cement or stitch the parts together after gluing. Temporary adhesive has its place, but it should not be asked to do permanent work.
Leather Type Changes the Answer
Vegetable-tan leather is generally straightforward to glue because its flesh side is absorbent and its surface is easy to prepare. A light scuff with fine sandpaper can improve adhesion on smooth or dense areas, especially when laminating two finished sides or attaching a stiffener.
Chrome-tan leather can be less predictable. Some chrome-tan hides have waxy finishes, stretchy fibers, or protective topcoats that interfere with adhesion. Test your glue on an offcut first. If the bond peels away easily, lightly roughen the hidden bonding area and try again.
Finished, oily, waxed, or heavily conditioned leather needs extra caution. Adhesive bonds to the surface it can reach, not to the leather underneath a layer of oil or finish. Clean the bonding area if appropriate for the leather, roughen only the hidden side, and test before building the full piece.
Suede and roughout sides can absorb more adhesive than smooth grain leather. Use thin coats and avoid flooding the surface. Too much glue can soak through, stiffen the leather, or leave a visible mark on the opposite side.
A Better Glue-Up Starts Before the Glue
Good adhesive technique is less about using a large amount of glue and more about preparing two clean, well-fitting surfaces. Cut your pieces accurately first. Glue cannot correct a gusset that is too long, a lining that was cut off-square, or an edge that has not been properly skived.
Keep glue away from areas you plan to dye, burnish, or leave exposed. Even a narrow smear can resist dye and make an edge finish look uneven. Apply adhesive with a small brush, glue spreader, or disposable applicator that gives you control.
For a folded edge, apply glue just inside the fold line rather than coating a wide area. For a stitched seam, glue only the seam allowance. This keeps the leather flexible and prevents excess adhesive from squeezing into the stitch channel.
Let each coat reach the stage recommended by the manufacturer. With contact cement, joining too early can weaken the bond. Waiting far too long can reduce tack. If you are unsure, use scrap leather to learn how the adhesive feels at the right moment.
After joining the parts, press them firmly and evenly. Then allow the bond to set before trimming, punching, or putting the seam under tension. Rushing this step can cause layers to shift, particularly on rounded corners and narrow straps.
Common Glue Mistakes at the Bench
The most common mistake is applying too much adhesive. A heavy coat does not create a stronger bond. It often creates squeeze-out, longer drying time, and a stiff glue line. Two thin, even coats where needed are usually better than one thick, messy one.
Another mistake is treating glue as a replacement for sound construction. On a bag handle, belt, or other load-bearing part, adhesive should support well-designed leather layers and strong stitching. It should not be the only thing keeping a stressed joint together.
Finally, do not skip the test piece. A small offcut can reveal whether a glue will darken the leather, show through the grain, resist the finish, or fail under flex. That two-minute check can save a carefully cut project.
A thoughtfully chosen adhesive makes the rest of the build calmer. It holds your pattern pieces where they belong, gives your stitching a cleaner foundation, and lets you spend less time correcting movement at the bench and more time building a piece you will be proud to use.