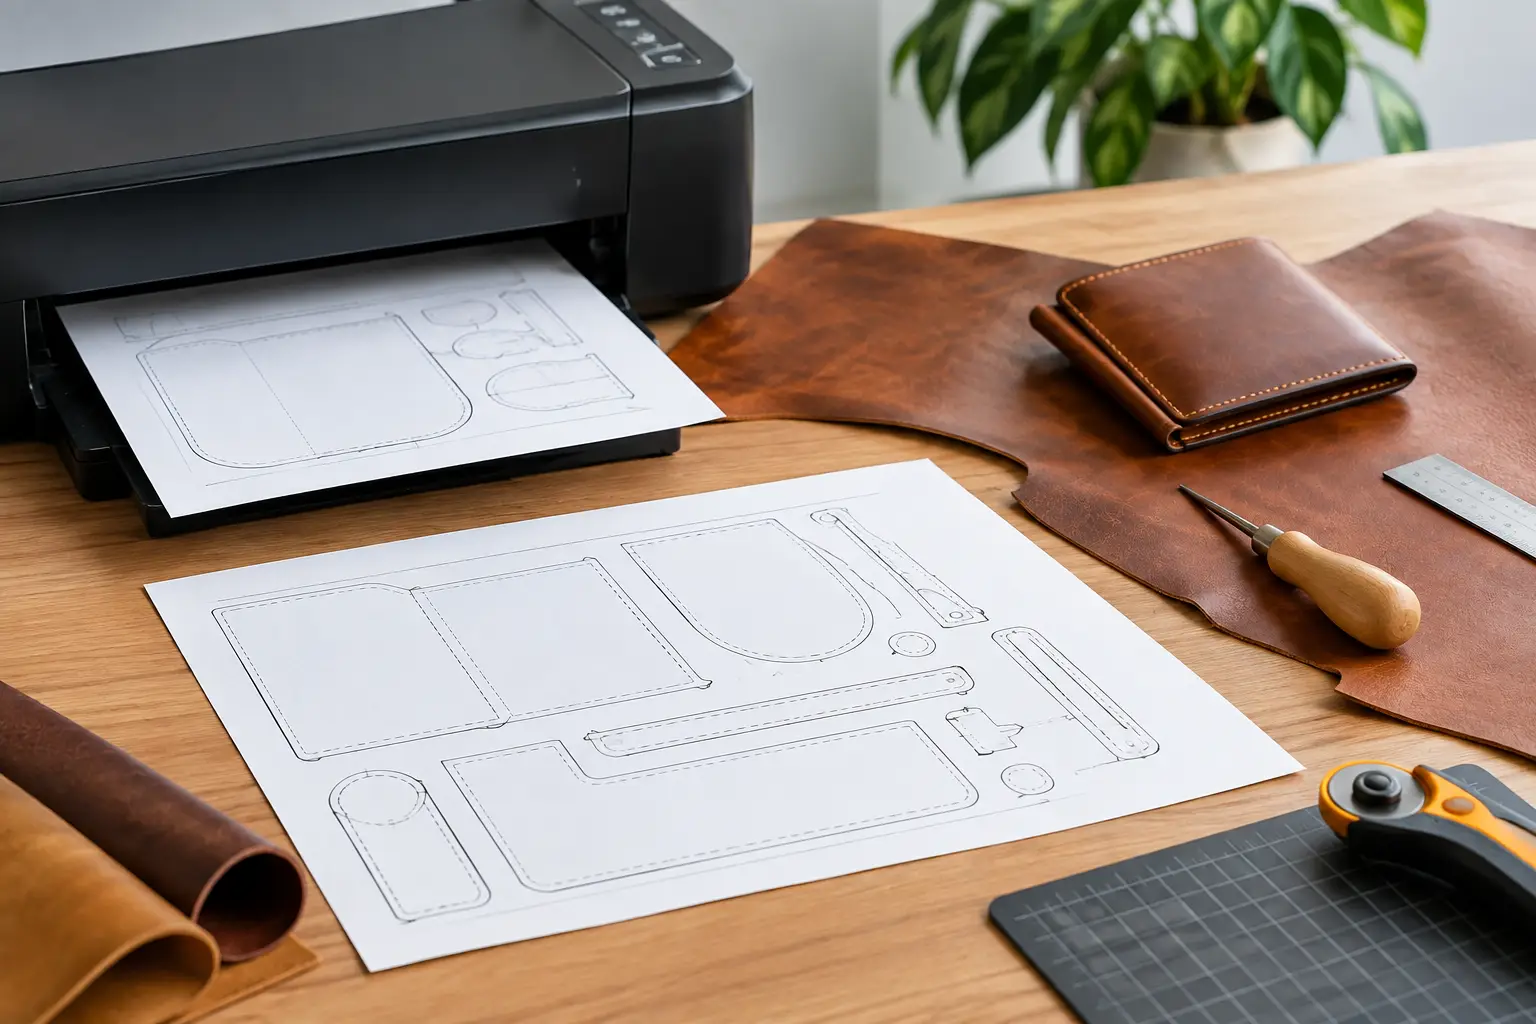
A leather pattern can be carefully designed, clearly labeled, and ready for the bench, yet one printer setting can still put every hole and edge out of place. This PDF pattern printing guide helps you turn a digital file into dependable workshop templates, so you can spend less time guessing and more time building.
The goal is not to make printing complicated. It is to make it repeatable. Once you understand scale, paper choice, printer settings, and the final accuracy check, opening a new pattern becomes a straightforward part of starting any project.
Start With the Pattern Notes
Before printing, open the pattern and read any notes included on the first page. A well-organized leathercraft PDF should tell you the intended print scale, paper size, whether pages need to be tiled together, and whether seam or stitch allowances are already included.
Most US-based patterns are formatted for Letter paper, which measures 8.5 by 11 inches. If your printer is loaded with Letter paper but the PDF is set for A4, or the other way around, your software may resize the file to make it fit. That small adjustment can change the dimensions of a wallet pocket, strap, or gusset enough to cause trouble later.
Also look for a test square or scale reference. It may be a one-inch box, a 50 mm line, or another clearly marked measurement. This is your most useful printing tool. Do not skip it because the pages look right on screen.
PDF Pattern Printing Guide: Use Actual Size
The setting that matters most is usually called Actual Size, 100%, or No Scaling. Select it before printing.
Avoid settings such as Fit, Fit to Page, Shrink Oversized Pages, or Scale to Fit unless the pattern instructions specifically call for one of them. These options are useful for ordinary documents, but a leathercraft pattern is a measured tool. A printer that reduces a page by even a few percent can leave you with pieces that no longer match.
In most PDF readers, choose Print and then look for Page Sizing or Scale. Select Actual Size or enter 100% manually. Check the print preview as well. The pattern should sit naturally on the page, even if that leaves a narrow unprinted border around the edge.
Some home printers cannot print all the way to the paper edge. Pattern designers account for this in different ways. If a page includes a border or trim marks, leave the print scale at 100% and follow the assembly directions rather than forcing the artwork to fill the sheet.
Print the Test Page First
If the file contains a page with a scale box, print that page before committing to the full pattern. Measure the box with a ruler you trust. A one-inch square should measure one inch in both directions, not close to one inch.
If the square is off, return to the print settings. Confirm the paper size, make sure Actual Size is selected, and check whether your printer software has its own scaling option outside the PDF reader. Printer dialogs sometimes add a second layer of settings that can override what you chose in the document.
When the test square measures correctly, print the remaining pages. This small pause saves paper, leather, and the frustration of discovering a sizing issue after cutting.
Choose Paper That Fits the Project
Standard 20-pound copy paper is perfectly suitable for many projects, especially when you plan to transfer the shapes to poster board, manila folder stock, or another reusable template material. It prints cleanly, stores easily, and makes assembling multi-page files simple.
For smaller pieces with curves, slots, or detailed edges, heavier paper can be helpful. A 24-pound to 32-pound paper holds up better during cutting and tracing. Cardstock is useful for templates you expect to use more than once, though it can be harder to feed through some home printers and may soften if exposed to glue or repeated handling.
There is a trade-off. Thick paper feels more durable, but it is not always the best choice for a first build. If you are still deciding whether to adjust a fit, change hardware, or alter a strap length, print on plain paper first. Save the heavier stock for the version you know you want to keep.
Print Multi-Page Patterns Without Losing Alignment
Larger leather projects often arrive as tiled pages. Each page holds part of a full-size pattern piece, and the pages are taped together after printing. This lets you print a long strap, bag panel, or larger tray pattern on a standard home printer without reducing the scale.
Start by laying the pages on a clean table in numerical order. Look for registration marks, alignment dots, or matching lines near the page edges. Trim only the edges the instructions tell you to trim. Cutting every margin away at once can remove the overlap needed to join the pages accurately.
Tape the pages from the back whenever possible. Clear tape works well because you can still see alignment marks through the paper. Begin with one seam, align the marks carefully, and tape the center before securing the ends. That prevents the pages from drifting while you work.
Do not rely only on the outside page edges. Paper can feed slightly crooked through a printer, while the printed registration marks are what preserve the pattern’s intended dimensions. Once assembled, measure a known straight edge or check the scale square again if it spans multiple pages.
Keep the Printer Setting Consistent
If you print only one page, then return days later to print the rest, confirm your settings again. A software update, a different computer, or a new default printer can quietly change the scale option.
This matters most for projects with mirrored or matching components. A pair of handle tabs, two gusset panels, or a front and back body piece should be printed under the same conditions. If one page is printed at 100% and another at Fit to Page, the pieces may look nearly identical but refuse to line up when construction begins.
For patterns that include a mirrored piece, follow the markings closely. Some files provide both left and right versions. Others provide one piece marked “cut two, one reversed.” If you are tracing rather than cutting the paper directly, mark the flesh side or grain side of your template before flipping it. A minute spent labeling now prevents accidental duplicate pieces later.
Cut and Prepare the Printed Pattern Carefully
Use scissors for broad outer edges and a craft knife for inside corners, slots, and notches. If you cut directly on a cutting mat, use a fresh blade and work slowly around curves. A rough paper edge can lead to an inaccurate traced line, particularly on tight corners or small flap shapes.
Keep useful reference marks. Center lines, fold lines, stitch lines, hardware locations, and punch marks are all part of the pattern. If you remove them while trimming, redraw them before transferring the shape to leather.
Many makers prefer to cut the paper pattern slightly outside the final line, then make the precise cut once it is attached to a sturdier template material. That approach is especially helpful with detailed projects. Others cut the printed page precisely and use it as a single-use guide. Either method works. The better choice depends on how often you expect to build the project and how much adjustment you want to make along the way.
Transfer the Pattern to Leather With a Clear Plan
Before tracing, inspect the leather for stretch, scars, loose grain, and color variation. A PDF pattern gives you the shape, but you still decide how that shape sits on the hide. Place straps along the direction with the least stretch when strength matters. Reserve cleaner areas for visible panels, flaps, and pieces with decorative stitching.
Use a light pencil, silver pen, scratch awl, or your preferred marking method on the flesh side when possible. Test any marking tool on a scrap first. Some marks are difficult to remove from light leather or can show through after finishing.
If the pattern includes stitch holes, consider whether you want to mark every hole or only use the line as a guide for pricking irons. For a project designed around a specific stitch spacing, transferring the hole positions can preserve the intended layout. If you use a different iron spacing, it may be better to use the stitch line and plan your spacing from the center outward.
Store Patterns So the Next Build Starts Faster
A pattern you have printed, tested, and labeled is worth keeping organized. Folded copy-paper patterns can go in a project envelope with notes about leather weight, hardware size, thread color, and any changes you made. Durable templates can be hung, filed flat, or stored in large envelopes.
Write the project name and date on your template. If you changed a pocket depth, shortened a strap, or adjusted a snap location, record that too. Those notes turn a good first build into a more confident second one.
A well-printed pattern gives you a reliable starting point, not a limitation. Check the scale, prepare the pages with care, and then let the material and your own workshop judgment guide the build.