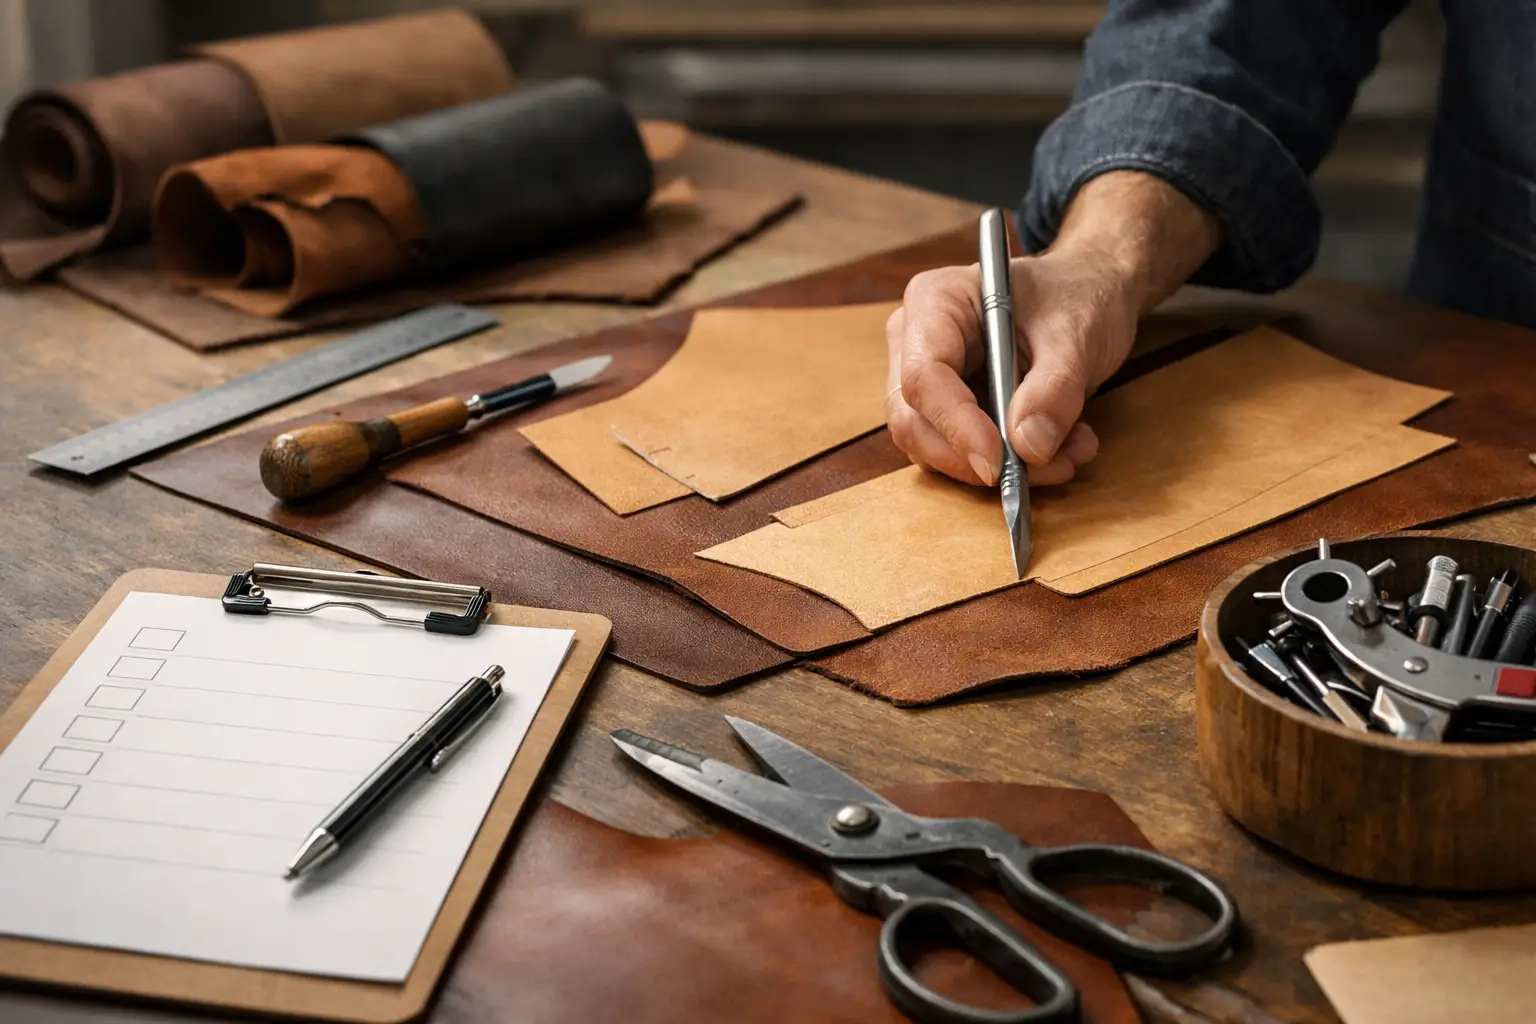
A clean finished piece usually begins long before the first stitch. This leather pattern cutting checklist gives you a steady process for moving from a printed pattern to accurately cut leather, with less waste, fewer surprises, and more confidence at the bench.
Cutting is one of those stages that can feel simple until a small error follows you through the rest of the build. A slightly shifted template, a missed fold line, or a strap cut across a weak section of hide can change how the whole project fits. Taking a few minutes to set up well protects the time you will spend tooling, stitching, burnishing, and finishing later.
Leather Pattern Cutting Checklist Before You Start
Begin with the pattern itself. Confirm that it printed at 100% scale and measure the included test square, if your pattern has one. “Fit to page” or automatic printer scaling can make a small project noticeably undersized, especially around card pockets, gussets, and hardware placements.
Read the pattern notes before cutting anything. Look for the recommended leather weight, whether seam allowance is already included, the number of pieces required, and any pieces that need to be mirrored. A well-organized pattern should make these details clear, but a quick review prevents the familiar frustration of discovering a second side panel was needed after you have already moved on.
If you plan to reuse a pattern, transfer it to a sturdier material such as cardstock, chipboard, or acrylic. Paper patterns are perfectly workable for a one-time build, but they can soften, stretch, and lose a clean edge after repeated tracing. A durable template also makes it easier to mark notches, stitch lines, and fold locations consistently.
Before arranging pieces on the leather, gather the tools you will use: a sharp knife with a fresh blade, a straightedge, a scratch awl or silver pen suited to your leather, pattern weights, a cutting mat, and a wing divider if stitch lines need to be marked. Keep your striking tools separate from the cutting area so the bench stays clear. Good setup is not about owning every tool. It is about having the right few tools within reach and ready to use.
Inspect the Leather Before You Lay Out the Pattern
Leather is not uniform sheet material. The character that makes it appealing – grain variation, stretch, scars, wrinkles, and changing firmness – also affects where each pattern piece belongs.
Lay the hide flat and inspect both sides in good light. The grain side will show scars, loose grain, insect marks, and color variation. The flesh side often reveals soft areas, thin spots, or a stretchier temper than you expected. None of these features automatically make the leather unusable. They simply need to be placed thoughtfully.
For visible panels, such as a wallet exterior, tray base, or bag flap, reserve the cleanest and most consistent areas. Put minor marks in places where they will be hidden by a lining, folded into a seam, or used for smaller reinforcement pieces. For rustic work, a natural mark may suit the design. For a refined, polished project, it may distract from the finished result.
Pay attention to grain direction and stretch. The belly is usually more elastic and less firm than the back or shoulder. It can work well for small tabs, lining pieces, or areas that benefit from flexibility, but it is often a poor choice for long straps, belt-like pieces, or structured exterior panels. Cut straps along the length of the hide whenever possible to reduce stretch and help them hang and wear more evenly.
Plan the Layout Before Making a Mark
Do not trace and cut one piece at a time unless the project is very small. Arrange every pattern piece first. This is where you can make the most of your leather and avoid discovering that a large panel will not fit after the best area has already been used for a small component.
Place large pieces first, then medium panels, then small parts such as tabs, keepers, and pocket layers. Turn the templates where the pattern allows, but respect direction arrows, fold marks, and any grain-direction guidance. If a piece must be mirrored, set the first template down and immediately place its matching mirrored piece beside it. That visual check catches many costly mistakes.
Leave enough space between pieces for your cutting method. A knife cut needs only a modest gap, while a rotary cutter or a rough-cut-then-trim process may require more room. Avoid nesting pieces so tightly that the knife has no clean path around the template. Saving a fraction of an inch is rarely worth a crooked edge or an accidental cut into the next part.
This is also the right time to think about color and finish consistency. Pull-up leather, hand-dyed leather, and hides with strong natural variation can look different from one area to another. Place matching left and right components close together when a balanced appearance matters.
Mark Clearly, but Only Where It Will Be Hidden
Once the layout is settled, secure the templates with weights or hold them firmly without shifting. Trace with a light, accurate line. A scratch awl works well for many vegetable-tanned leathers because it leaves a fine mark that can be cut directly. On darker or chrome-tanned leather, a silver pen or removable marking pen may be easier to see.
Mark the details that matter to construction: stitch-line references, fold lines, hardware centers, slots, notches, and alignment points. Keep these marks on the flesh side whenever possible. If a mark must go on the grain side, make it light and place it where it will be covered, creased, or removed during edge trimming.
For symmetrical pieces, label the flesh side as you go. Simple notes such as “left exterior,” “right pocket,” or “grain side out” can save you from assembling a mirrored component backward later. This matters most on projects with angled pockets, tapered panels, or directional tooling.
Cut in a Controlled Sequence
Start with straight cuts and long outside edges. Use a metal straightedge where appropriate, hold it firmly, and make several light passes rather than forcing the blade through thick leather in one cut. A sharp blade should cut with control, not require excessive pressure. If you are leaning hard on the knife, replace or strop the blade before continuing.
Curves deserve a slower approach. Rotate the leather rather than twisting your wrist, and use short, deliberate cuts. For tight inside curves, it is often better to rough cut just outside the line and trim carefully to the final line afterward. This takes a little longer, but it gives you a cleaner edge and a more accurate fit.
As each part is cut, place it in a small stack or tray and compare it against the pattern before setting the template aside. Check that paired pieces match, tabs are facing the correct direction, and slots or notches have not been missed. It is much easier to correct a problem while the hide and template are still on the bench.
Make a Quick Quality Check Before Construction
Before gluing or punching, dry-stack the major components in their intended order. You are looking for clean pairings, consistent margins, and a layout that makes sense from the flesh side and grain side. If a piece looks slightly oversized, now is the time to trim it. If two parts do not align, find out whether the issue came from printing, tracing, cutting, or an overlooked pattern instruction.
A useful final check includes four questions:
- Are all pieces cut, including mirrored parts and reinforcements?
- Are stretch-prone areas placed where they will not weaken the project?
- Are fold lines, hardware marks, and stitch references still visible where needed?
- Are your visible panels free of marks or flaws that will bother you later?
There is no need to chase perfection on every cut. Handmade work has small variations, and leather itself has a natural voice. The goal is to make intentional choices, especially where accuracy affects fit, structure, and the finished appearance.
A reliable leather pattern cutting checklist turns the first stage of a project into a calm, repeatable habit. Take the extra few minutes to inspect, arrange, mark, and verify. Your stitching will go more smoothly, your edges will line up with less correction, and you can spend more of your bench time enjoying the build rather than working around an early mistake.