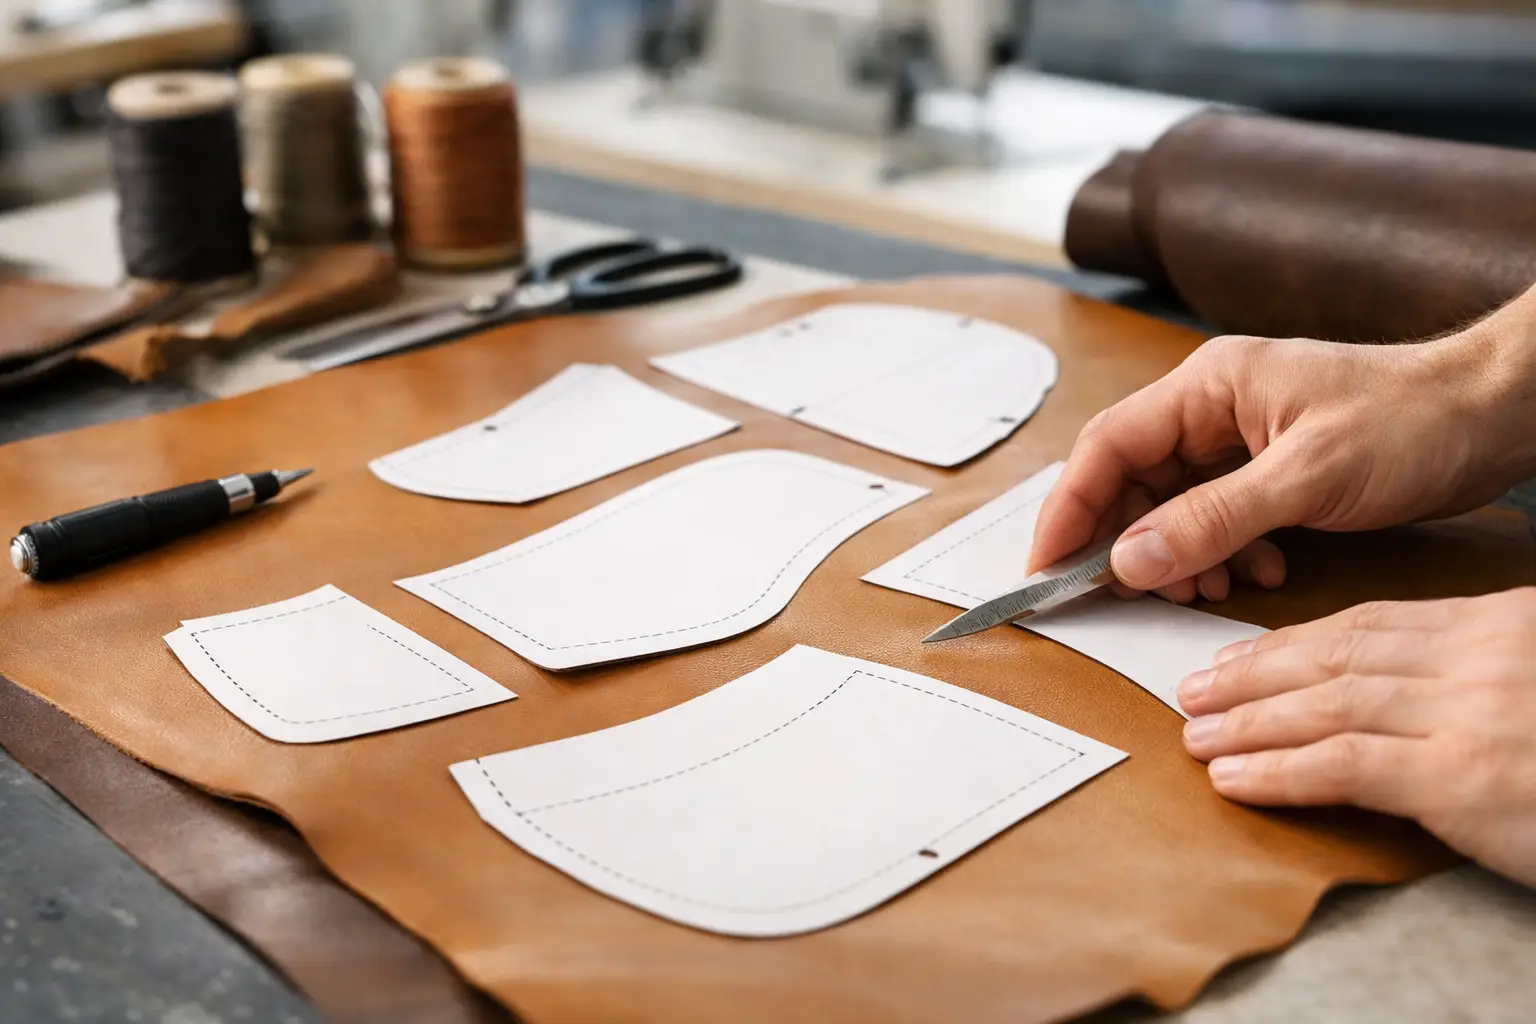
A leather pattern can be drafted beautifully and still cause trouble if it comes off the printer at the wrong scale. A difference of only a few percent can leave a card slot too narrow, a flap too short, or a gusset that refuses to meet the body cleanly. Learning how to print leather patterns correctly is one of the simplest ways to spend less time guessing and more time building.
The goal is not merely to get ink on paper. You want a reliable template that preserves the designer’s intended dimensions, stays flat while you work, and gives you clear reference points when it is time to cut leather. With a few consistent checks, printing a digital pattern becomes a routine part of setting up your bench.
Start With the Right PDF Viewer
Download the pattern file to your computer or tablet before printing it. Opening a PDF inside a browser can work, but browser print settings are sometimes limited or easy to overlook. A dedicated PDF viewer gives you a clearer view of page sizing, orientation, and print previews.
Before selecting Print, look through the pattern instructions. Most well-organized leather patterns identify the intended paper size, such as US Letter, and include a test square or scale reference. They may also show whether a piece is meant to print on one page, span multiple pages, or be cut from a separate template sheet.
If the file includes instructions, treat them as part of the pattern, not an optional extra. They often explain which lines are cut lines, fold lines, stitch lines, or placement marks. Taking a minute to understand the layout now prevents confusion after leather is on the cutting mat.
How to Print Leather Patterns at Actual Size
The most important print setting is scale. In the print dialog, choose Actual Size, 100%, or Print at 100%, depending on the software and printer you use. Avoid settings labeled Fit, Fit to Page, Scale to Fit, Shrink Oversized Pages, or Printable Area when printing pattern pages.
Those options are useful for ordinary documents, but they can quietly change a pattern’s dimensions. A printer may reduce a page to keep every edge inside its printable margin. That small reduction can affect every component in the project.
Set the page orientation to match the pattern. If the preview shows a landscape template on a portrait page, stop and correct the orientation before printing. Also confirm that the selected paper in your printer tray matches the paper setting in the dialog. A pattern designed for US Letter paper may be resized if it is sent to a printer loaded with a different format.
Print one test page first whenever possible. This is especially worthwhile for a larger project, a pattern with multiple fitted pieces, or a build that uses expensive leather. One sheet of paper is a small investment compared with recutting a panel later.
Check the Test Square Before Cutting Anything
Many pattern PDFs include a one-inch or 25 mm test square. Measure it with a reliable ruler or metal square after printing. The printed square should match the stated measurement exactly.
If it measures short or long, do not assume the difference is harmless. Return to the print settings and look for scaling controls. Confirm that Actual Size or 100% is selected, then print the test page again. It is better to solve the issue before you cut a single pattern piece.
If there is no test square, measure a labeled edge, a stated overall dimension, or a known reference line. For smaller projects, a minor variation may not affect the finished item much. For wallets, cases, structured bags, and projects with layered interiors, accurate scale matters far more because several parts need to align.
Choose Paper That Works at Your Bench
Standard 20 lb copy paper is perfectly suitable for a first print, quick test, or one-time build. It cuts easily and works well when you plan to trace the pieces onto leather or transfer them to heavier template material.
For patterns you expect to use more than once, heavier paper is easier to manage. A 28 lb to 32 lb paper stock resists curling and holds up better while you trace around it. Cardstock can be useful for small, simple pieces such as strap ends, tabs, and pocket shapes, though it can be harder to cut cleanly on tight curves.
The right choice depends on your working method. If you prefer to cut out paper pieces and place them directly on the leather, a heavier sheet feels more stable. If you glue the print to chipboard, acrylic, or a reusable template plastic, regular copy paper is often enough because the backing provides the strength.
Avoid glossy paper for most workshop use. It can make pencil or scratch-awl marks harder to see, and it is not necessary for a functional pattern. Clear lines and dependable dimensions matter more than presentation paper.
Assemble Tiled Pages Carefully
Larger patterns are often divided across several sheets. These are commonly called tiled pages. Each page may include alignment marks, borders, or registration symbols that show where one sheet meets the next.
Print every tiled page at the same scale, then trim only the edges identified in the instructions. Usually, you will remove one side of the overlap rather than trimming every border away. Align the registration marks first, then check a long reference line or pattern edge before taping the sheets together.
Use clear tape on the back when possible so the cut lines remain easy to see from the front. Keep the assembled pattern flat as you work. A slight wrinkle at a taped seam can make a long panel appear distorted, even when the printed dimensions are correct.
Do not tape pages together by matching the outer paper edges alone. Printer margins can leave uneven white space, while registration marks are placed to preserve the actual pattern geometry. The marks, not the sheet edges, are what matter.
Preserve Marks, Not Just Cut Lines
A good leather pattern contains more information than an outline. Center lines, stitch marks, hardware locations, fold indicators, and alignment notches all help the project come together in the intended order.
As you cut out the paper template, keep these marks visible. If a line runs close to the edge, consider leaving a small paper border rather than cutting directly on the line. You can then trace the line accurately onto leather with an awl, pen, or marking tool suited to your material.
For recurring patterns, label each template piece before separating it from the sheet. Include the piece name, quantity to cut, leather side if noted, and any instruction such as “cut on fold.” This takes very little time and makes the next build calmer and more efficient.
It also helps to mark the grain direction or stretch direction when the pattern calls for it. Leather is not perfectly uniform, and panel orientation can affect how a finished project hangs, folds, or wears. Following those notes supports a cleaner result, particularly on straps, gussets, and larger body panels.
Turn Printed Pages Into Reusable Templates
Paper patterns are ideal for trying a project, but reusable templates make sense once you know a design belongs in your regular rotation. You can mount printed pieces to chipboard, manila folder stock, or template plastic. Each material has trade-offs.
Chipboard is affordable and easy to cut, but repeated use can soften its edges. Template plastic lasts longer and handles moisture better, though cutting it requires more care and suitable tools. Acrylic is exceptionally durable for frequently used shapes, but it is usually best reserved for proven designs since it takes more effort to produce.
When mounting a paper pattern, use a light, even coat of adhesive and press it flat under a book or board while it dries. Then cut the backing material precisely on the printed cut line. Keep holes, notches, and center marks by transferring them before the paper face becomes worn.
A reusable template should make your work more consistent, not replace sound judgment. Before cutting leather, consider the hide’s marks, temper, color variation, and usable area. A pattern tells you the shape and size, while your eye decides where that shape belongs on the leather.
Common Printing Problems and Simple Fixes
If a pattern prints too small, scaling is usually the cause. Recheck the print dialog, choose Actual Size, and verify the test square. If only one edge is cut off, the page may be set to the wrong paper size or orientation.
If your printer leaves faint or broken lines, replace low ink or toner before printing a detailed pattern. Stitching marks and small hardware placements can disappear first. You can also print in grayscale if color is not needed, but make sure the lines remain dark enough to read clearly.
When a multi-page pattern does not line up, first confirm that all pages were printed at the same scale. Next, match registration marks rather than paper edges. If alignment is still off, inspect the PDF preview for a page that may have been rotated or printed with a different sizing option.
Finally, resist the urge to correct a bad print by stretching, trimming, or forcing pieces into place. Reprint it accurately. Clean preparation is part of the build, and it gives every later step a better chance of going smoothly.
A printed pattern is the first physical version of the project in your hands. Give it the same care you would give your cutting layout: check the scale, keep the marks clear, and let the template do its job. That small bit of bench discipline leaves you free to focus on the satisfying parts – selecting leather, making clean cuts, and watching a well-planned project take shape.