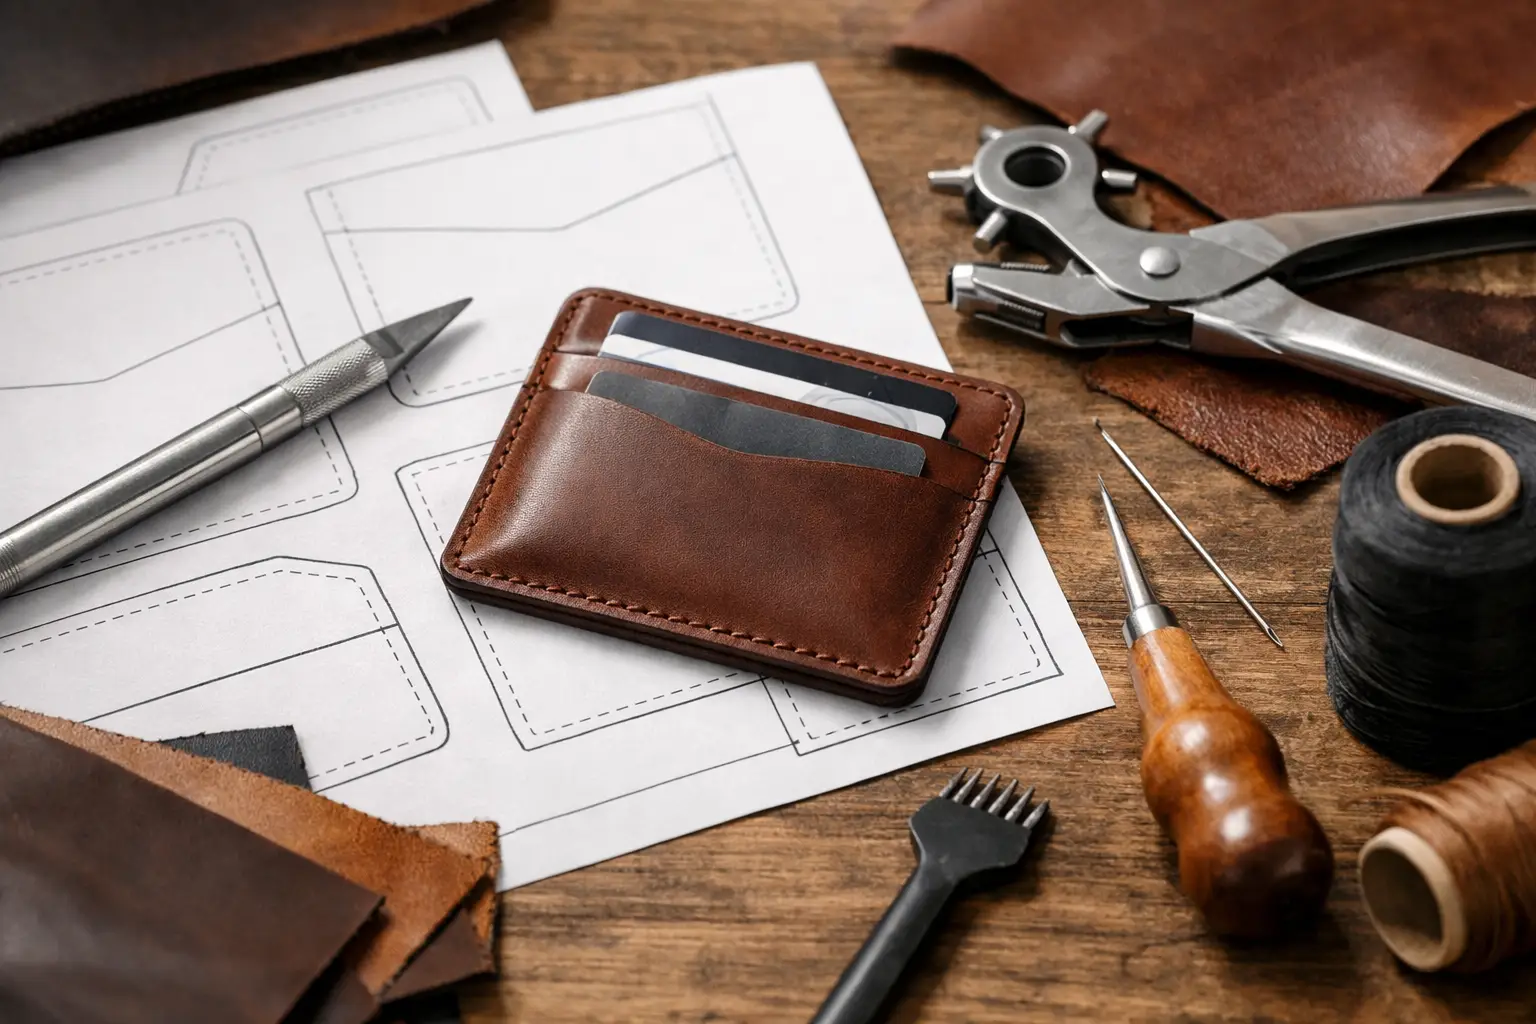
A card holder is a small project, but it leaves very little room for uncertainty. A pocket set that is a fraction too tight, a fold line that lands in the wrong place, or a template printed off-scale can turn good leather into a frustrating build. The right printable leather card holder template gives you a dependable starting point, so you can spend less time guessing and more time building a piece you will want to carry.
For a first wallet project, a card holder is also one of the best ways to practice the details that make leatherwork feel refined: accurate cutting, clean edge preparation, even stitch spacing, and thoughtful finishing. For an experienced maker, it is a quick, useful build that can become a reliable gift, market item, or personal everyday carry.
What a Good Printable Leather Card Holder Template Should Do
A printable template should do more than provide an outline. It should help you understand how the finished piece comes together before you make the first cut. At minimum, the layout needs clear cut lines, stitch locations or a stitching guide, fold references where needed, and dimensions that remain accurate when printed.
Scale is the first detail to check. A pattern designed for US Letter paper should include a one-inch test square or another clear scale reference. Print the page at 100 percent or Actual Size, then measure that reference before transferring anything to leather. Avoid settings such as Fit to Page, Shrink Oversized Pages, or automatic scaling. They are convenient for documents, but they can change a close-fitting card pocket enough to affect the finished result.
The design itself should also account for real cards, not just flat measurements on paper. Standard payment cards are roughly 3.37 by 2.13 inches, yet a holder needs room for leather thickness, stitched seams, and cards sliding in and out without a fight. Pocket allowances are one of the places where a well-considered pattern saves time. You can certainly draft your own, but it often takes a few test versions to get that fit right.
Clear construction order matters just as much. A simple card holder may have only a few pieces, but the order of operations still affects the outcome. Pocket tops are easier to burnish before assembly. Decorative tooling, stamping, or maker marks usually belong on the panels before stitching. Glue-up, punching, stitching, and final edge work each have their place. A pattern with practical guidance helps keep those steps from becoming an afterthought.
Choose a Card Holder Design That Fits Your Bench
Not every card holder template suits every maker or use case. Before choosing a design, think about what the holder needs to carry and how you want to build it.
A slim front-pocket card holder is often the most approachable option. It may use a back panel and two or three layered pockets, creating a compact piece for a few cards and folded bills. This format is a good choice when you want to practice aligned layers and perimeter stitching without adding complex folds.
A folded card wallet adds capacity and offers a more traditional profile. It can include interior slots, a center pocket, or room for cash, but it also introduces a crease or fold that needs to be planned around leather temper and thickness. If you use firm vegetable-tanned leather, skiving the fold area or choosing a thinner weight can make a noticeable difference.
Minimal one-piece or two-piece designs are fast and satisfying, especially for gifts or batch work. Their simplicity is part of the appeal, though it means every visible detail carries more weight. Cut edges, stitch lines, and corner shaping need to be especially clean because there is nowhere for rough work to hide.
For a first build, choose a template with a construction method that matches the tools already on your bench. If you hand stitch with pricking irons, a pattern that provides stitch marks or spacing guidance will be useful. If you prefer a sewing machine, make sure the design leaves a practical seam allowance and does not depend on hand-punched holes. The best project is not necessarily the most detailed one. It is the one you can complete with confidence using the materials and tools you have.
Leather Weight Changes the Pattern Fit
A printable leather card holder template is a plan, not a rule that ignores material. Leather thickness has a direct effect on pocket capacity, edge bulk, and how neatly the holder closes or lies flat.
For many card holders, leather in the 2 to 3 ounce range works well for pockets, while a slightly firmer 3 to 4 ounce leather can suit a back panel. That is a starting point rather than a fixed formula. A soft chrome-tanned leather may need reinforcement or a more structured lining. A dense, firm vegetable-tanned leather can create beautiful edges and crisp shape, but it may become bulky quickly when several layers meet.
If you want to use heavier leather than the pattern suggests, consider skiving pocket edges, fold areas, and stacked seam allowances. Skiving reduces bulk where it matters most while preserving the strength of the main panel. It is worth practicing on a scrap from the same hide first. A few controlled passes are easier to manage than trying to remove too much leather at once.
Leather temper also affects the experience of using the holder. Firmer leather holds a sharp silhouette and can develop character with use. Softer leather feels broken-in sooner and may accept cards more easily, but it can stretch over time. Neither choice is wrong. Match the material to the look, feel, and durability you want from the finished piece.
Make a Test Piece When Fit Matters
A paper mockup is one of the simplest ways to prevent an avoidable mistake. Print the pattern, cut it out, and tape the pieces into their approximate finished form. Slide in the cards you expect the holder to carry. This reveals whether the format feels too tall, too wide, or too shallow before leather enters the equation.
For an unfamiliar template or a thicker hide, make a quick prototype from inexpensive leather, craft foam, or heavy cardstock. You do not need to fully finish it. The purpose is to check pocket depth, stitch placement, and the way the layers stack. This short test is especially helpful if you plan to modify the pattern with additional pockets, a thumb notch, or a different corner shape.
Print, Transfer, and Cut With Care
Once the pattern has printed at the correct scale, keep the paper template accurate. Cut directly on the template lines with scissors or a utility knife, then place it on the leather in a way that respects the grain and any visible character marks. For a polished exterior panel, avoid placing a deep scar or loose grain in the most visible area unless that natural feature is part of the look you want.
Some makers trace around templates with a scratch awl or silver pen; others use pattern weights and cut around the paper. Both approaches can work well. The important part is consistency. Mark stitch lines, pocket tops, and alignment references lightly enough that they will not show after assembly.
Take extra care when cutting matching pocket pieces. Stack-cutting can save time, but only if your knife stays vertical and the leather does not shift. For a first attempt, cutting each piece separately may be slower but easier to control. A clean cut edge makes every later step, from gluing to burnishing, more predictable.
Before glue-up, dry fit the full layout. Check that pocket openings sit level, side edges align, and any decorative elements face the intended direction. Then prepare the edges that will be inaccessible after stitching. This is often the difference between a card holder that feels thoughtfully finished and one that feels rushed.
Small Details Create a Finished Look
A card holder earns its character through details. Rounded corners can feel classic and forgiving in a pocket. Sharper corners create a more architectural look but demand precise trimming. A contrast thread highlights the stitch line, while tonal thread lets the leather take center stage. Burnished natural edges suit vegetable-tanned leather, while painted edges can create a clean, modern finish on certain leathers.
Keep the project focused. One well-placed stamp, a simple maker mark, or a carefully chosen thread color usually does more than several competing details. If you are making the holder as a gift, initials can be meaningful, but place them where they will not interfere with pocket flex or stitching.
Old Line Crafts & Designs patterns are built for makers who want a clear path from printed page to finished project. Whether you choose a simple card sleeve or a layered wallet, the goal remains the same: a design that fits your bench and leaves room for your own material choices and finish work.
Print at the right scale, check the fit before cutting, and let the quality of your preparation carry through the final stitch. A well-made card holder may be small, but every time it is used, the care you put into it will be easy to see.