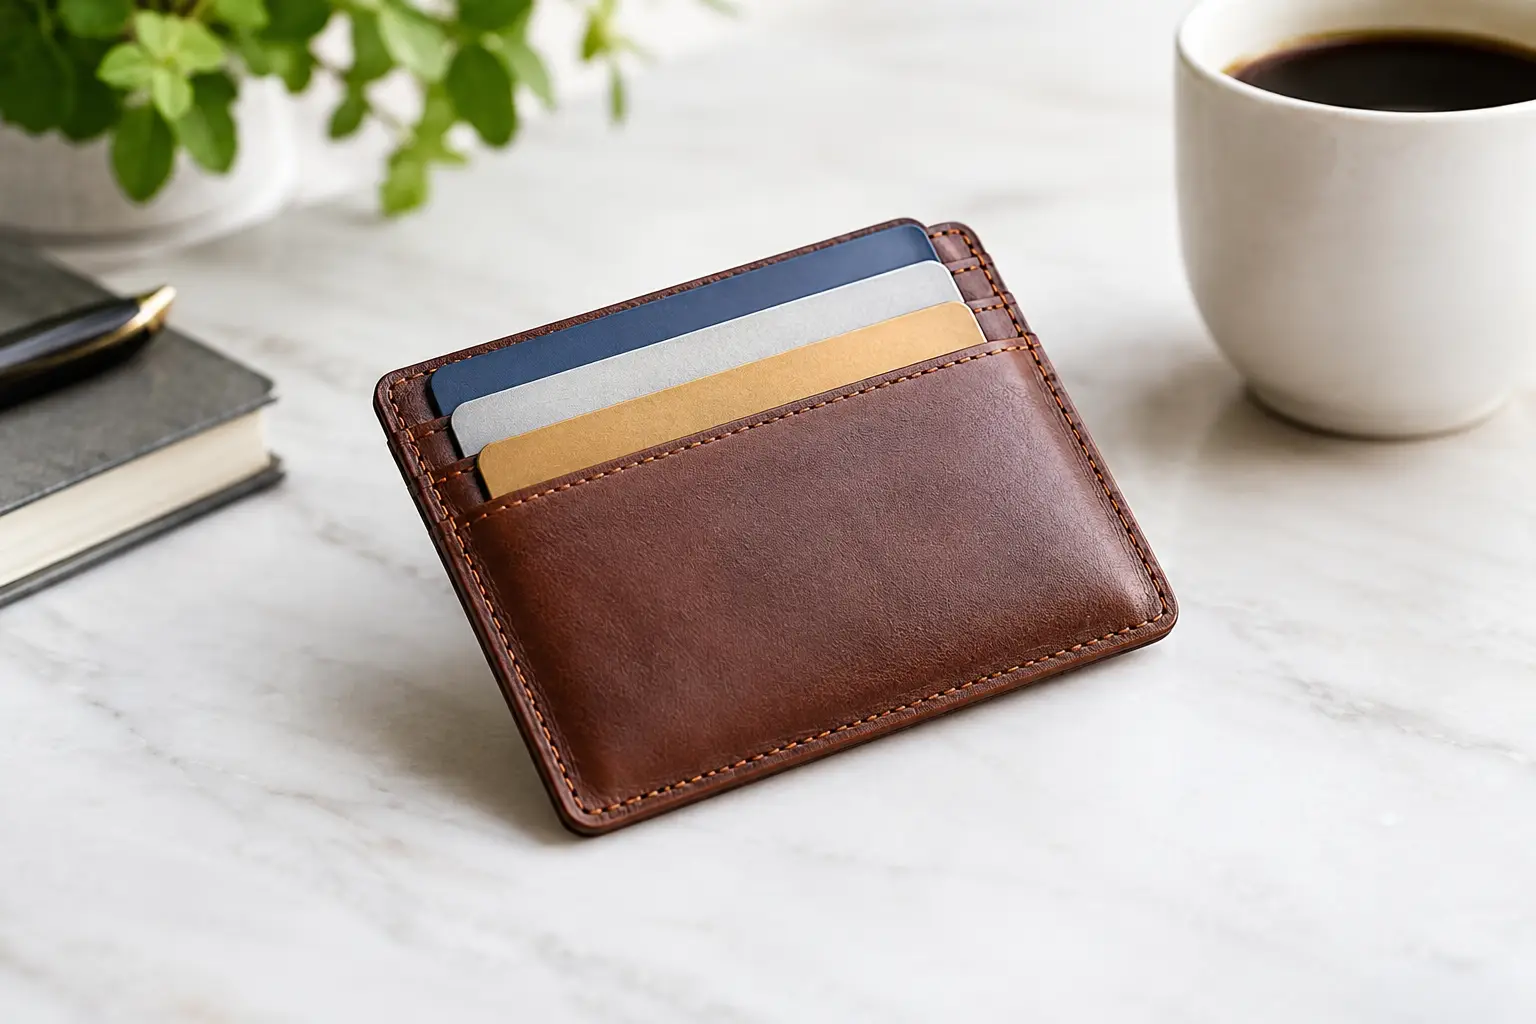
A cardholder is small enough to finish in an afternoon, but it asks for more precision than its size suggests. A useful cardholder pattern example shows how a few decisions – pocket depth, leather thickness, seam allowance, and stitch placement – determine whether the finished piece feels refined or frustrating.
For a first wallet project, the goal is not to fit every possible card or add every available feature. It is to make a clean, dependable holder that teaches good layout and assembly habits. Once you understand why the pieces are shaped and placed the way they are, you can adapt the design confidently for your own bench.
A Cardholder Pattern Example Worth Building
Consider a simple vertical cardholder with two front pockets and one center slot. It carries several cards while keeping the construction approachable: three leather pieces, two stitched side seams, and a clean top edge on each pocket.
For standard US payment cards, a practical finished footprint is about 4 1/4 inches tall by 3 inches wide. That leaves enough room around a card measuring roughly 3 3/8 by 2 1/8 inches, without creating a loose, oversized case. The back panel can be cut at 4 1/4 by 3 inches. Two pocket panels can begin at the same width and be cut to about 2 3/4 inches tall, then shaped with a shallow curve or angled reveal along the top.
Those dimensions are a starting point, not a rule. A maker who prefers a tighter, minimal carry may reduce the overall height slightly. Someone building in thicker vegetable-tanned leather may need more room at the seams. The pattern should account for the material you will actually use, not just the dimensions printed on paper.
A well-organized template labels each part, marks the flesh and grain sides where helpful, and identifies stitch lines separately from the cut line. That clarity saves time before the knife ever touches leather. It also makes it easier to return to the project later and know exactly how the pieces were intended to stack.
How the layers work
Place the two pocket pieces on the grain side of the back panel, one above the other. The lower pocket sits near the bottom edge, and the upper pocket overlaps it enough to create a second accessible slot. Stitch around the left, bottom, and right sides. Leave every pocket opening unstitched.
This layout creates three usable spaces: the top front pocket, the lower front pocket, and the center compartment behind both pockets. It is a good example of efficient pattern design because the same seams secure several functions at once. There is no unnecessary gusset, lining, or complicated turn-and-stitch step to slow down the build.
The overlap between the pockets matters. Too little overlap can leave the lower pocket floating or allow a card edge to catch. Too much overlap makes the lower opening shallow and harder to use. Around 3/8 to 1/2 inch of overlap is usually a comfortable place to begin, but test it with real cards before committing to a final template.
Choose Leather for the Pattern, Not Just the Color
A cardholder pattern can look excellent in many leathers, but not every hide will behave the same way. For a first build, leather around 2 to 3 ounces is a sensible choice for pocket layers. A back panel in the same weight works well, or you can step up slightly if you want more body.
The trade-off is simple. Heavier leather gives the holder a firm, substantial feel, but the layered seams become thick quickly. Thin leather reduces bulk and is easier to stitch through, yet a very soft or stretchy hide may lose its shape around the pocket openings. If you use chrome-tanned leather, choose a piece with enough temper to stay crisp after daily use. If you use vegetable-tanned leather, plan for a little more break-in at first.
Before cutting the final pieces, stack three small scraps from the leather you selected. Compress them between your fingers and look at the edge. That small test tells you more about seam bulk than a product description can. If the stack already feels too thick, reduce the weight of the pocket leather, skive the overlap areas, or choose a design with fewer layers.
Color and finish come after construction needs. A beautiful pull-up leather may show scratches that become part of its character. A smoother, firmer leather can produce sharper edges and cleaner burnishing. Neither is automatically better. The right choice depends on the look you enjoy and the amount of maintenance you expect from the finished piece.
Mark, Cut, and Prepare Before Assembly
Clean assembly begins long before stitching. Print the pattern at the stated scale, confirm it with a reference square, and cut out the paper templates carefully. If the scale is off, even a polished stitch line will not correct a pocket that is too narrow.
Trace around the templates with a light, controlled mark on the flesh side whenever possible. Use a sharp knife and make several deliberate passes rather than forcing one heavy cut through the leather. This is especially helpful on curves and pocket reveals, where a small wobble is easy to notice on the finished holder.
Finish the edges that will become inaccessible after assembly. On this cardholder, that usually means the top edge of each pocket. Bevel if the leather and style call for it, then burnish or apply your preferred edge treatment before the layers are glued together. Trying to finish those edges afterward often leaves uneven color or residue on the surrounding leather.
Next, lightly glue or tape the pocket layers in position. Keep adhesive away from the stitch channel when possible. Too much glue can make pricking difficult, gum up tools, and create a stiff line beside the seam. Its job is alignment, not permanent structural strength.
Mark the stitch line at a consistent distance from the edge, often around 1/8 inch for a compact cardholder. The exact distance depends on your irons, thread, and overall style, but consistency is more important than chasing a single measurement. Check the corners before punching. A balanced spacing adjustment is better than forcing an awkwardly short final stitch.
Stitching Details That Change the Result
For hand stitching, start with a thread size that suits the scale of the project. Thick thread can look handsome on a work belt but may overwhelm a slim cardholder. A finer thread paired with evenly spaced holes usually gives this small project a more controlled appearance.
Stitch the side, bottom, and opposite side in one continuous run if your layout allows it. This avoids extra backstitches in visible areas and helps keep tension consistent. At the corners, maintain the same rhythm rather than pulling the thread so tight that it dents the leather.
After stitching, trim only if the layers shifted slightly and truly need correction. Aggressive sanding can remove too much material from the edge and make the seam look uneven. A light sanding, careful beveling, and patient edge finishing will usually do more for the result than trying to reshape the whole holder.
Let the cardholder rest with a few cards inside before judging the fit. Leather relaxes and forms with use. A pocket that feels pleasantly snug on day one often becomes comfortable after a short break-in period, while a pocket that is loose from the start rarely becomes tighter.
Common Changes to Make the Pattern Your Own
Once the basic cardholder works, change one feature at a time. You might round the bottom corners, use a diagonal pocket reveal, add a thumb notch, or replace the two front pockets with one wide exterior pocket. Each variation affects access, appearance, and the order of assembly.
A thumb notch is useful when cards sit deep, but it creates another edge that needs careful finishing. Diagonal pocket tops make cards easier to see and can add visual movement, though matching left and right angles takes accurate cutting. Rounded corners are forgiving during daily carry, while square corners tend to look more architectural. There is no universal best choice – build for the way you carry cards and the skills you want to practice.
If you are making several holders as gifts or for a small market table, use the first build as your test piece. Record the leather weight, thread size, stitch spacing, pocket depth, and any adjustments you made. That simple project note turns a one-time pattern into a repeatable design process.
Old Line Crafts & Designs approaches patterns with that same practical purpose: give the maker a clear starting structure, then leave room for good material choices and personal finishing details. Less time guessing means more attention for the parts of leatherwork that make a piece feel like your own.
A cardholder may be a small project, but it rewards careful work in a very visible way. Cut one with patience, test the fit with real cards, and let the next version reflect what your hands learned from the first.