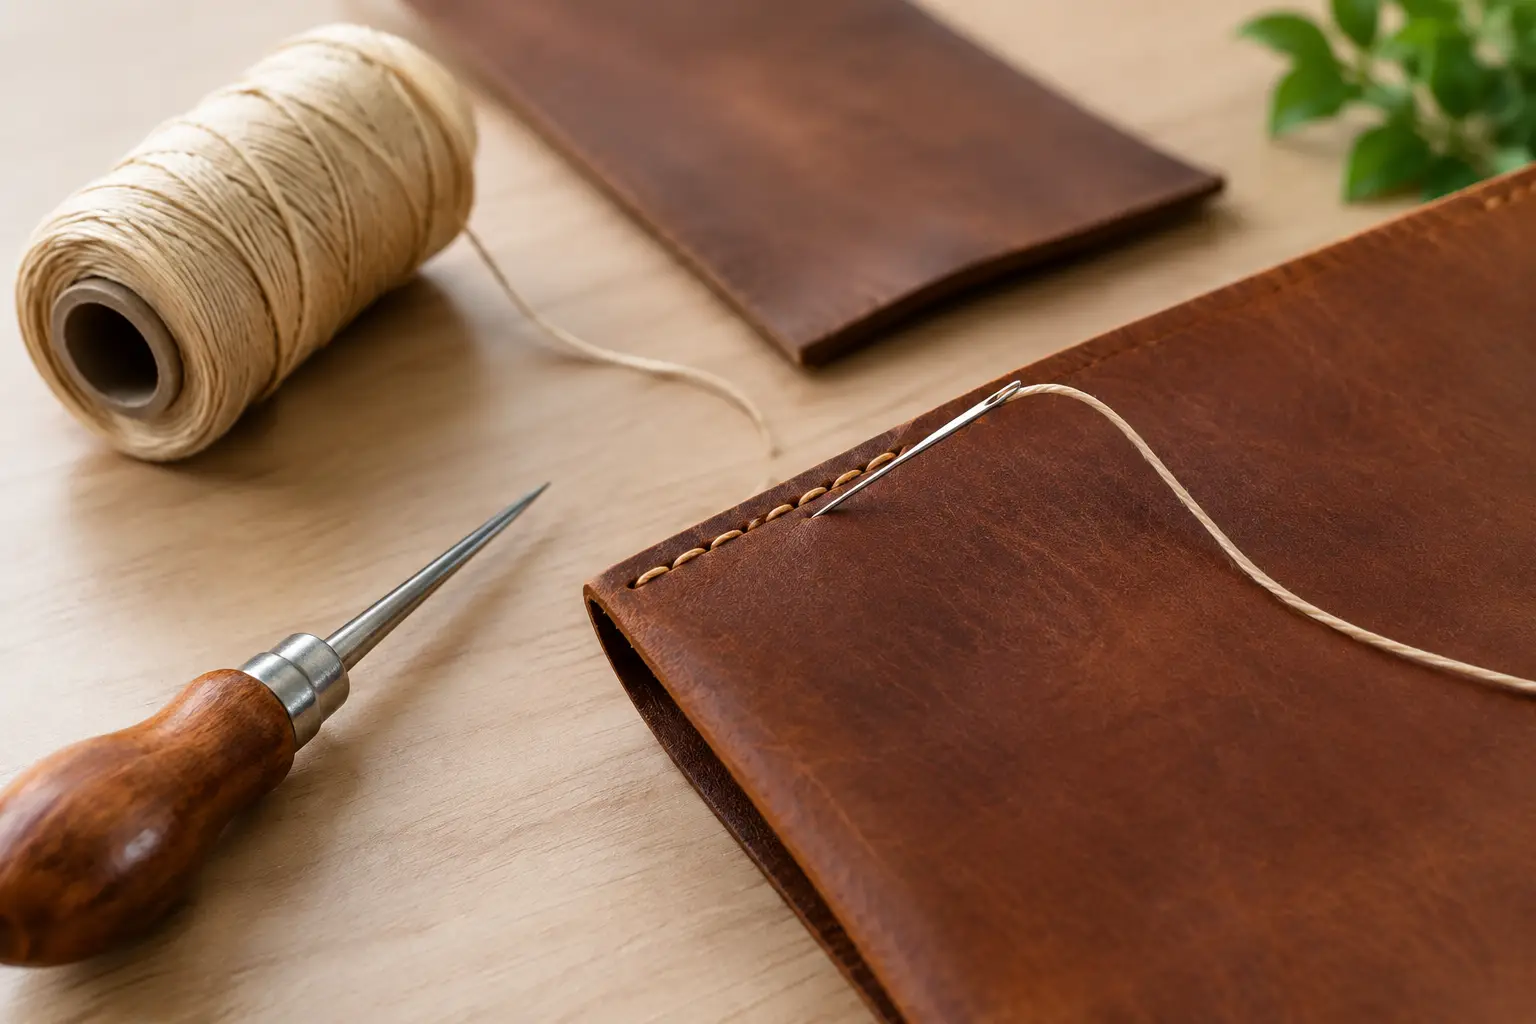
A good seam does more than hold a project together. It sets the pace of the whole piece: clean stitch spacing makes a simple card holder feel considered, while uneven holes can distract from otherwise careful cutting and finishing. This leather stitching guide focuses on the bench decisions that produce straighter, stronger hand-sewn seams without turning a relaxing build into a complicated exercise.
For most hobby leatherworkers, the goal is not perfect machine-like uniformity. It is a seam that looks intentional, lies flat, and stays secure through regular use. That comes from preparation as much as stitching technique.
Start With a Stitching Plan
Before marking a single hole, decide where the seam belongs and what it needs to do. A decorative perimeter stitch can sit closer to the edge than a seam holding the gusset of a pouch or the stress point on a key fob. For many projects, a stitch line set about 1/8 inch from the edge is a dependable starting point. Heavier leather, bulky assemblies, and high-stress areas may benefit from a slightly wider margin.
Keep that distance consistent around corners and along curves. A wing divider is useful here because it leaves a light, visible track for your stitching chisel or pricking iron to follow. If the project includes multiple layers, glue and align them before marking the stitch line. Trying to correct shifting layers after holes are punched rarely produces the clean result you wanted.
Project patterns are especially helpful at this stage because they remove the guesswork around seam placement. A clear layout tells you which edges are stitched, which stay open, and where construction order matters. You can spend your attention on the work in front of you rather than redrawing the design at the bench.
Choose Tools That Fit the Project
You do not need every stitching tool available to make dependable seams. A solid basic setup includes stitching chisels or pricking irons, a mallet or maul, harness needles, waxed thread, an awl, a divider, and something firm to punch into. A poly cutting board, dense poundo board, or purpose-made punching surface protects both your tools and your workbench.
The important part is matching the tool scale to the leather and the project. Fine spacing can look excellent on a slim wallet, but it may crowd a thick work belt or create more holes than the leather needs. Wider spacing suits heavier goods and gives the thread more visual presence. Many makers find that around 3.38 to 4 mm spacing is a comfortable range for general small goods, though there is no single correct choice.
Thread should support the scale of the stitch line. Thin thread in large holes can look loose, while heavy thread forced through fine holes can distort the leather. Test a short sample on the same leather stack before committing to the project. That five-minute test can reveal whether the chisel spacing, thread size, and needle choice are working together.
Chisels, Pricking Irons, and Awls
Diamond-point stitching chisels create angled holes that suit the traditional slanted appearance of saddle stitching. They are a practical choice for beginners because they establish spacing and form the hole in one step. Pricking irons mark or partially pierce the leather and are often followed by an awl, offering more control but requiring more practice.
An awl becomes particularly useful when stitching through thick assemblies, reinforcing a hole after gluing, or working around tight curves. Keep it sharp and use it deliberately. An oversized awl hole weakens the visual crispness of the seam and can leave thread sitting without enough tension.
Prepare the Leather Before You Stitch
Clean stitching begins before the first needle passes through. Trim pieces accurately, bevel edges that will be finished before assembly if the design calls for it, and dry-fit the components. When you are satisfied with the fit, apply adhesive carefully and allow it to become tacky before joining the layers.
Use a roller, bone folder, or light hammering to secure the glued seam. Then trim and sand the joined edge if needed. A smooth, flush edge gives your stitching chisels a stable path and makes the finished seam look far more intentional.
Mark the stitch line with the divider, then punch the corner holes first. Corners are where spacing decisions become visible. Rather than forcing a full chisel into a tight turn, use a two-tooth chisel, a single-tooth chisel, or an awl to keep the spacing even. On a rounded corner, shorter tool lengths make it easier to follow the curve without drifting outside the guide line.
When punching through several layers, hold the chisel upright. Leaning it even slightly can cause holes to exit at an angle on the back side. Punch in controlled strikes rather than trying to drive the tool through with one hard blow. For thicker leather, punch from one side, use the marks on the back as a guide, and finish the holes from the opposite side when necessary.
Saddle Stitch With a Consistent Rhythm
The saddle stitch is well suited to handmade leather goods because each stitch is formed with two needles. If one section of thread is damaged later, the entire seam is less likely to unravel than a typical lockstitch. It also gives hand-sewn work its recognizable strength and texture.
Cut a length of thread that is roughly three to four times the seam length for a straightforward run. Longer seams may require a little more, but avoid working with an excessive length of thread. It tangles easily, catches on tools, and makes maintaining tension harder.
Thread a harness needle onto each end. Begin with two or three backstitches, then pass the first needle through the next hole. Place the second needle through that same hole from the opposite direction, taking care not to pierce the thread already inside. Pull both ends snug, using the same direction and tension every time.
That repeated order matters more than speed. If you always send the same needle through first and pull tension consistently, the slant of the stitch becomes more uniform. Some makers cast the back needle under or over the front thread to create a more pronounced angle. This can produce a neat look, but consistency is more valuable than copying a particular method. Try both on scraps and choose the result you prefer.
Avoid pulling hard enough to pucker the leather. The thread should settle into the holes and bring the layers together, not carve a channel into the grain. If one stitch looks loose, correct it immediately while the thread is still accessible. Small adjustments are easy during stitching and frustrating after the seam is finished.
Backstitching and Thread Ends
At the end of the seam, backstitch two or three holes depending on the project and thread thickness. Do not overdo it. Too many backstitches create a bulky patch that draws attention for the wrong reason.
Trim the thread ends close to the leather, then gently melt synthetic thread ends if appropriate for your thread type. Press the softened end into the stitch recess with a metal tool or a dampened fingertip, taking care not to mark the leather. Natural fiber threads should be trimmed neatly and secured according to the thread and project requirements rather than melted.
Finish the Seam So It Looks Settled
Once the stitching is complete, lightly tap the seam with a smooth-faced hammer or cobbler’s hammer. This seats the thread, flattens minor irregularities, and helps the stitch line look integrated with the leather. Use a controlled touch. Heavy hammering can mark the grain, especially on softer leathers.
Finish the edges only after considering the construction sequence. Some projects are easier to burnish before stitching; others benefit from final sanding and edge work once every layer is sewn together. If you are using edge paint, take time to sand between coats. If you are burnishing, work gradually with appropriate moisture, gum, or wax for the leather you chose.
A clean edge and a consistent seam reinforce each other. Neither needs to be flawless to look professional, but both should show that the maker was working with a plan.
Common Stitching Problems and Simple Fixes
If your holes look ragged, the chisel may be dull, the leather may be unsupported, or the tool may be twisting as you punch. If the back side of the project looks uneven, check that your chisel is vertical and that the layers are firmly glued before punching.
Loose stitches usually come from inconsistent tension or holes that are too large for the thread. Start by practicing on two small scraps glued together. Make six to eight stitches, inspect the front and back, then adjust one variable at a time. Changing the chisel, thread, tension, and technique all at once makes it difficult to know what solved the problem.
Thread that frays or catches may be scraping against rough hole edges, overly sharp leather corners, or the first needle already in the hole. Withdraw slightly, keep the needles aligned with the hole, and resist forcing them through. A deliberate pace is often faster than repairing damaged thread halfway through a seam.
The most satisfying leather projects are built from a series of small, repeatable choices: a measured stitch line, aligned layers, clean holes, and steady tension. Give each seam that attention, and even a simple project will leave your bench looking like something worth carrying, using, or giving away.