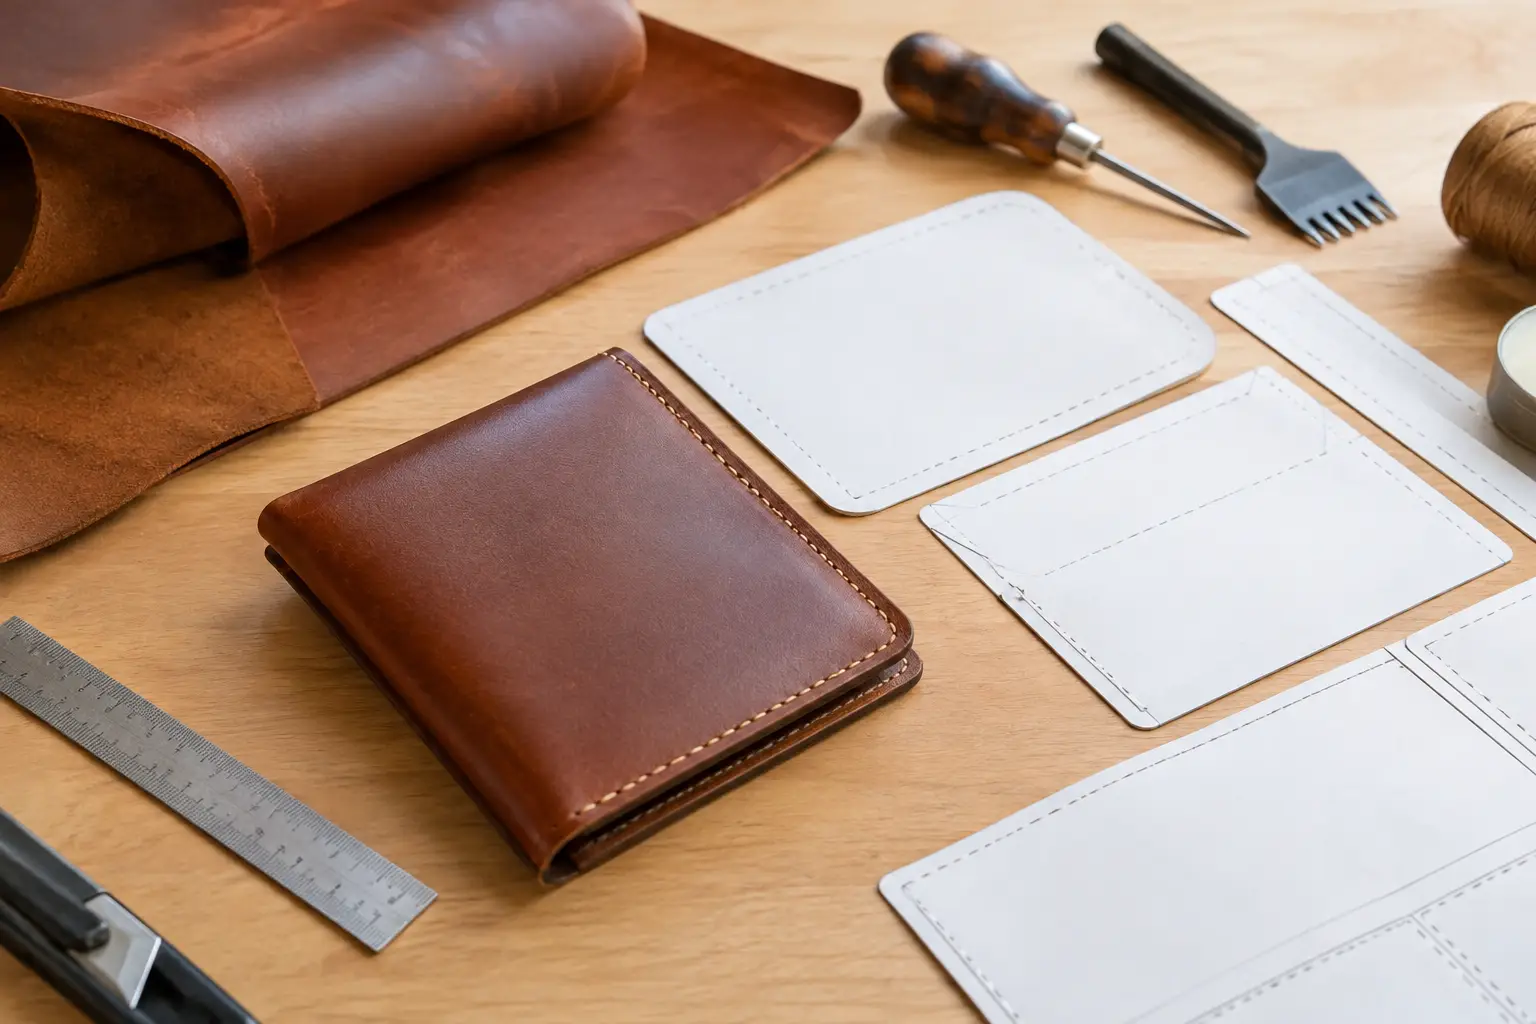
A leather pattern can look perfect on screen and still create a frustrating afternoon at the bench. The difference is usually not the idea behind the project. It is whether the leathercraft pattern instructions answer the questions that come up between printing the file and burnishing the final edge: What leather should I use? Which pieces get cut first? Where does this stitch line begin? What needs to happen before glue goes on?
Good instructions do not remove the hands-on nature of leatherworking. They give that work a dependable order. For a beginner, that means fewer avoidable mistakes. For an experienced maker, it means less time interpreting a template and more time making thoughtful choices about leather, thread, hardware, and finish.
What Good Leathercraft Pattern Instructions Include
A useful pattern is more than a collection of outlines. It is a construction plan for a finished object. The pattern pieces tell you what to cut, but the instructions explain how those pieces become a tray, wallet, case, or other functional item.
Start by looking for a clear materials section. It should identify the recommended leather weight, the amount of leather needed, thread size or stitch spacing when relevant, and the hardware required. These recommendations are not always rigid rules. A 4-5 oz leather may work well for a structured small good, while a softer temper or heavier hide may change the way folds, pockets, and edges behave. Knowing the intended material gives you a solid starting point before you decide where to personalize the build.
Clear instructions should also identify the tools that matter for the project. You do not need an exhaustive inventory of every tool in a workshop, but you should know if a project depends on a skiving knife, a particular punch size, a strap cutter, or a press for setting hardware. This is especially helpful when choosing your next project. A well-designed pattern lets you see whether it fits your current bench before you begin.
The most useful instructions then move in construction order. They explain which pieces need to be cut, marked, tooled, dyed, skived, or edge-finished before assembly. They show the relationship between parts rather than leaving you to discover it after adhesive has been applied.
Read the Full Pattern Before Cutting Leather
Many leatherworking mistakes begin with a reasonable impulse: print the pattern, choose a hide, and start cutting. Taking ten minutes to read through the whole file first can save a much larger amount of leather and time.
Check the print settings before anything else. Pattern PDFs are commonly designed to print at actual size, not scaled to fit the page. If the file includes a one-inch test square or calibration line, measure it with a ruler. A small printing error can be enough to make layered pieces misalign, hardware sit poorly, or a stitched assembly come out tighter than intended.
Next, study the piece labels and any fold, stitch, cut, or placement marks. A cut line and a stitch line serve different purposes. So do a crease line and a tooling boundary. If the pattern offers mirrored pieces, confirm whether you need to flip the template before tracing. This matters on projects with a visible grain side, a directional finish, or an asymmetrical layout.
It also helps to picture the project in stages. Identify the exterior, lining, gusset, pocket, reinforcement, and closure components. If a step is unclear, pause before cutting. The best time to resolve uncertainty is while the leather is still one uncut piece of hide.
Build a Simple Cutting Plan
Leather is not uniform like cardstock. Grain character, scars, stretch, wrinkles, and belly softness all affect where a pattern piece belongs. A pattern may show the shape, but the maker still decides how to place it on the hide.
Reserve the cleanest, firmest areas for prominent exterior panels and straps. Use less consistent areas for linings, hidden reinforcements, or small internal pieces when the project allows it. Pay attention to stretch direction on long straps, narrow closures, and pieces that need to hold their shape. Cutting these along a stable direction can improve the finished feel of the item.
Before tracing, arrange every pattern piece on the leather. This dry layout helps you confirm that you have enough usable material and lets you make better decisions about grain, color variation, and natural marks. It can also reveal when a piece needs to be turned or mirrored.
When marking the leather, use a method you can remove or conceal. A scratch awl, silver pen, or light pencil mark may work depending on the leather and the location of the line. Keep reference marks precise, especially at stitch starts, hardware locations, and alignment points. Those small marks often do more for a clean final result than a decorative detail added at the end.
Follow the Construction Sequence, Not Just the Pictures
Photos and diagrams are valuable, but they should support the written steps rather than replace them. The correct order of operations is what makes a project manageable.
For example, edge finishing is often easier before two layers are glued together. Decorative stamping or carving usually belongs before assembly, while certain crease lines are cleaner after a panel is backed or folded. Stitch holes may need to be punched before a curved piece is formed, or afterward if the project depends on a precise final shape. There is no single rule for every design. The pattern instructions should tell you what the project requires and why the sequence matters.
Use a dry fit before committing with glue. Bring the pieces together, check the orientation, and confirm that the stitch lines and edge allowances meet as expected. This is particularly worthwhile for pocket assemblies, folded corners, gussets, and snap tabs. If you find a mismatch during dry fitting, you can correct it without trying to separate cemented leather.
When it is time to glue, work in controlled sections. Apply adhesive evenly, allow it to reach the recommended tack, and use alignment marks instead of relying on the edge alone. Leather can shift slightly as it is pressed together. A careful start makes trimming, sanding, and stitching much easier later.
Use Instructions as a Guide, Then Make the Project Yours
A structured pattern does not require a strictly identical result. Once you understand what each part does, you can make choices that suit your style and materials.
You might change thread color, choose solid brass instead of antique hardware, add a maker’s mark, or select a leather with more pull-up and character. These are usually low-risk changes because they do not alter the project geometry. Changes to leather thickness, closure type, stitch spacing, or the dimensions of a pattern piece deserve more caution. They can affect fit, capacity, and construction order.
A practical approach is to make the first version close to the recommended build, especially if the design is new to you. Make notes as you work: the leather weight you used, the thread size, any skiving adjustments, and where you would alter the design next time. That first build becomes a working sample, and your notes make future versions more intentional.
When Instructions Feel Unclear
Even a carefully prepared pattern can meet a maker at an unfamiliar skill level. If a term or technique stops you, avoid guessing at the point of no return. Look at the diagram, reread the surrounding steps, and compare the pattern pieces to the intended finished form.
Break the step into a smaller question. Are you unsure which edge receives glue, whether a line is decorative or structural, or which side of the leather faces outward? Answering one of those questions at a time is more useful than trying to solve the whole project in your head.
For newer makers, a simple project is often the best place to learn how pattern instructions work. A tray, card holder, or small case teaches cutting accuracy, edge work, folding, adhesive control, and stitching without asking you to manage a large number of parts. Old Line Crafts & Designs approaches patterns with that bench-ready clarity in mind, so makers can build skills through projects rather than through avoidable confusion.
A Better Pattern Makes Room for Better Craft
The goal of clear leathercraft pattern instructions is not to make every project automatic. It is to give you a reliable framework for the parts that should not be a mystery. With the layout understood and the construction sequence in hand, you can pay attention to the details that make handmade leather goods feel considered: a straight stitch line, a smooth edge, a well-set snap, and leather chosen for the way it will age. Pick a design that fits your bench, read it before you cut, and let the finished piece teach you what to build next.