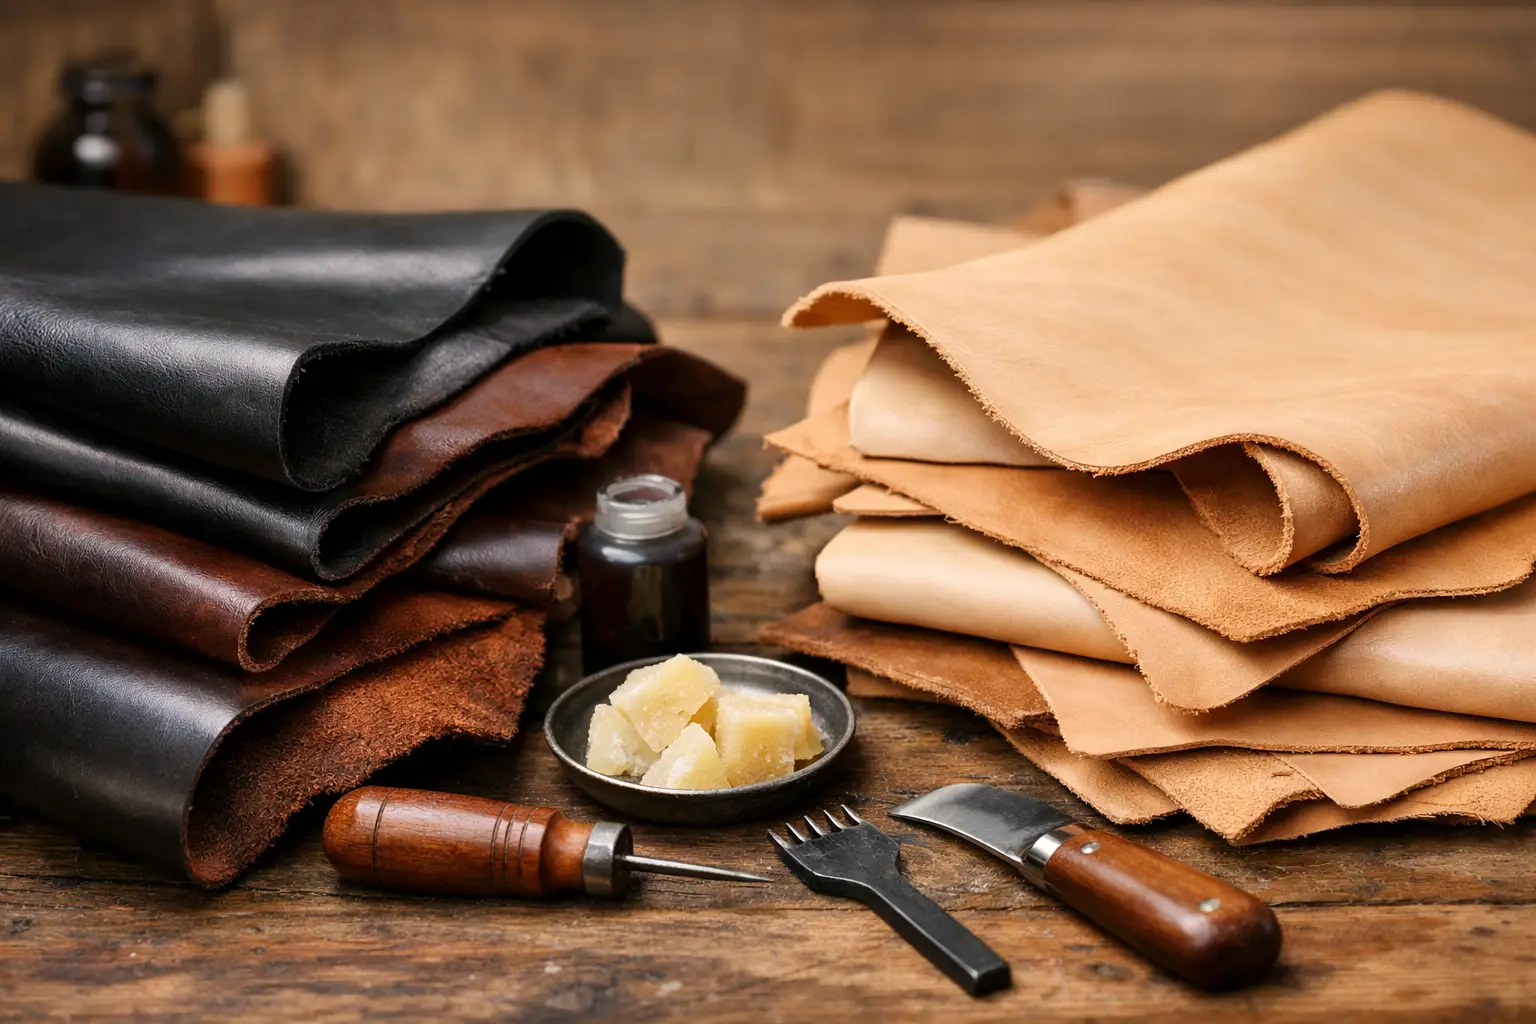
A wallet that feels crisp and structured, a soft bag that drapes comfortably, and a molded belt pouch may all begin as cowhide. Yet the leather behind each project can behave very differently at the bench. Chrome tan versus vegetable tan is not simply a question of appearance. It affects how leather cuts, accepts a crease, takes tooling, finishes at the edge, and changes through years of use.
For makers, the useful question is not which tanning method is universally better. It is which leather supports the build you have planned. Choosing that early saves material, reduces frustration, and helps a good pattern become the finished piece you pictured.
What Tanning Changes in a Hide
Tanning stabilizes animal hide so it will not decay. The process also determines much of the leather’s working character. Vegetable tanning uses plant-derived tannins, traditionally from tree bark and other natural materials. Chrome tanning uses chromium salts and is the most common commercial tanning method.
Those are broad categories, not complete descriptions of every hide. Weight, temper, grain selection, oils, waxes, dyes, and surface finishes all matter too. A firm chrome-tanned leather can feel more structured than a soft vegetable-tanned leather, depending on how each was made. Still, knowing the baseline differences gives you a reliable starting point.
Vegetable-tanned leather is often firmer, more absorbent, and more responsive to shaping and surface work. Chrome-tanned leather is commonly softer, more flexible, and more color-consistent. At the bench, those traits create different opportunities.
Chrome Tan Versus Vegetable Tan at the Bench
The biggest distinction is usually how each leather responds to moisture, pressure, and finish work.
Cutting, marking, and assembly
Chrome-tanned leather often cuts smoothly and bends easily around tight curves. This makes it a comfortable choice for projects with turned edges, gussets, linings, or a softer hand. It is widely available in finished colors, textures, and prints, so it can be especially useful when the visual character of a bag, pouch, or accessory matters as much as the construction.
Its softness can also require a little more control. A stretchy or loose-tempered chrome tan may shift while cutting or distort when pulled during stitching. Clean pattern weights, sharp blades, and careful handling make a noticeable difference. If a pattern calls for crisp folds or a self-supporting form, check the leather’s temper before committing to a full cut.
Vegetable-tanned leather usually gives you a firmer cutting experience. Pattern lines are easy to mark, stitch grooves hold their shape, and fold lines can be cleanly creased. This makes it a familiar choice for belts, card holders, holsters, knife sheaths, trays, cases, and other projects where structure is part of the design.
It also rewards accurate work. Because it holds a mark, an unintended scratch, deep divider line, or uneven crease may remain visible. That is not a reason to avoid it. It is a reason to slow down, use a clean work surface, and test your process on a scrap first.
Tooling, stamping, and molding
Vegetable tan is the clear starting point when a project includes carving, stamping, wet molding, or hand-dyed artwork. When cased properly, its fibers open enough to accept impressions and then hold the detail as the leather dries. It can be formed around a mold, shaped into a tray, or given a defined contour that becomes part of the finished design.
Chrome tan generally does not case and tool in the same way. It may take a light stamp or crease depending on the hide, but results can be inconsistent, especially with heavily finished leathers. Water can also darken, spot, or affect the surface of some chrome-tanned hides. If detailed tooling is central to the project, choose a tooling-grade vegetable tan rather than trying to force a soft fashion leather into that role.
Edges and burnishing
This is where many makers first feel the practical difference. Natural vegetable-tanned leather can often be bevelled, dampened, and burnished into a smooth, glassy edge with gum, wax, or a simple slicking process. A well-finished veg-tan edge can become one of the most satisfying details in a handmade piece.
Chrome-tanned leather is often more fibrous at the edge and may not burnish cleanly. That does not mean it cannot look polished. Edge paint, folded construction, binding, or a carefully chosen edge coat can produce a refined result. The key is matching your finishing plan to the material. Do not select a soft chrome tan for a design built around traditional burnished edges unless you are prepared to change the edge treatment.
Appearance, Aging, and Everyday Use
Vegetable-tanned leather often begins pale or lightly dyed and develops a patina from light, handling, oils, and use. A natural leather wallet may deepen from tan to a warm brown over time. Marks and scuffs can become part of its story, particularly on full-grain leather with a more natural finish.
That aging is a major reason many makers enjoy vegetable tan. It brings variation and a lived-in character that cannot be fully planned at the start. It can also be less forgiving if the customer or recipient wants a surface that stays visually uniform. Water spots, scratches, and uneven exposure to sunlight can be more noticeable.
Chrome-tanned leather often provides a more stable, finished color from the beginning. It may be better suited to bright colors, smooth fashion finishes, pebbled grains, suede-like surfaces, and hides designed for regular flexing. Many chrome-tanned leathers resist water and staining better than unfinished vegetable tan, though the exact performance depends on the finish.
For everyday bags, soft zip pouches, watch straps, and lined goods, chrome tan can offer comfort and color options that are difficult to duplicate with veg tan alone. For a belt, molded case, heirloom-style wallet, or hand-tooled panel, vegetable tan often gives the maker more control over form and surface detail.
How to Choose Leather for Your Pattern
Start with the pattern’s construction rather than the leather you happen to have on hand. Look at the parts that need to hold shape, bend, fold, or finish cleanly. A structured valet tray needs leather that can be wet formed and retain its corners. A relaxed tote needs leather that can flex naturally without fighting the seams.
Consider the intended edge treatment next. If the pattern shows exposed, burnished edges, vegetable tan or another leather known to burnish well is the safer choice. If it uses turned edges, binding, or paint, a suitable chrome tan may work beautifully.
Then think about the maker experience you want from the project. Beginners often find firm, medium-weight vegetable tan easier to measure, cut, and stitch because it stays put. At the same time, a soft chrome-tanned leather can make a simple pouch or lined accessory more approachable because it needs little to no dyeing, casing, or burnishing. Neither route is automatically easier. Each asks for different skills.
When a pattern specifies leather weight and temper, treat both as meaningful. Weight tells you thickness. Temper tells you how firm or flexible the hide feels. A 4-ounce leather can be soft enough for a slouchy pouch or firm enough for a small structured case. Ask the supplier about both, and purchase a sample or small panel when the project depends on a particular finish.
Can You Combine Chrome Tan and Vegetable Tan?
Yes. Many well-designed leather goods use both. A vegetable-tanned exterior can provide structure and burnished edges, while a chrome-tanned lining adds color, softness, or a contrasting texture. A chrome-tanned bag body may use vegetable-tanned straps, tabs, or reinforcement pieces where strength and a crisp edge are useful.
Mixed-material builds need a little planning. The layers may stretch differently, absorb adhesive differently, and respond differently to skiving. Test your glue, stitch length, and edge finish on offcuts before moving to the final pieces. A small sample assembly is faster than correcting a finished panel.
A Better First Test Than Guessing
Before cutting into a new hide, make a small test strip. Cut an edge, bevel it, burnish or paint it, crease it, fold it, and stitch through two layers. If the project involves molding or stamping, test that too. Ten minutes with a scrap tells you more than a product description ever can.
The best leather is the one that lets your pattern do its job and makes the finished piece feel intentional in the hand. Choose the hide for the build in front of you, keep a few notes on what worked, and let every project make the next one easier to approach with confidence.