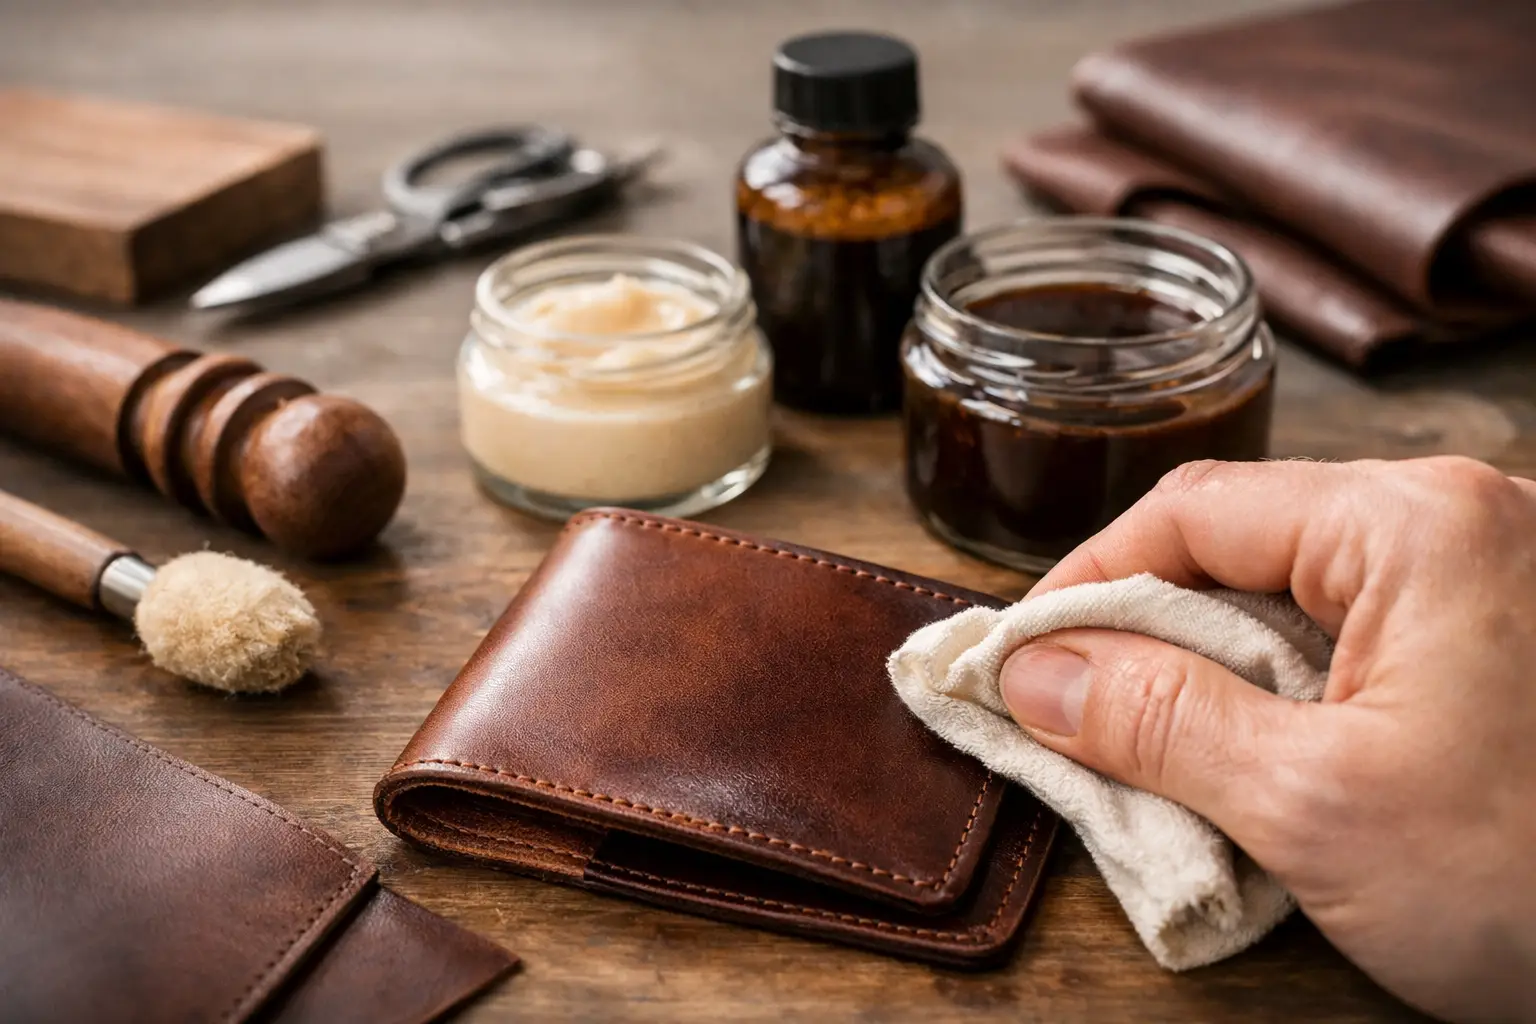
A project can be cut cleanly, stitched evenly, and still look unfinished if the edges are fuzzy, the surface is blotchy, or the final coat feels tacky. That is why a beginner leather finishing guide is less about collecting bottles and more about learning a dependable order of operations. A few careful finishing steps can make a simple tray, wallet, or key fob feel intentional and ready to use.
Finishing also has a practical job. It helps protect leather from handling, light moisture, and everyday grime while giving the piece a more consistent appearance. The right approach depends on the leather, the project, and the look you want, but beginners do not need a crowded shelf of specialty products to get satisfying results.
Start With the Leather You Chose
Before choosing a dye, balm, or edge treatment, identify the leather in front of you. Vegetable-tanned leather is the most forgiving place to learn because it accepts dye, can be tooled or burnished, and responds well to many common finishes. It is often used for structured trays, belts, cases, and small goods.
Chrome-tanned leather is usually softer and may already have a finished surface. It can make excellent projects, but it does not always absorb dye or burnish like veg tan. Suede, nubuck, and heavily coated leathers call for their own methods, so avoid testing a new finish on the project itself.
Use a scrap from the same hide whenever possible. A finish can darken natural leather, deepen a dyed color, add shine, or slightly stiffen the grain. Five minutes spent testing a scrap saves a finished project from an unpleasant surprise.
The Beginner Leather Finishing Guide: Use the Right Order
Finishing works best when each step supports the next. If you apply a protective top coat before dyeing, for example, the dye may not penetrate. If you burnish edges after treating the entire surface, you can leave residue where you do not want it.
For most vegetable-tanned projects, the basic sequence is simple: complete cutting, stamping, and assembly work; clean the leather; apply color if desired; treat and burnish the edges; then add a light protective finish. Let each product dry fully before moving on. Rushing is one of the most common causes of streaks, sticky surfaces, and uneven color.
The sequence can shift slightly based on construction. Some makers dye pieces before stitching so light-colored thread stays clean. Others prefer to assemble first so the color remains consistent across the finished form. For a first project, follow the recommendation in your pattern if one is provided, then make notes about what worked at your bench.
Prepare the Surface Before Adding Color
A clean, even surface is the foundation of a good finish. Brush away loose fibers and shop dust. If the leather has marks from handling, lightly wipe it with a clean cloth. Use cleaners sparingly, especially on natural veg tan, because too much moisture can leave tide marks or change the surface color.
If you are applying dye, make your final cuts and edge bevels first. Dyes can collect along rough cut lines and make them more obvious. A smooth edge and clean grain surface give color a better chance to look even.
Apply dye in thin, controlled coats with a wool dauber, soft cloth, sponge, or airbrush, depending on the product and project size. Work from one edge to another rather than stopping in the middle of a broad panel. Light coats are easier to build than a single heavy coat, which can look muddy and may rub off later.
Dye is optional. Natural leather develops character through use and exposure, and many makers prefer to protect it with a conditioner or finish while letting the leather age naturally. A clean natural finish is not a shortcut. It is a design choice.
Give Edges the Attention They Deserve
Edges are where handmade work often becomes visible at a glance. A rounded, smooth edge makes a project feel more comfortable in the hand and more durable in daily use.
Start by trimming the edge flush if layered pieces have shifted during glue-up. Sand progressively, beginning with a grit that removes unevenness and moving to a finer grit for a smoother surface. You do not need to chase a mirror-like edge on every project. The goal is an even profile without loose fibers or obvious steps between layers.
For vegetable-tanned leather, lightly dampen the edge with water or a burnishing agent, then rub it with a wood slicker, canvas, or another smooth burnishing tool. Friction compresses the fibers and creates a darker, more polished edge. Use modest moisture. A dripping-wet edge becomes soft and can turn fuzzy again as it dries.
Edge paint is another option, especially for chrome-tanned leather and modern bag-style projects. It creates a coated edge rather than a burnished one. It can look excellent, but it requires patience: thin layers, full drying time, and light sanding between coats. For a first build in veg tan, burnishing is usually the simpler method to learn.
Choose a Finish for the Job, Not the Label
Leather finishes range from light conditioners to stronger acrylic-style top coats. Each has a trade-off. More protection may mean more shine or a slightly less natural feel. A soft, natural-looking finish may need more regular care.
A light leather balm or conditioner is a good choice for many natural vegetable-tanned goods. It can enrich the color, add a gentle sheen, and keep the leather from feeling dry. Apply a small amount with a soft cloth, let it absorb, then buff lightly. Too much conditioner can leave a project greasy or overly dark.
Wax-based finishes can offer a pleasing hand feel and modest water resistance. They suit items such as notebook covers, trays, and everyday small goods, though they may need occasional renewal. Acrylic resolene-style finishes provide stronger surface protection and can be useful on dyed leather that may see frequent handling. They should be applied in thin, even coats, often diluted according to the product directions, because a heavy layer can look plastic-like or crack as leather flexes.
No finish makes leather waterproof. For most handmade projects, the reasonable goal is resistance to normal use: fingerprints, a light spill, changing weather, and the wear that comes from being carried or handled. If a project will face hard outdoor use, choose both the leather and the finish with that use in mind.
Let Drying Time Do Its Work
A finish that feels dry on the surface may still be curing underneath. Set pieces aside on a clean surface where air can move around them, and avoid stacking damp parts together. This is especially useful for trays, folded goods, and projects with broad panels that can pick up impressions.
After the finish has dried, buff gently with a clean cloth if the product calls for it. Check the project under good light. Look along the edges, flex straps or folds carefully, and run a clean cloth across dyed areas to see whether excess color transfers. If it does, the leather may need more buffing, more drying time, or a compatible top coat.
Keep a small finishing note with each new project: the leather type, dye color, edge method, finish used, number of coats, and drying time. Leather varies from hide to hide, so your own notes become more useful than a one-size-fits-all recipe. They also make it easier to repeat a result you liked.
Common Beginner Problems and Practical Fixes
Blotchy dye usually comes from uneven absorption, inconsistent application, or stopping and restarting on a large panel. Test first, use a light hand, and consider applying a suitable prep product only when it fits the dye system you are using. Adding more dye to a blotchy area rarely creates an even result.
Fuzzy edges often mean the edge was not sanded enough before burnishing, or it was too wet. Let it dry, sand lightly, and burnish again with less moisture. If the leather is chrome tanned, switch expectations: edge paint or a clean, carefully sanded raw edge may be the better choice.
A sticky finish points to heavy application, incompatible layers, or insufficient drying time. Do not keep adding product. Give it time in a dry, temperate space, then assess it on a scrap before attempting a correction on the project.
Uneven shine is usually easier to prevent than repair. Apply finishes with consistent, overlapping passes and avoid going back over sections that have begun to set. A small test panel helps you learn how quickly a particular product dries in your workshop.
The best finishing routine is the one you can repeat without guessing. Start with a straightforward project, a few compatible materials, and a scrap beside you for testing. As your cuts, stitches, and edges become more familiar, the final finish will stop feeling like a separate mystery and become one more satisfying part of the build.