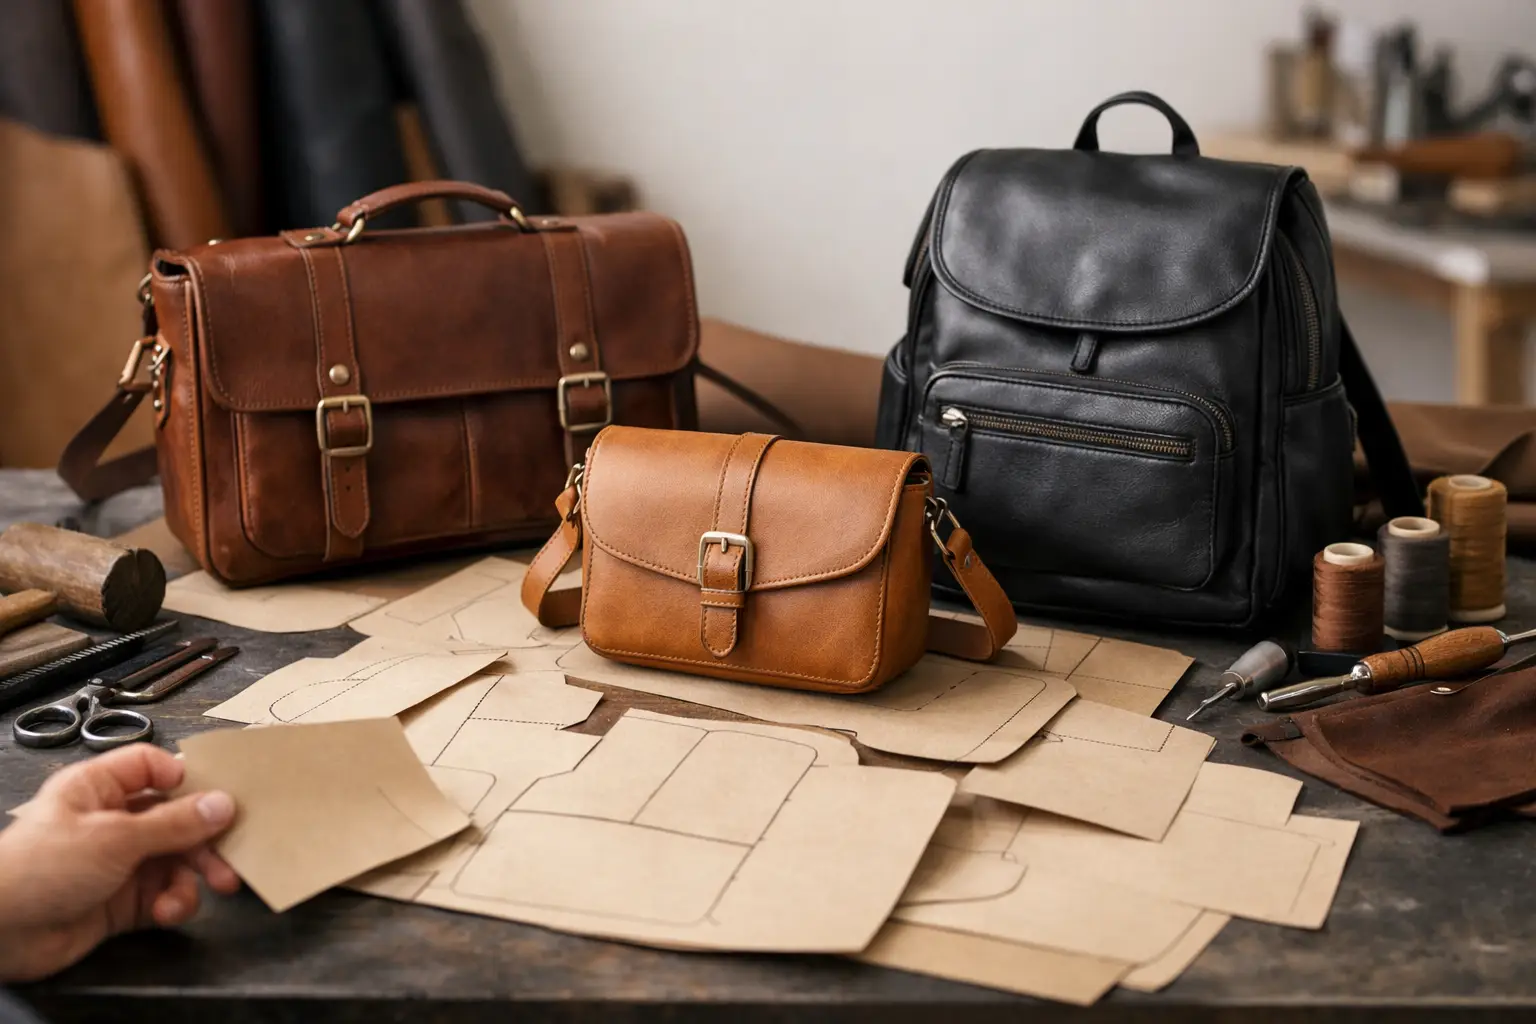
A leather bag pattern should do more than give you a set of shapes to cut out. It should help you see the whole build before you put a knife to leather: where the stress will land, how the gusset comes together, which edges need finishing, and whether the finished bag suits the way you actually work or travel.
That clarity matters because bags ask more of a maker than a small leather project. They involve larger cuts, longer stitch lines, hardware placement, structure, and a sequence that is difficult to reverse once glue is down. The right pattern lets you spend less time guessing and more time building a bag you will be proud to carry.
What Makes a Good Leather Bag Pattern?
A useful bag pattern begins with proportion. The body, gusset, flap, pockets, straps, and closures should work together visually and functionally. A pattern may look good in a product photo, but its real value appears at the bench: pieces fit, stitch lines meet cleanly, and measurements make sense before and after the leather gains thickness.
Clear construction order is equally important. Bag projects often include steps that must happen early, such as setting a magnetic snap, stitching an interior pocket, skiving a fold, or installing hardware behind a lining panel. When those instructions are vague, even an experienced maker can lose time correcting an avoidable mistake.
Look for a pattern that identifies the finished dimensions, required materials, hardware sizes, and core tools. You do not need every project to prescribe one exact leather or finish. In fact, room for material choices is part of the enjoyment. But you should know whether the design expects firm vegetable-tanned leather, soft chrome-tan, a lining, reinforcement, or a particular strap width before you begin.
A workshop-ready pattern also accounts for the practical details that separate a usable bag from a rough prototype. That includes clearly marked fold lines, stitch lines, punch marks, hardware locations, and cut quantities. If a mirrored piece is required, the pattern should make that obvious. Small labels prevent large frustrations.
Choose the Bag Before You Choose the Style
It is easy to choose a project based on a handsome finished photo. Start with use instead. A bag that will carry a notebook, tablet, camera, or daily tools needs a different shape and level of structure than a simple crossbody for keys and a phone.
Think about what the bag needs to hold, how it will be carried, and how often it will be used. A compact belt bag or pouch can be an excellent first bag project because it teaches curves, gussets, and hardware without requiring long straps or large panels. A tote is straightforward in shape but can demand careful attention to handle reinforcement and load-bearing stitches. A messenger or briefcase-style build introduces more components, pockets, closures, and assembly planning.
Style still matters, of course. A clean, minimal design puts every cut and edge finish in plain view. That can be satisfying if you enjoy refined detail, but it leaves little room for uneven edges or inconsistent stitching. A more layered design may hide certain construction areas while adding complexity through pockets, panels, and hardware. Neither choice is better. The best one fits your current skills and the kind of bench time you want.
Match the Pattern to Your Current Skills
A good challenge teaches you something specific without turning the project into a series of repairs. If you are newer to leatherworking, choose a bag with familiar techniques and one or two new elements. You might already be comfortable cutting, edge beveling, and saddle stitching, then use a small bag to practice installing a snap and building a gusset.
More experienced makers may want a pattern that saves drafting time while leaving room to make material decisions. A well-organized design can provide the structure while you explore a different leather weight, lining color, thread contrast, or hardware finish. That is one of the practical advantages of starting from a professional pattern rather than a rough sketch: the creative choices remain yours, but the foundation has been considered.
Before committing, assess a few honest questions:
- Can you cut the largest piece from the leather you have on hand?
- Do you own the punches, needles, thread, edge tools, and hardware-setting tools the project requires?
- Are you comfortable with the longest stitch run and the tightest curves in the design?
- Does the pattern explain the techniques that are new to you, or will you need to practice them first?
- Do you have enough uninterrupted bench time to complete the build without rushing glue-up or finishing?
There is no penalty for choosing a simpler pattern. A smaller, cleanly finished bag teaches more than a complicated project that stalls halfway through because its construction is beyond your current setup.
Read the Material Requirements Carefully
Leather weight is not a minor detail in bag making. A pattern built for a firm, medium-weight leather may become bulky at the seams if made in thicker stock. The same pattern can lose its intended shape if made in leather that is too soft or stretchy.
Pay attention to where layers stack up. Strap anchors, folded flap edges, gusset seams, and lined pockets can create substantial thickness. If you prefer heavier leather, you may need to skive certain areas. If you use softer leather, a reinforcement panel or lining may be needed to maintain the bag’s form.
Hardware deserves the same attention. A pattern calling for a particular rivet post length, buckle bar width, or magnetic snap size is giving you information that affects both appearance and durability. Substitutions can work, but make them deliberately. Check the hardware against the pattern piece before punching any holes.
Print, Prepare, and Test Before Cutting Leather
Digital patterns are most helpful when treated as a build plan, not just a file to print. Print at the stated scale and confirm the included test square with a ruler. Even a slight scaling error can affect strap slots, buckle placement, and pieces that need to align precisely.
Cut out the paper pieces cleanly, then arrange them on your leather before marking anything. This dry layout helps you spot grain direction, scars, stretch, and the best placement for prominent panels. For strap pieces, follow the stronger direction of the hide when the pattern calls for it. For a flap or front panel, reserve your cleanest area.
A paper or cardstock mock-up is worthwhile for any bag with an unfamiliar construction. You do not need to reproduce every finish detail. Simply tape the main parts together and check the opening, depth, pocket access, and strap position. Ten minutes with paper can reveal that a phone pocket is too narrow for your device or that you would prefer a longer flap before you cut leather.
Keep Assembly Order in View
Print the instructions or keep them open beside the bench. As you work, check off each completed stage and lay finished components in order. This is especially useful when a project includes interior work that will later be enclosed.
Do not rush from cutting to glue. Dry-fit pieces first, mark the centerlines, and test hardware placement with the actual component. When glue is involved, work in manageable sections so alignment stays under control. A bag’s clean appearance often comes from patience at these quiet stages rather than from any one advanced technique.
Make the Pattern Your Own Without Losing Its Logic
Once you understand how the bag is built, modest customization can make it feel personal. Thread color, edge paint or burnish, leather color, and hardware finish are easy places to begin. These choices change the character of a bag without changing the structure that makes it work.
Dimension changes require more care. Widening a bag body may also require a longer gusset, a different flap shape, and repositioned strap anchors. Adding an exterior pocket can affect the order of assembly. Changing a buckle to a snap may require reinforcement so the closure does not pull against a soft panel. The more structural the change, the more valuable a cardstock test becomes.
For makers who want a reliable place to start, Old Line Crafts & Designs patterns are designed to keep those decisions understandable. The goal is not to remove the craft from the project. It is to give you a clear layout and practical direction so your attention can stay on good cutting, careful stitching, and a finish that feels considered.
A bag becomes more useful with wear, and a well-made one records the care that went into it. Choose a pattern that fits your materials, your skills, and the way you plan to use the finished piece. Then give the build the steady pace it deserves.