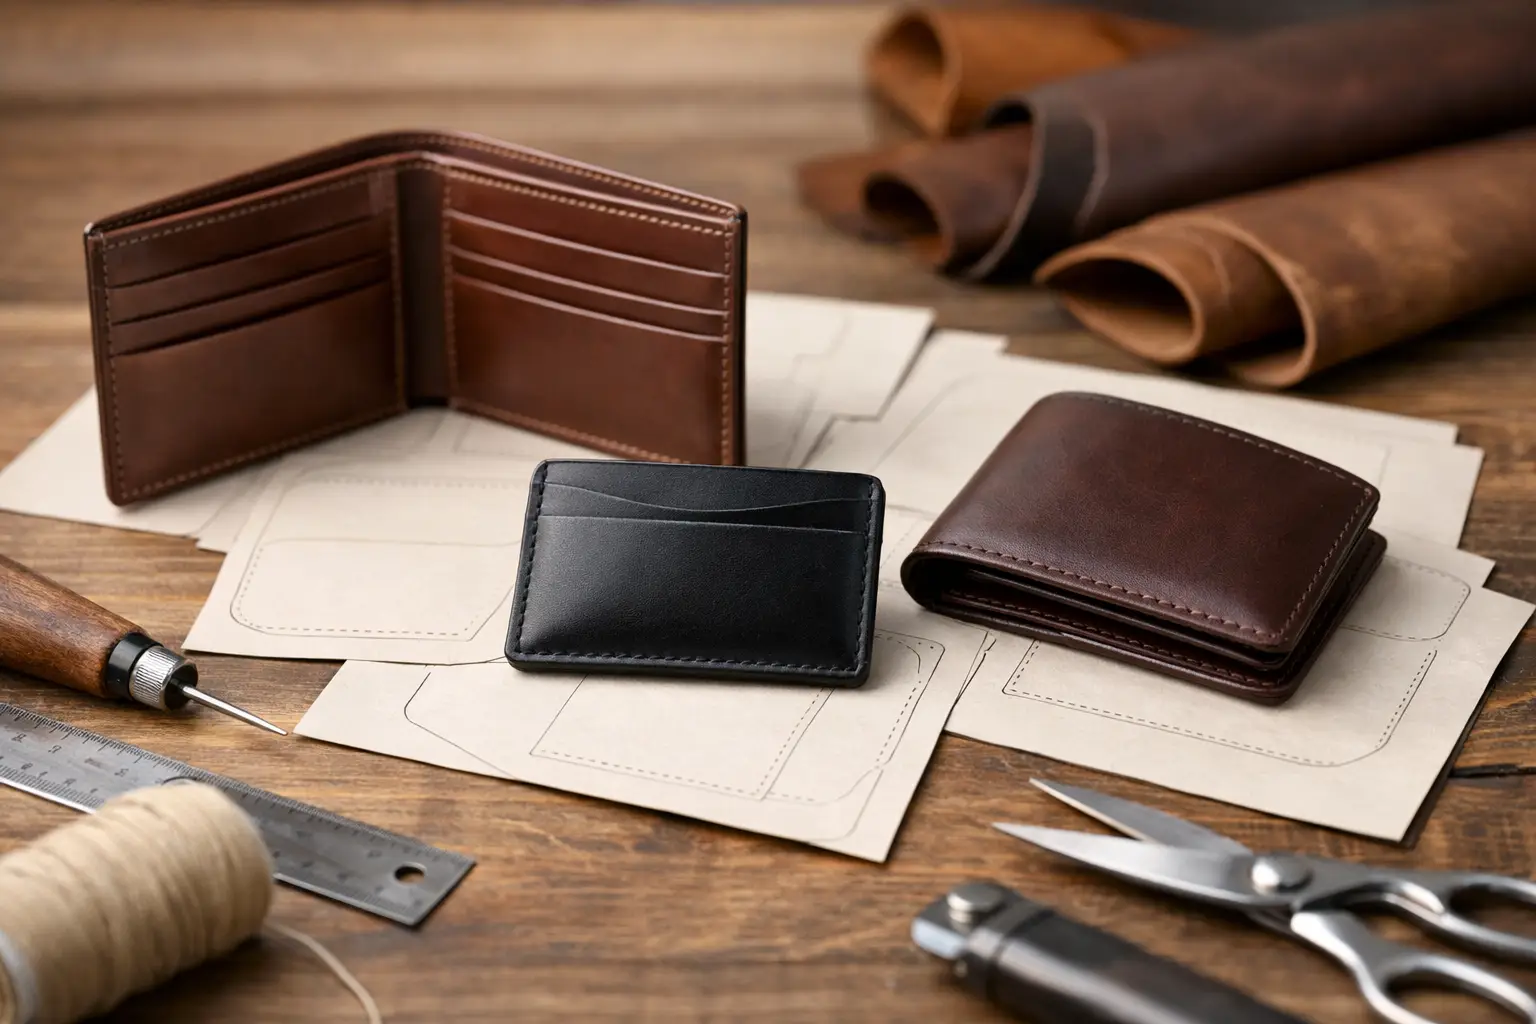
A wallet can look like a small project right up until you begin cutting. Then the questions arrive: Will the pockets hold cards without stretching out? Is there enough room for stitching? Which layers should be skived, and which should stay firm? A well-designed leather wallet pattern answers those questions before your leather reaches the cutting mat.
For hobby makers, that structure matters. You still get the satisfaction of choosing the leather, thread, edge treatment, and final character of the piece. But you spend less time correcting avoidable fit problems and more time building a wallet you will actually want to carry.
What a Good Leather Wallet Pattern Should Solve
A wallet pattern is more than an outline to trace. It is a construction plan for a compact item where every fraction of an inch affects the finished result. Pocket placement, fold allowance, stitch-line spacing, leather thickness, and assembly order all work together.
The strongest patterns make those decisions visible. They show each piece clearly, identify what gets cut from leather, and account for the overlap needed to secure a card pocket or create a clean fold. They also give you a workable sequence, so you are not trying to stitch a section that should have been finished earlier.
This is especially useful with wallets because the project has little room for error. A slightly narrow pocket can make cards difficult to remove. A stack of thick leather at the center fold can keep the wallet from closing comfortably. Stitching too close to an edge can weaken a high-use area. The pattern does not replace good bench habits, but it gives those habits a sound starting point.
Choose a Leather Wallet Pattern for Your Carry
Before selecting a design, think about the wallet you want to use, not just the wallet you want to make. A clean card holder is satisfying to build, but it may not serve someone who carries several cards, folded bills, receipts, or an ID every day.
Start with the wallet style
A card holder is often a good first wallet project. It uses fewer pieces, has fewer layers, and lets you focus on accurate cutting, gluing, stitching, and edge finishing. It is a practical choice if you want to build confidence with small leather goods.
A bifold gives you more storage and a classic everyday format. It also introduces more planning. You may need multiple interior pockets, a long fold, and careful control of leather thickness near the spine. The finished piece can be rewarding, but it asks more from your material selection and assembly process.
Minimalist bifolds, vertical wallets, and money clips sit somewhere in between. Their layouts are often simpler than a traditional bifold, yet they still teach useful lessons about pocket geometry and carrying comfort. Choose the format that fits the intended use first. A wallet that looks refined but does not suit the owner’s daily carry will spend more time in a drawer than a pocket.
Match the pattern to your current skills
A beginner does not need to avoid wallets, but it helps to choose a project with a manageable number of pieces and straightforward stitch runs. Look for clear markings, practical instructions, and a construction order that does not assume you already know how to solve every detail.
More experienced makers may prefer a design with layered interiors, turned edges, or opportunities for customization. Even then, a thoughtfully organized pattern saves time. Drafting from scratch has its place, but using a ready-to-build design can let you focus on leather selection, refinement, and your own finishing choices.
Check your tools before you begin
Most wallet patterns can be built with a modest set of hand tools, but the details matter. Confirm whether the project calls for a punch size you own, a specific stitch spacing, skiving, rivets, snaps, or hardware. If a pattern includes a fold line, make sure you have a method for creasing or lightly grooving it without damaging the grain.
Do not treat a tool list as a challenge to buy everything at once. Often, a simpler pattern is the better choice if it allows you to build well with the tools already on your bench. Clean cuts, consistent glue placement, and careful stitching will do more for the finished wallet than an elaborate tool collection.
Read the Pattern Before Cutting Leather
Printing and cutting immediately is tempting, especially when a new project is waiting. Take a few minutes to review the entire pattern first. That short pause can save a good hide from a frustrating mistake.
Confirm the print scale according to the pattern instructions. Many printable patterns include a reference square or measurement line for this reason. If that reference is off, every pocket and panel will be off with it.
Next, identify each pattern piece and note whether it needs to be cut once, twice, or mirrored. This is a common point of confusion with interior pockets and side panels. If you are using leather with a pronounced grain, pull-up effect, or color variation, plan the orientation of each piece before tracing. A pocket cut in the opposite direction may still function, but it can change the visual balance of the wallet.
Finally, walk through the assembly order in your head. Notice which edges need to be beveled and burnished before they are covered by another layer. Mark stitch lines and crease lines where needed. A good build feels calmer when these small decisions happen early.
Use a Test Fit for Pockets and Folds
Paper templates are useful, but a quick test fit with scrap leather or heavy cardstock can reveal what a flat pattern cannot. Place actual cards in the pocket layout and check the reveal at the top. You want enough card exposed to remove it easily, without leaving so much exposed that it feels insecure.
Remember that leather thickness changes the final dimensions. A pattern designed for thinner interior leather may feel tight if every layer is cut from firm, heavy vegetable-tanned leather. For many wallets, a firmer outer shell paired with thinner pocket leather creates a more comfortable result. The right combination depends on the pattern, the wallet style, and the look you want.
Test the fold, too. On a bifold, the center area needs enough room for the layers to bend naturally. If the fold feels bulky during a dry fit, it will not improve after stitching. Skiving or thinning selected areas can help, but it is better to make that decision before glue and thread make the assembly permanent.
Build in an Order That Keeps Edges Clean
Wallet construction rewards patience because some of the best-looking details become inaccessible later. Interior pocket edges are the clearest example. Once a pocket is glued beneath another panel, you may no longer be able to bevel, burnish, or apply edge paint neatly.
Start by cutting accurately and labeling pieces lightly on the flesh side. Then complete any required skiving, crease work, or interior edge finishing before glue-up. Dry fit the layers once more, especially if you have adjusted leather weight or made a small personalization change.
When it is time to assemble, use light, controlled glue coverage. Excess adhesive near pocket openings can create a messy edge or interfere with burnishing. Let glued sections set as directed by your adhesive, then stitch with a consistent rhythm. On compact projects, uneven stitch spacing stands out quickly, so take the time to keep your awl or irons aligned.
After stitching, trim and refine the outer edge only if the pattern and construction method allow it. Then bevel, sand, burnish, or paint according to the finish you prefer. There is no single correct edge treatment. A burnished veg-tan edge has a different character from a painted chrome-tan edge, and both can look excellent when they suit the leather and the build.
Signs a Wallet Pattern Is Ready for Your Bench
Before committing to a design, look for practical signals that it has been organized with the maker in mind:
- Clearly labeled pattern pieces with usable cut lines and measurements
- A defined assembly order, including notes for folds, pockets, or hardware
- Material guidance that helps you choose workable leather weights
- Stitching and edge-finishing details that account for the finished construction
Clarity does not mean every creative decision is made for you. The best patterns leave room for your own leather, thread color, stamp work, lining choice, and finish. They simply remove the uncertainty that does not add anything useful to the project.
At Old Line Crafts & Designs, that is the purpose behind a workshop-ready pattern: give makers a clean layout and practical guidance, while leaving the craft itself in their hands.
Make the Pattern Your Own, One Change at a Time
Once you understand the construction, customization becomes more enjoyable and less risky. You might change thread color, add a maker’s mark, choose a contrasting pocket leather, or alter the edge finish. These are small choices, but they can give a familiar design a distinct personality.
Be cautious with dimensional changes. Widening a pocket, shortening a panel, or substituting thicker leather can affect several connected pieces. If you want to modify the layout, make a paper mockup first and test it with real cards and bills. That simple step protects your leather and helps you learn why the original dimensions were chosen.
A good wallet project should leave you with more than a finished accessory. It should teach you something useful for the next build: how leather weight affects a fold, how much pocket reveal feels right, or how a better assembly sequence makes the whole process easier. Choose a design that fits your bench now, build it with care, and let the next one carry a little more of your own experience.