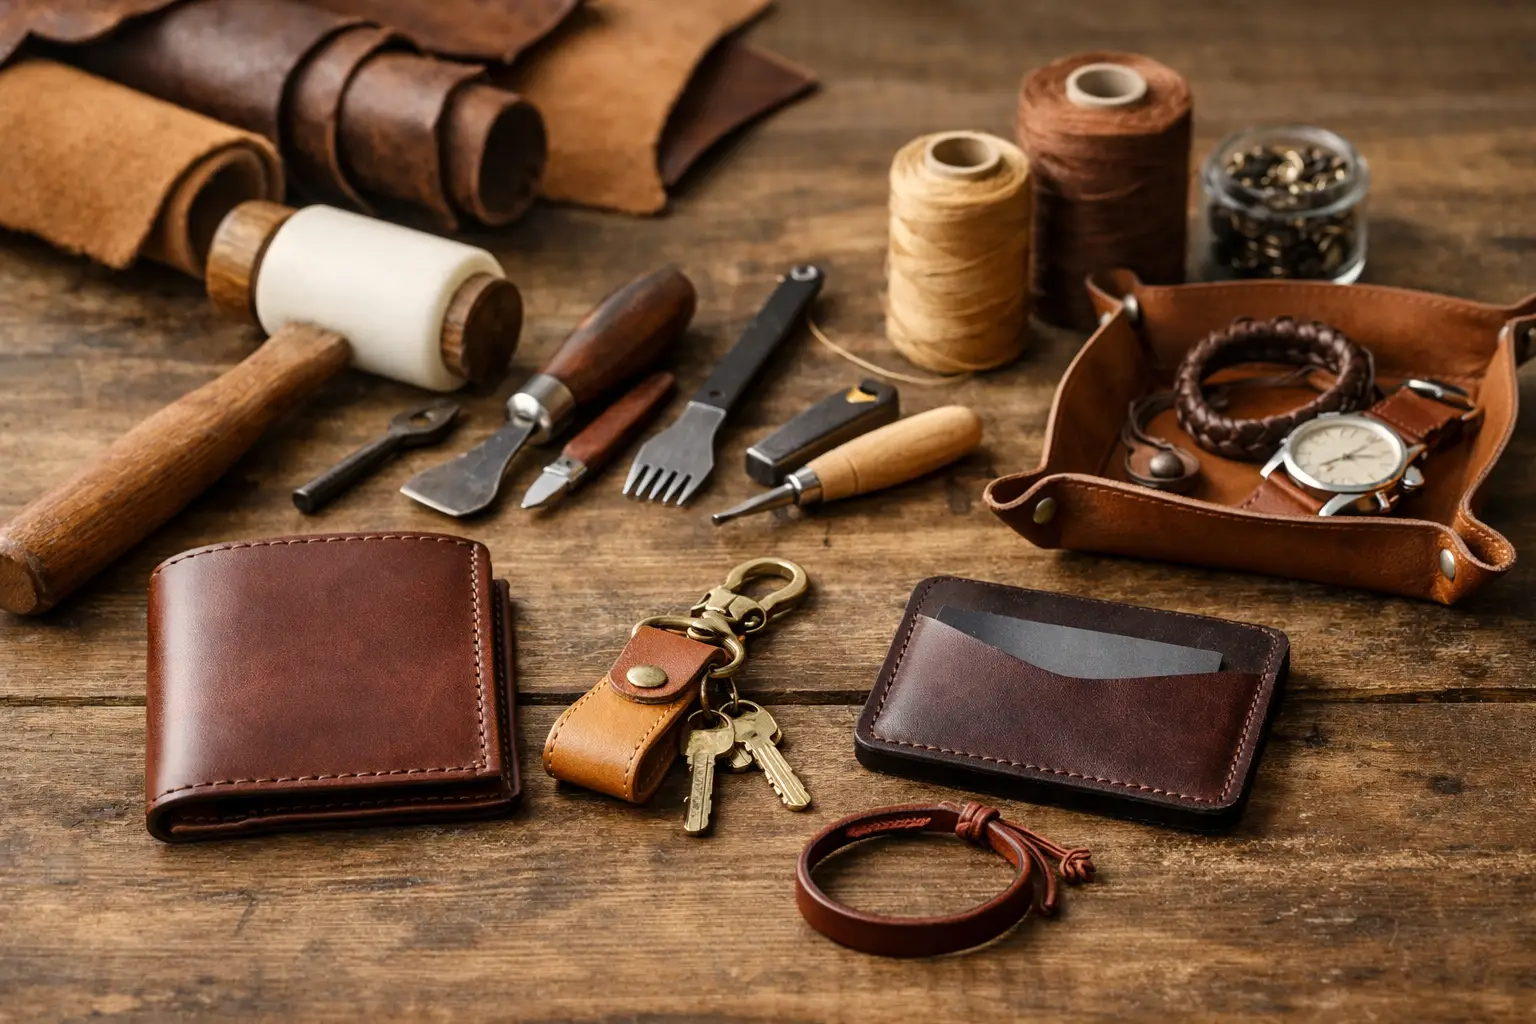
A first leather project should give you more than a place to practice stitches. It should leave you with something you will actually use, while teaching one or two new skills without turning your bench into a troubleshooting exercise. The best beginner leatherworking projects are modest in size, clear in construction, and forgiving enough that a slightly uneven cut or stitch does not ruin the finished piece.
Choose projects with straight or gently curved lines, few layers, and a purpose you understand. A useful tray, card holder, or key fob gives every step a reason: cut accurately because the edges will show, stitch consistently because the seam holds the piece together, and finish carefully because your hands will touch it every day.
What Makes a Good First Leather Project?
For a new maker, project fit matters more than project size. A small item can still be frustrating if it requires tight interior turns, complex gussets, or several pieces that must align perfectly. On the other hand, a larger project with simple geometry can be a calm, satisfying build.
Look for a pattern that clearly shows the cut pieces, hardware placement, stitch lines, and assembly order. That structure lets you spend less time guessing and more time building. A well-organized pattern is especially helpful when you are still learning how leather behaves after cutting, folding, gluing, and burnishing.
Vegetable-tanned leather is often a practical choice for early projects because it cuts cleanly, accepts edge finishing well, and lets you see your tool work. Chrome-tanned leather can be softer and more forgiving for some items, but its edges may not burnish in the same way. Neither choice is universally better. Match the leather to the project and the finish you want.
You also do not need a fully equipped workshop to begin. A sharp knife, cutting surface, ruler, scratch awl, edge beveler, stitching chisels or pricking irons, needles, thread, adhesive, and a mallet cover a great deal of ground. Add tools as your projects show you where they will save time or improve your results.
8 Beginner Leatherworking Projects to Build Skills
1. Catchall tray
A leather catchall tray is one of the most useful first builds because it teaches accurate cutting, corner hardware or folded construction, and edge cleanup without requiring a long seam. It is also a project where a good result is visible quickly.
Use it for keys, watches, pocket contents, or small shop hardware. If you are using snaps, take time to mark and test the placement on scrap first. A tray that sits flat with clean corners feels surprisingly polished, even when it is your first attempt.
2. Key fob or wristlet
A key fob is a short project, but it asks for care in the places that matter: straight cuts, centered hardware, neat edges, and a tidy fold. It is an excellent way to practice setting a rivet, snap, or Chicago screw before relying on that hardware in a larger build.
Make two or three from the same basic layout. Repetition is useful here. By the third one, you will notice how much cleaner your measuring, cutting, and burnishing have become.
3. Simple card holder
A card holder introduces layered construction and stitching in a manageable form. Most versions use a back panel and one or two pockets, giving you enough assembly practice without the complexity of a full wallet.
The key trade-off is thickness. Heavy leather can create a substantial, durable holder, but it may become bulky at the pocket seams. A lighter weight leather usually makes assembly easier and produces a slimmer carry. Skive only if you are ready to practice it; a thoughtfully chosen leather weight can keep the project simple.
4. Coaster set
Coasters are often overlooked, but they are excellent practice pieces. They let you focus on consistent cutting, corner treatment, stamping, dyeing, or edge finishing without worrying about assembly. A set also encourages repeatable work, which is where basic techniques start to feel natural.
Try a simple shape first, such as a square with rounded corners or a circle. Once you can produce four matching pieces, experiment with a maker’s mark, a border line, or a different edge finish. Keep the design restrained so the craftsmanship remains the focus.
5. Notebook cover
A notebook cover is a satisfying step up from flat goods. It can involve a fold, interior pockets, or a pen loop, but the basic construction remains easy to understand. Because it wraps around a common notebook size, it has a clear function and makes a thoughtful handmade gift.
Before cutting leather, measure the actual notebook you plan to use. Covers based on standard dimensions can still fit differently depending on the binding and page count. A paper mockup takes only a few minutes and can prevent an avoidable fit problem.
6. Luggage tag
A leather luggage tag combines straightforward cutting with a small amount of hardware and personalization. It is an approachable place to try letter stamps, a decorative border, or a contrasting thread color.
Keep the strap construction simple at first. A sturdy strap with a secure buckle or snap is more useful than an elaborate design with too many potential failure points. If the tag will travel often, choose hardware that is strong enough for regular pulling and movement.
7. Sunglasses sleeve
A soft or lightly structured sunglasses sleeve teaches you to plan for the thickness of the object inside. It is usually a simple folded shape with one stitched side seam, but the dimensions need enough ease for the glasses to slide in comfortably.
Make a paper version around the glasses before committing to leather. If you are hand stitching, use this project to practice keeping a long seam even from beginning to end. A clean saddle stitch and well-finished opening can make a basic sleeve feel refined.
8. Minimal belt pouch
A small belt pouch is a good next project once you are comfortable cutting, gluing, and stitching. It introduces a functional attachment point and may include a flap, snap, or loop, yet it remains far less demanding than a large bag.
Keep the first version focused on one job: carrying a pocketknife, small notebook, multitool, or similar item. Avoid adding compartments until the basic form fits well. Function should lead the design, especially while you are learning how leather thickness changes folds and seams.
Build in the Right Order
Many early frustrations come from working out of sequence rather than from a lack of skill. Do your decorative stamping, dyeing, or marking before assembly when the leather is flat and supported. Cut carefully, then bevel and burnish edges that will become difficult to reach later. Dry-fit components before glue touches the leather.
When stitching, use a light mark or guide line and keep your chisels perpendicular to the work. A single crooked hole is rarely disastrous, but a row that slowly drifts will be noticeable. Slow down at the start of every seam, then establish a steady rhythm. Consistency matters more than speed.
Let adhesive do its job before punching stitch holes through layered pieces. If the parts shift while you punch, even a good pattern becomes harder to assemble cleanly. A few minutes of patient setup can save you from trying to correct a misaligned seam later.
Use Mistakes as Bench Notes
Your first projects do not need to be perfect to be successful. A darkened edge, a slightly proud stitch, or a corner that could be cleaner is useful information for the next build. Keep the piece, use it, and notice what changes after a week or a month of handling.
It helps to write down the leather weight, thread size, stitch spacing, finish, and hardware you used. These small bench notes become more valuable as you make variations of the same project. They also make it easier to understand whether a result came from technique, material choice, or the pattern itself.
If a project feels too difficult halfway through, simplify rather than abandon it. Leave off the decorative detail, choose a basic edge finish, or make a second version with fewer features. Completing a clean, functional item builds more confidence than forcing a complicated design past its natural stopping point.
Choosing Your Next Project Pattern
Once you have completed a few small goods, choose your next build based on the skill you want to strengthen. Pick a tray or coaster set for edges and finishing, a card holder for layered stitching, or a pouch for shaping and fit. This approach keeps your progress intentional without making the craft feel like a course you have to rush through.
Old Line Crafts & Designs patterns are built around that kind of clear bench experience: organized pieces, practical construction, and projects that give makers a finished result worth carrying or using. Whether you work from a simple paper template or a more detailed pattern, clarity at the start makes room for better craftsmanship at the finish.
Set out one project, cut a piece of scrap for testing, and give yourself permission to work slowly. The leather will teach you something every time you put it on the bench.