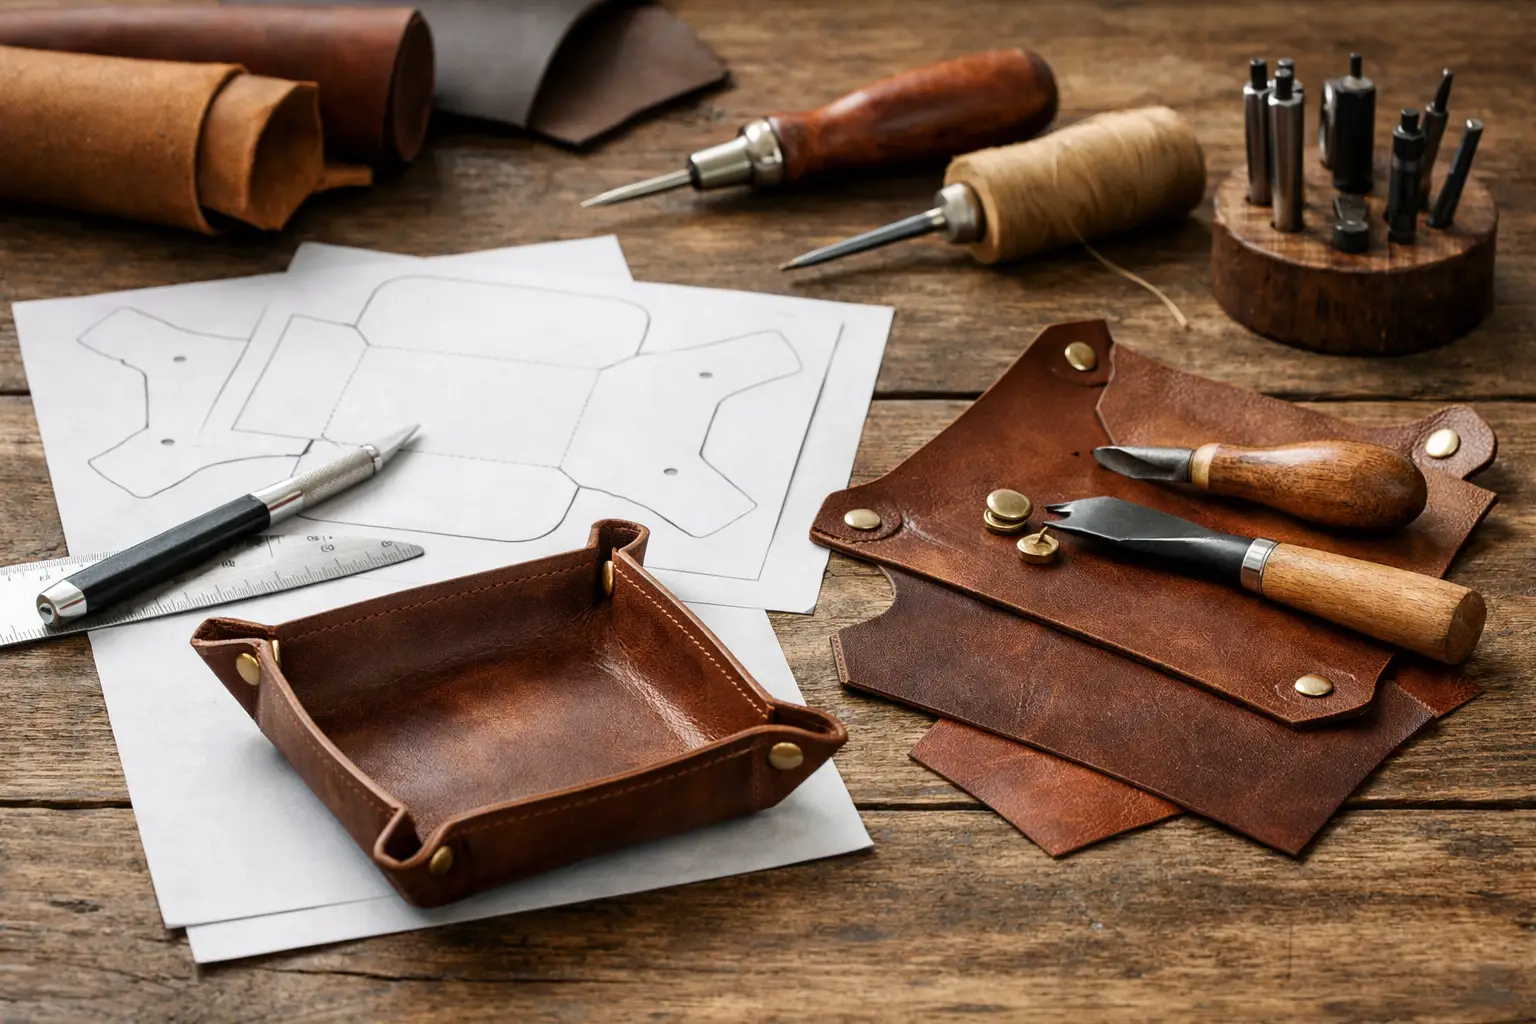
A handful of loose change, keys, a watch, and a pocketknife can make a workbench or nightstand feel cluttered fast. A small leather valet tray gives those everyday items a proper place, and it is one of the most rewarding projects a maker can complete in an afternoon. With a free leather tray pattern PDF, you can spend less time figuring out proportions and more time cutting, shaping, and finishing a useful piece of leatherwork.
This is a simple project, but it is not a throwaway one. A well-made tray teaches the same habits that carry into wallets, cases, and bags: accurate cutting, clean edge work, intentional hardware placement, and thoughtful finishing. Better still, the finished tray gets used every day.
What a Free Leather Tray Pattern PDF Should Do
A tray pattern should remove uncertainty without taking the craft out of your hands. It needs to show a clear cut line, the location of corner hardware or stitching, and the finished shape of the tray. If the layout feels vague before you cut leather, the project will feel vague at the bench too.
For a first build, look for a pattern designed around a single piece of leather. This construction keeps the project approachable while still allowing room for good decisions. You will choose leather weight, hardware finish, edge treatment, and whether the tray will live by the front door, on a desk, or beside the bed.
Old Line Crafts & Designs approaches entry-level patterns with that balance in mind: enough structure to build with confidence, with enough flexibility to make the project feel like your own. A free pattern is also a useful way to see how a well-organized template fits your working style before choosing a more involved project.
Print the Pattern Before You Cut
PDF patterns only work when they print at the intended scale. Open the file and select 100% or “actual size” in the print settings. Do not use “fit to page,” as even a small reduction can shift corner holes and change the finished tray dimensions.
If the pattern includes a test square, measure it with a ruler after printing. The square should match its stated size exactly. This small check takes less than a minute and prevents a frustrating discovery after leather has already been cut.
Once the scale is confirmed, cut out the paper template carefully. Some makers prefer to glue the printout to poster board or thin chipboard, especially if they plan to make more than one tray. A firmer template is easier to trace accurately and stands up better to repeated use.
Choose Leather That Matches the Job
Leather selection changes both the look and the behavior of a valet tray. For most single-layer trays, vegetable-tanned leather in the 4 to 6 ounce range is a practical starting point. It has enough body to hold the tray shape, yet it can still be folded at the corners without excessive bulk.
A lighter leather can work for a softer, more relaxed tray, particularly if you are using it for jewelry or a few small desk items. The trade-off is that it may not keep its shape as firmly. Heavier leather gives a substantial feel and a crisp profile, but it can make snapped corners harder to close and may require more deliberate forming.
Chrome-tanned leather is another option when you want a softer hand or a more casual look. It is often easier to fold, though edge finishing may be less clean than with vegetable-tanned leather. If this is your first tray, vegetable-tanned leather usually offers the clearest path to a polished result because it cuts, burnishes, stamps, and finishes predictably.
The cleanest side of the leather generally becomes the interior of the tray, where it will be most visible. Before tracing, inspect both sides for marks, wrinkles, loose grain, or uneven color. Place the pattern so those natural characteristics either become part of the design or stay outside the cut line.
Tools You Will Actually Use
A tray project does not require a crowded tool rack. A sharp utility knife or round knife, a cutting mat, a metal ruler, and a scratch awl will handle the layout and cutting. Add a hole punch sized for your chosen snaps, plus a snap-setting tool and a firm surface for setting hardware.
For finishing, use sandpaper or an edge beveler if you have one, along with a burnishing agent or a simple damp cloth for vegetable-tanned leather. A clean rag helps apply conditioner or finish. If you want to add a maker’s mark, stamp it while the leather is flat, before the corners are assembled.
Do not force a project to match the tools you happen to own. If you do not have snap setters, you can adapt a tray pattern into a stitched-corner version, provided you mark and punch the stitch holes consistently. Snaps are quicker and make the tray easy to flatten for travel or storage. Stitching offers a more traditional appearance and can be a good practice exercise, but it adds time and requires more precision.
Build the Tray in a Calm Sequence
Start by tracing the pattern with a scratch awl or fine pen. Keep the template flat and hold it firmly as you trace so the lines do not shift. Cut just outside the line if you prefer to refine the edge afterward, or cut directly on the line if your knife control is already reliable. Several light passes are safer and more accurate than trying to cut through thick leather in one stroke.
Before installing hardware, soften the corners slightly if you are working with firm vegetable-tanned leather. A light mist of water on the flesh side can make folding easier, but avoid soaking the piece. Let the leather absorb the moisture briefly, then fold each corner along the intended line to check the shape.
Punch the snap holes after checking the folds. This order matters because a hole that looks properly placed on a flat pattern can sit differently once the leather bends. Test the corner overlap, confirm that the snaps align, and only then set the hardware. When you set snaps, support the cap on a firm, smooth surface and use controlled strikes. Too much force can flatten or damage the hardware; too little can leave a loose connection.
Finish Edges While the Tray Is Flat
Edge work is easier before the corners are fastened. First, inspect the cut edge and trim any small fibers or uneven areas. Sand lightly, working through finer grits as needed. If you have an edge beveler, a small bevel on the grain side and flesh side can make a simple tray look noticeably more refined.
For vegetable-tanned leather, dampen the edge lightly and burnish it with a wood slicker, canvas, or cloth. Use steady friction rather than pressure alone. The goal is a smooth, compact edge, not a dark, overheated one. Apply your preferred edge treatment only after the shape is clean.
A light coat of leather balm or finish can protect the surface and bring out the color, especially on natural vegetable-tanned leather. Test any product on an offcut first. Some conditioners darken leather more than expected, which may be welcome on a rich brown tray but less desirable on a pale natural one.
Make a Simple Pattern Feel Personal
The tray shape may be straightforward, but the details can make it distinctly yours. Solid brass snaps feel warm and traditional. Nickel hardware creates a cleaner, more modern contrast. Antique finishes work well with distressed leather, while black hardware can give a dark, understated build a purposeful look.
A stamped initial, a short set of coordinates, or a small maker’s mark can add character without crowding the design. Keep decoration away from fold lines and snap locations. Those areas take the most stress, and clean construction should remain the focus.
Color is another worthwhile choice. Natural leather will develop its own patina through use. A hand-applied dye can produce a deeper, more controlled look, but it asks for careful preparation and even application. If you are still learning dye work, a tray is an excellent place to practice, though starting with pre-dyed leather removes one variable from the project.
Common Problems and Easy Corrections
The most common issue is a tray that rocks on the table or has uneven corners. This usually comes from inconsistent cutting or hardware holes that were punched without checking the folded alignment. If the tray has not been assembled yet, compare opposite sides with a ruler and make small corrections before setting the snaps.
Ragged edges usually point to a dull blade or hurried cutting. Replace the blade sooner than you think you need to. Leather rewards sharp tools, and a clean cut saves considerable time in sanding and finishing.
If a snap will not close easily, check whether the leather is too thick at the overlap. Skiving the underside of one corner can reduce bulk, but make this adjustment gradually. Removing too much leather weakens the area around the hardware. When using heavier stock, choosing a snap with a suitable post length is often the better solution.
A first tray does not need to be flawless to be useful. It needs clean fundamentals, a shape that sits well, and details you enjoy seeing in daily use. Print the pattern, make a careful first version, and pay attention to the moments that slow you down. Those small observations are how a simple bench project becomes the foundation for the next one.